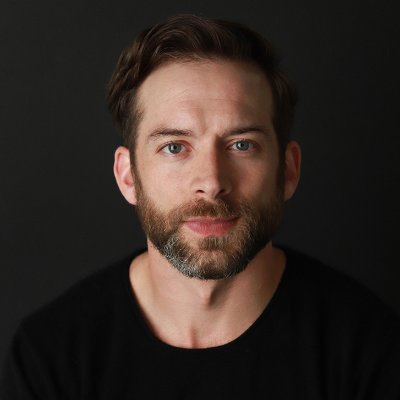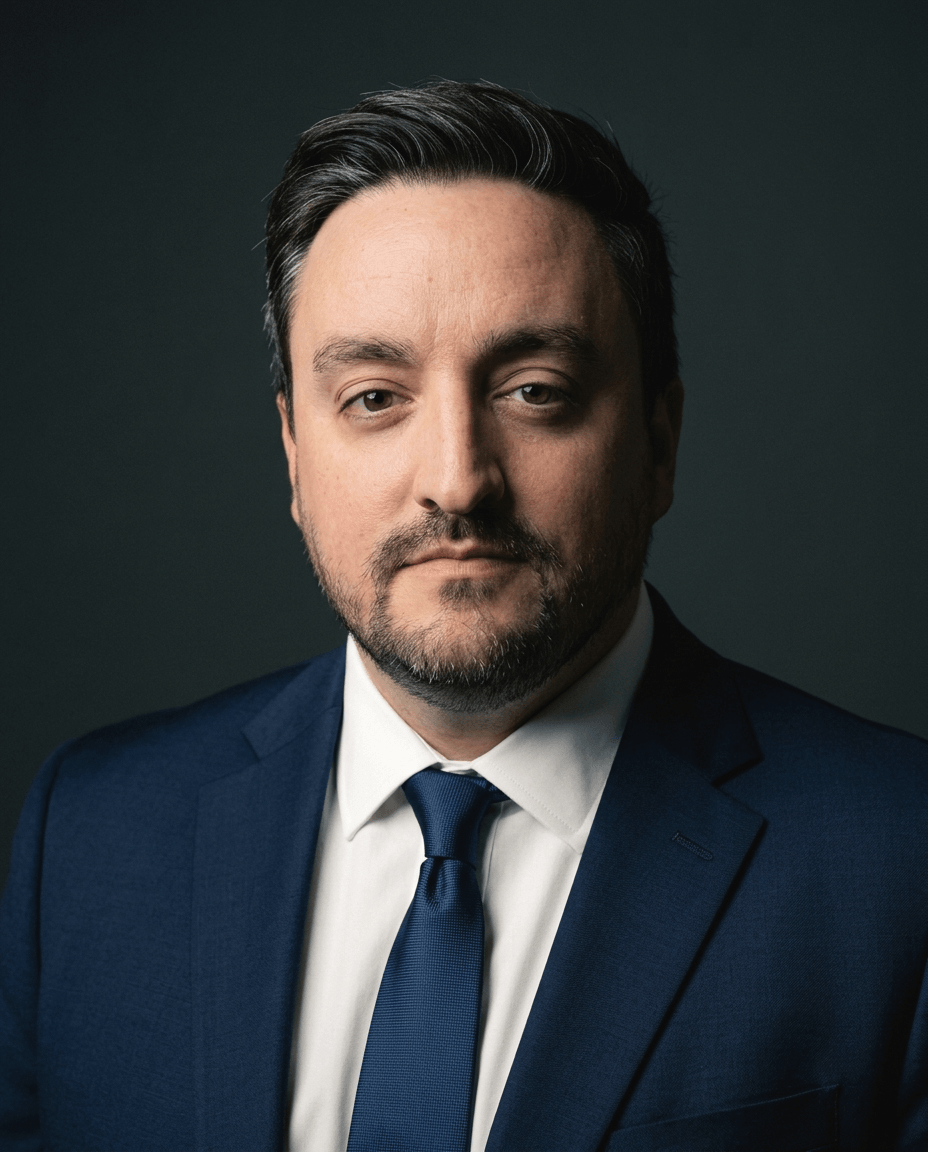
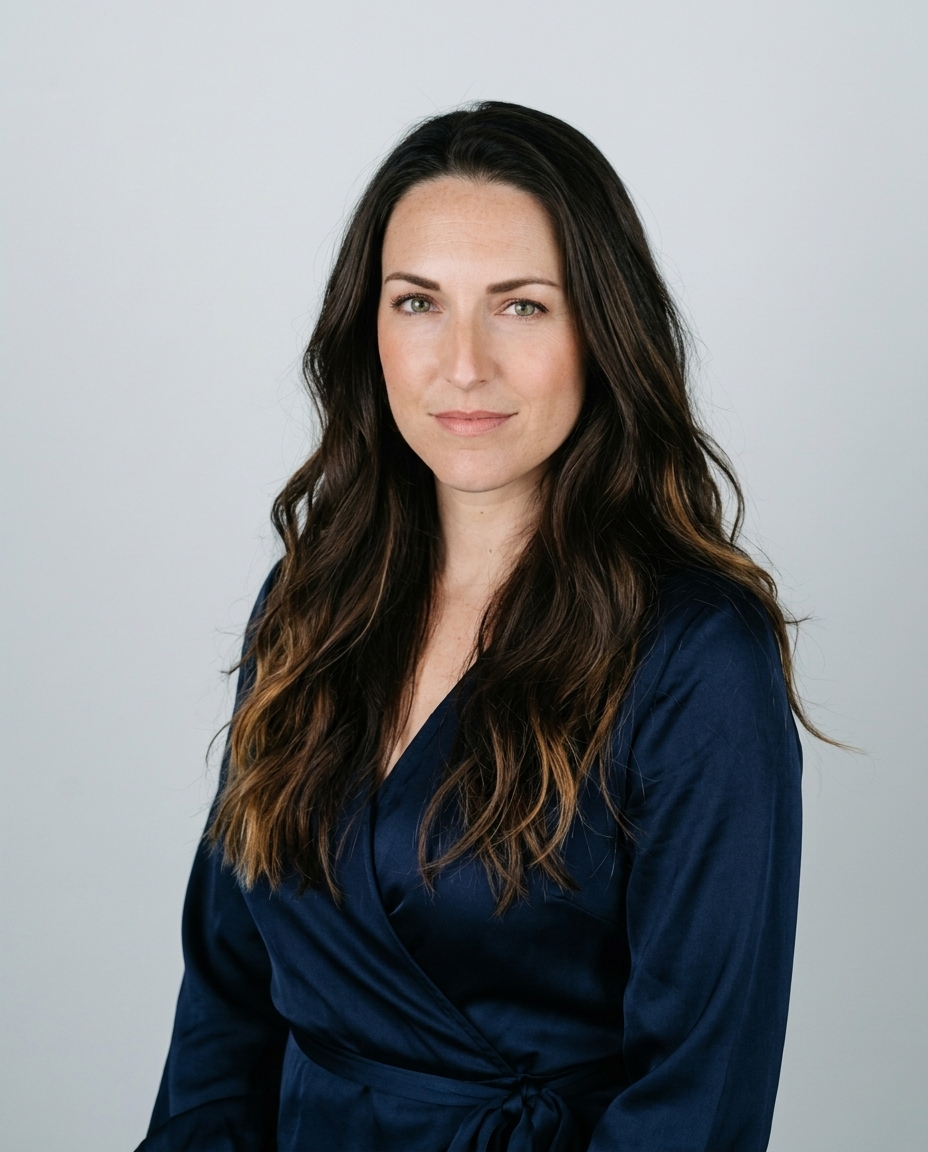

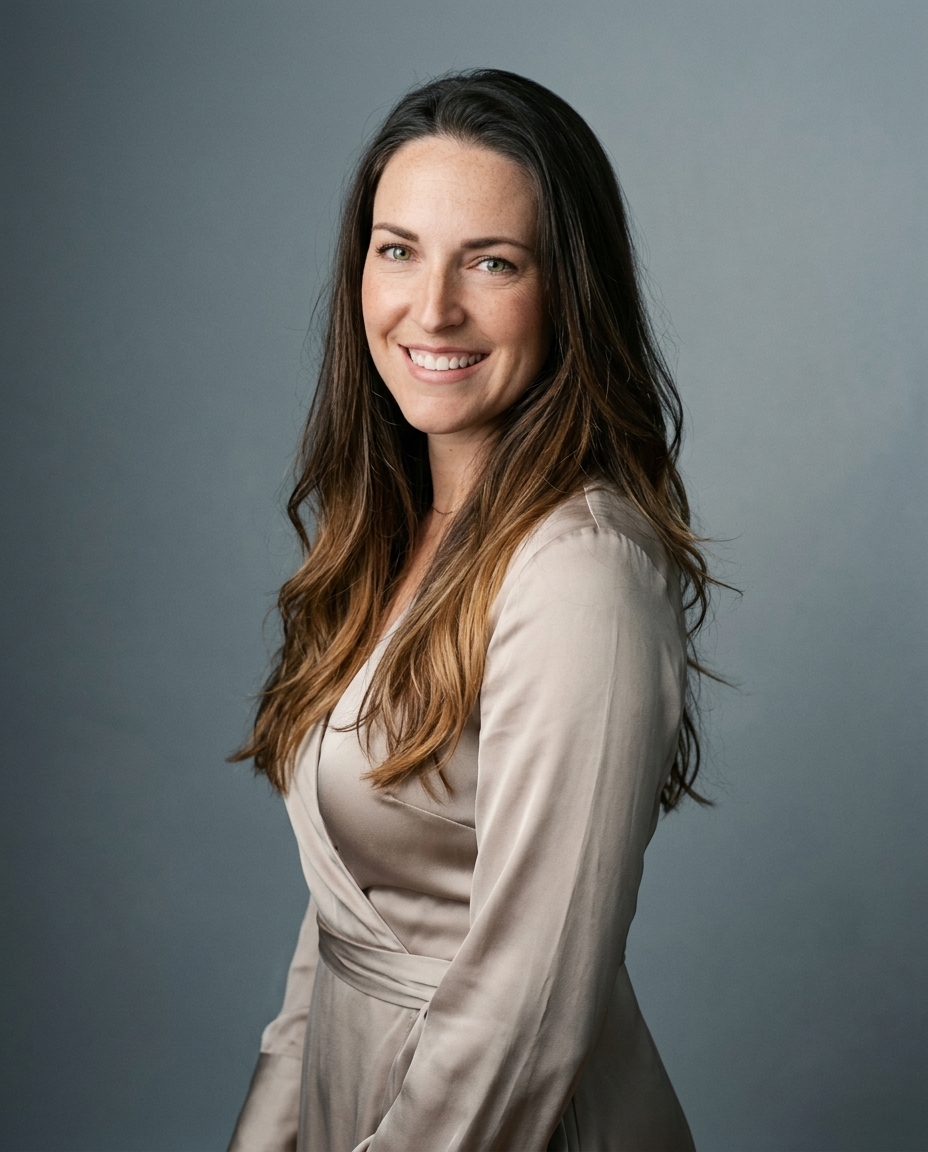
The pose that reads as most professional rarely feels the most natural to hold. Standing square to the camera with your chin lifted and shoulders even tends to widen the body, flatten the face, and add tension. A small turn of the torso, relaxed shoulders, and a slight forward set of the face give the same person a clearer jawline and more depth.
The practical core of posing for a professional headshot is a sequence tuned to the crop, the role, and the camera height, not one flattering angle copied by everyone. AiHeadshots was started by the photographers behind Studio Pod, who have years of hands-on studio experience. The adjustments are small. They change how the camera reads your posture and face.
Table of Contents
- How to Hold the Pose in Five Steps
- Matching the Pose to Your Role
- Crop, camera and lens before the first frame
- Expression Treated as a Controlled Variable
- Common problems and how to fix them
- Test the Pose With Your Own Selfies
How to Hold the Pose in Five Steps
A professional headshot pose is five small moves, not one frozen position. Run them in order every time and you'll get a repeatable result.
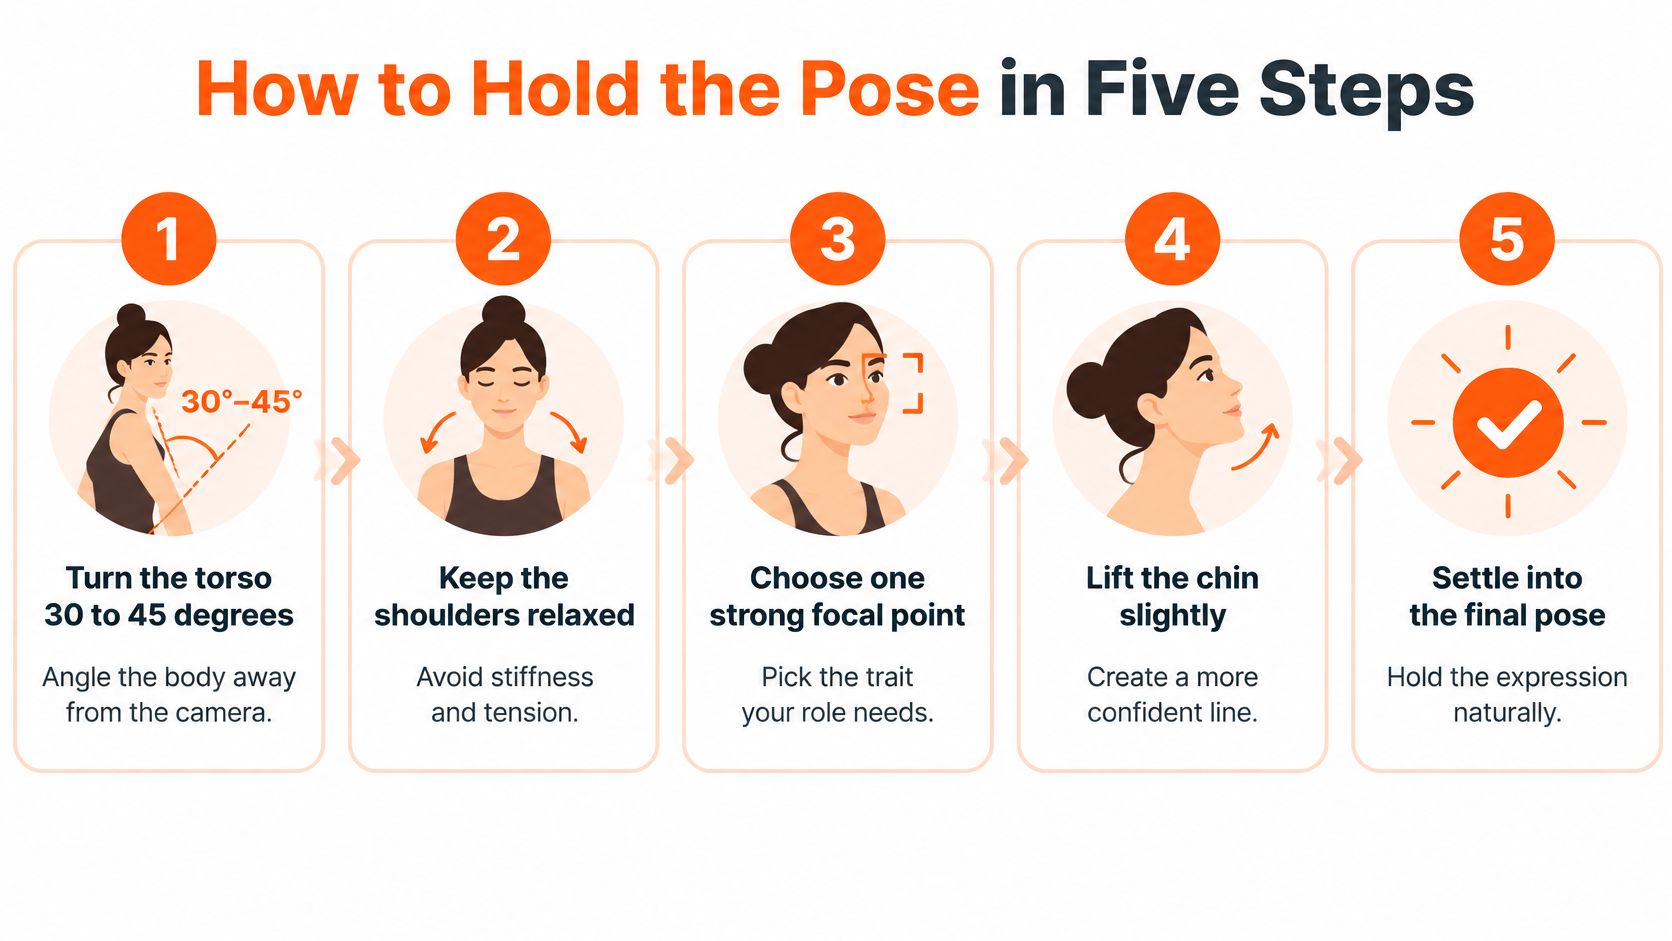
- Turn the torso. Rotate your body roughly 30 to 45 degrees away from the camera.
- Drop the shoulders. Keep them relaxed and down while shifting weight onto your rear foot.
- Bring the head back. Rotate your face toward the lens so your eyes meet the camera.
- Set the chin. Extend your forehead or jaw slightly toward the camera, then lower your chin a small amount.
- Shoot variations. Keep the camera about level with your eyes and capture several micro-variations, not one frame.
Each move has a job. The torso turn creates shoulder depth and stops a square-on stance from widening your body. Weight on the rear foot stops you leaning into an awkward lurch. Turning your head back restores eye contact after the body has angled away.
The chin move does the most visible work. Professional guidance collected in the Photography Shark guide to professional headshot poses pairs that 30 to 45 degree body angle with a forehead or jaw extended slightly forward and a chin lowered a little, a combination that improves jaw definition and reduces the appearance of a double chin. Think of craning forward to hear someone. Don't jut.
First-frame test: If your neck looks strained, cut the chin movement by half and shoot again.
Where these steps break down
Excessive rotation turns a headshot into a body shot and disconnects the head from the shoulders. Raised shoulders read as tension even when your face looks calm. A lifted chin exposes the underside of the jaw and widens the neck.
Pushing the jaw too far is the most common overcorrection. It feels ridiculous in the studio, which is normal, but your neck shouldn't look strained in the frame. The same discipline applies in on-model photography, where small, directed adjustments carry the image better than a big, theatrical pose.
Matching the Pose to Your Role
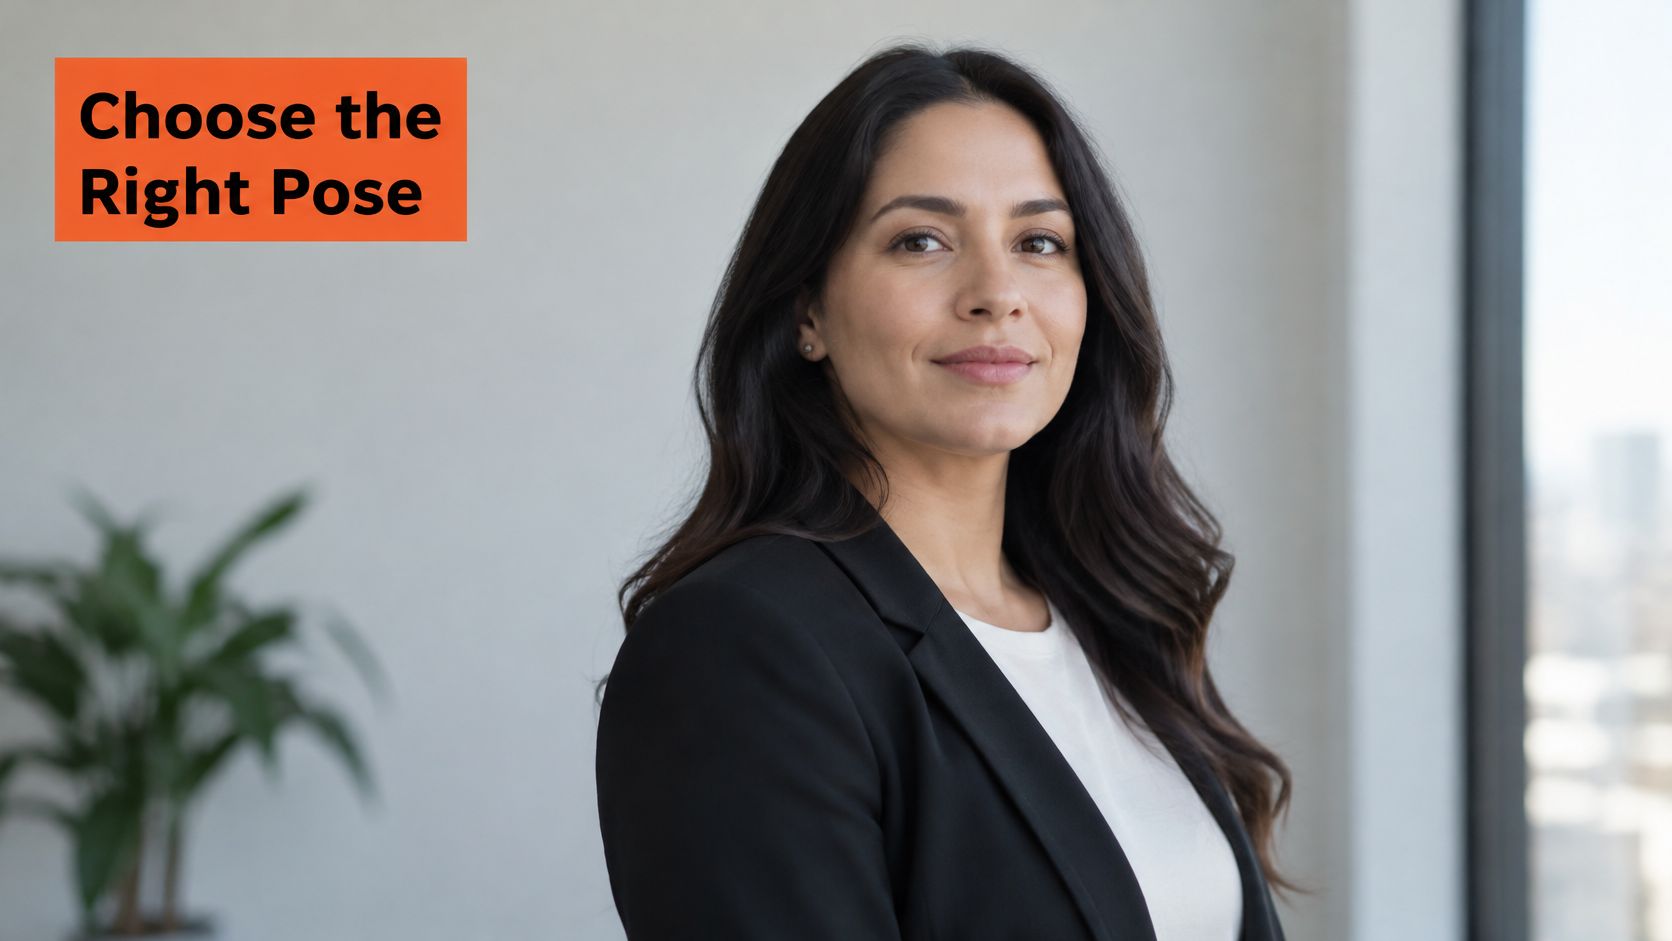
Decide the message before you decide the angle. Name the one trait your role needs, then pick the body angle, camera height, and expression that carry it.
A pose that tries to project authority and warmth at once usually projects neither. The Capturely guide to professional headshots notes that a camera slightly above eye level is commonly associated with approachability, while a lower angle can project authority but may appear confrontational, and that recruiters may screen profiles in 30 seconds or less. That short screen is why a mixed signal costs you. The viewer doesn't study your intentions. They register one impression and move on.
Pose and camera height by professional role
| Role | Trait to project | Body angle | Camera height | Expression |
|---|---|---|---|---|
| Executive or attorney | Authority and decisiveness | Near-frontal, minimal turn | Eye level | Calm, closed or small smile |
| Therapist or consultant | Warmth and approachability | Modest three-quarter angle | Slightly above eye level | Open, warm smile |
| Actor or creative | Range and personality | 30 to 45 degree turn | Eye level | Expressive, varied |
| Physician | Competence and calm | Near-frontal, minimal turn | Eye level | Steady, restrained smile |
| Realtor | Accessibility and trust | Relaxed shoulders, 15 to 25 degree turn | Eye level | Friendly, direct |
An executive or attorney usually gives up some flattery for directness. A near-frontal body says this person answers questions head-on. A therapist or consultant makes the opposite trade, using a modest three-quarter angle and a camera slightly above eye level to soften the encounter.
Actors and creatives can use the full turn because range is the product. Realtors sit in the middle, direct enough to build trust, relaxed enough to invite a call. Our overview of the different types of headshots shows how those choices shift by use case.
Watch the sequence below with your own role in mind, not as a universal template.
Crop, camera and lens before the first frame
The crop decides the angle before you pose. Set the frame first, then match your body turn to what the viewer will see. A waist-up crop can carry a larger torso turn because the shoulder line has room to read. In a tight crop, that same turn pushes the near shoulder toward the edge and can make the visible torso look wider. Smaller frame, smaller turn.
Body turn and camera height by crop
| Crop | Shoulder or torso turn | Head direction | Camera height |
|---|---|---|---|
| Waist-up crop | 30 to 45 degrees torso turn | Face toward the lens | Eye level |
| Head-and-shoulders crop | 15 to 25 degrees shoulder turn | Face toward the lens, chin slightly down | Eye level |
| Tight face crop | Minimal, the face fills the frame | Face toward the lens | Eye level |
For the standard head-and-shoulders crop, the Photography Shark headshot guide recommends a shoulder rotation of approximately 15 to 25 degrees, with the face oriented toward the camera and the eyes directed into the lens. That combination adds dimension instead of presenting the body as a flat, front-facing block. Keep your posture upright and your shoulders relaxed at the same time.
Camera height and framing checks
I would set the camera at eye height as the default for almost every professional use. Don't shoot from below the chin. A low camera lengthens the jaw and the neck, and most viewers read it as confrontational rather than confident.
Check the preview before you shoot a full set. Your near shoulder should sit slightly lower than the far one, visibly, but without a slump. Frame a head-and-shoulders crop at mid-chest, leave headroom above the hair, and keep the eyes in the upper third of the frame. Our guide to choosing a photo for a professional profile covers how that framing survives a small circular crop on LinkedIn.
Square shoulders plus a tight crop is the passport-photo look. Angle the shoulders, keep the face forward, and the frame changes completely.
Lens, light and wardrobe
Use a 50 to 85 mm focal length for head-and-shoulders work. A wide lens used close to the face stretches the nose and jaw, and no pose corrects that distortion. Step back and let the longer lens flatten perspective naturally.
Place one soft key light roughly 45 degrees to one side and slightly above eye level. That angle models the cheekbones and jaw instead of flattening them the way hard frontal light does. A large window off to one side does the same job if you don't own lights.
Wear solid colors or fine textures that contrast with a neutral background. Skip high-contrast stripes, bright logos near the face, and bright white shirts that blow out to featureless highlights. A tight crop makes grown-out color more obvious than a waist-up frame, so fix it before the shoot. If you are choosing between a gloss and a full highlight appointment, balayage and highlights maintenance differences explains the timing.
For team shoots, lock the crop, background, and lens for everyone. Consistent framing matters more than any individual's favorite angle. One person shot waist-up beside nine people shot tight makes the whole page look unplanned.
Expression Treated as a Controlled Variable
Treat expression as a technical variable you adjust in stages, not a single instruction to smile. A smile switched on and held looks performed within seconds.
Start with a relaxed neutral face. Keep your mouth gently closed or slightly parted and let your jaw go loose. Then build a restrained warm smile while keeping engagement around the eyes, a progression set out in the Picstack portrait photography tips, which also notes that looking too far off-camera can reduce perceived connection unless the brand calls for a candid editorial style. A smile that stops at the mouth reads as an obligation. The eyes have to join it.
Prompts beat instructions
Use short verbal prompts to move the face. Ask for a word, a name, or a specific memory rather than a bigger smile. Then shoot several frames during the change itself, because the transition usually holds the most natural frame.
I would never ask you to hold one expression for a full set. Tension builds in the jaw, lips, brow, and shoulders while you hold a pose, and it shows up in later frames first. Reset to neutral between attempts. Shake out the shoulders. Start again.
Our breakdown of how to smile for a headshot goes deeper on building that expression without freezing it.
Watch the chin as the smile grows
As a smile widens, the chin often lifts without you noticing. That one drift undoes your chin position and softens the jawline you just built. Check the chin in the first frame of every new expression, not just the first frame of the session.
Avoid the three standard failures. An exaggerated smile overwhelms a small profile crop. A frozen brow signals strain. A lifted chin reads as defensive.
Pick the frame where the eyes look engaged and the mouth looks like a conclusion rather than a pose.
Common problems and how to fix them
Most weak headshots fail in predictable places. Match the symptom to its cause before you change anything else.
Headshot symptoms, causes and fixes
| Symptom | Likely cause | Fix |
|---|---|---|
| Double chin in the frame | Chin lifted or head pushed forward | Lower the chin a small amount and move slightly forward |
| Shoulders look hunched | Raised shoulders from tension | Drop the shoulders and exhale before the shot |
| Smile looks forced | Smile held too long | Return to a neutral face and shoot several frames |
| Face looks flat | Hard frontal light | Move the key light about 45 degrees to one side |
| Face does not look like you | Heavy retouching or a wide lens | Use 50 to 85 mm and keep skin texture |
| Pose feels stiff on a video call | Pose the reader cannot hold | Choose a pose that can be held for a full call |
The authenticity check
A polished photo that doesn't look like you creates a trust problem at the first meeting. Reporting in CNBC coverage of AI headshots in job searches describes candidates worrying that AI-generated portraits can appear fake or deceptive, while recruiters emphasize authenticity. The stakes are concrete. In 2025, one LinkedIn-profile analysis reported by Distribution AI found that 71% of surveyed recruiters had rejected a candidate because of a poor profile picture, even when the candidate met the qualifications.
Preserve your distinctive features, normal skin texture, hairline, age cues, and natural asymmetry. Don't change your face shape or expression beyond recognition. Choose a pose you can reproduce on a video call, because that's where the viewer meets you next.
If you can't hold the pose through a full call, it isn't your pose. It's a costume.
Test the Pose With Your Own Selfies
Your phone camera is enough to find the pose before you book anything. Take 10 to 20 casual photos across varied angles, expressions, and lighting, and include the neutral face, the warm smile, and the three-quarter turn from this guide. Professional shots are not needed.
Variety matters more than volume. Ten near-identical selfies tell you almost nothing. A mix of camera heights and head angles shows which version still looks like you when the crop tightens. I would test at the crop you will use, shoulders-up for a tight profile photo and waist-up for a team page, because a pose that works at one framing can fall apart at the other.
Check three things in the results:
- Chin: forward and slightly down, with the neck relaxed.
- Shoulders: dropped, not braced.
- Face: still matches the person your colleagues meet on a call.
If one check fails, adjust the input rather than the retouching. Run the pose as a sequence, camera height first, then chin, then shoulders, then expression, so you know which change fixed the frame.
AiHeadshots runs the same logic at production scale: upload 10 to 20 casual selfies, pick styles, and receive 30+ professional headshots in about 30 minutes, with an email when the pack is ready. The Professional plan costs $39 and includes 50 headshots in five styles. Start the upload on /try, compare options on /pricing, and review the range of looks on /examples before you decide.
Skip the studio booking and test your pose with photos already on your phone. AiHeadshots turns 10 to 20 casual selfies into 30+ studio-grade headshots in about 30 minutes, built by the photographers behind Studio Pod. Upload your selfies, pick your styles, and keep the frames where the pose, the crop, and the expression all say the same thing.