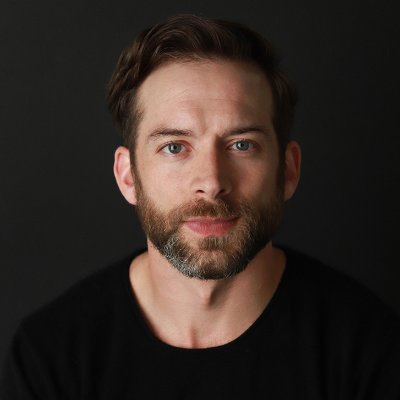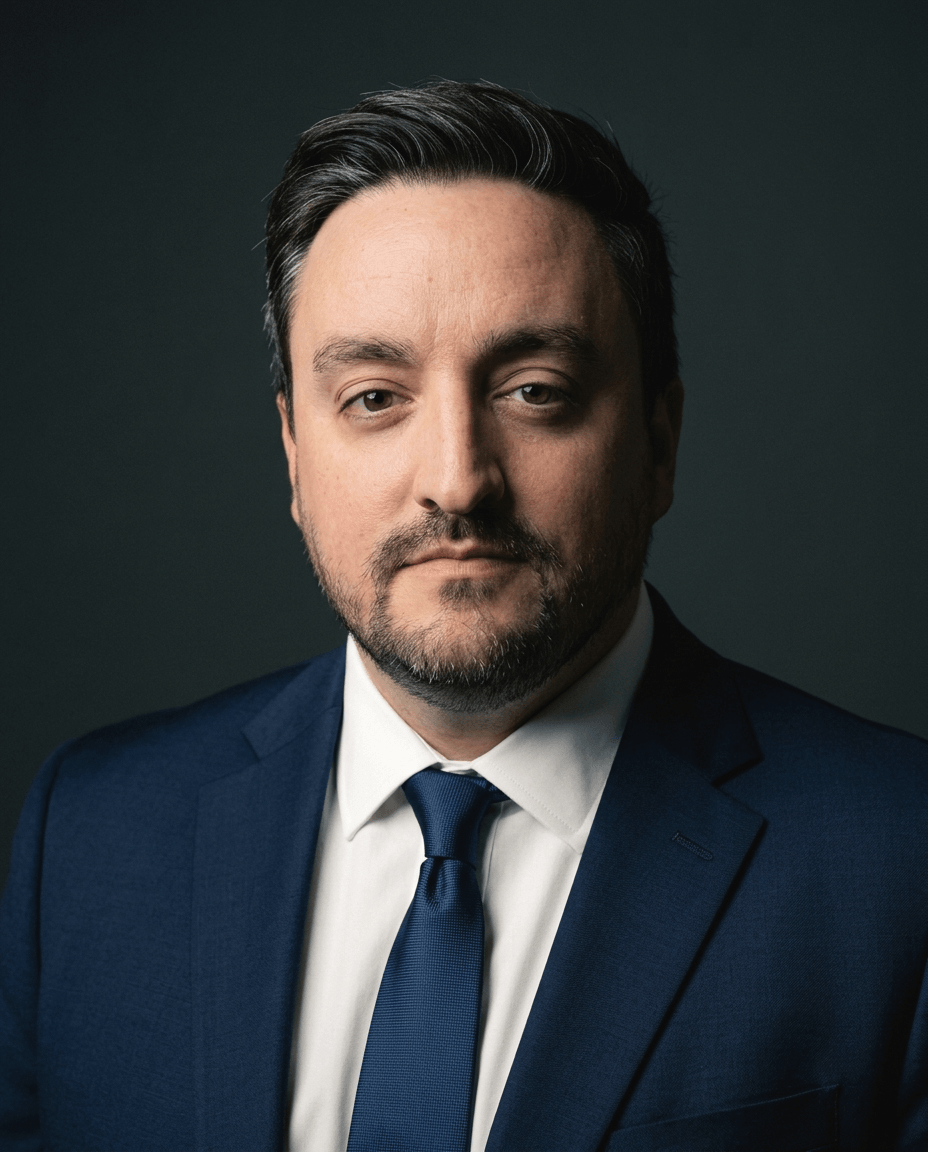



Your camera can create a double chin that isn't nearly as noticeable in person. A low lens exposes more of the jaw's underside, while a close camera exaggerates the features nearest it, as RealSmile's explanation of photographic double chins describes. Start with the camera, not the slimming slider.
To get rid of a double chin in a photo without warping your jaw, correct perspective, posture, and light first. Then retouch only the remaining distraction. A flattering portrait should still look like the person your colleagues recognize.
Table of Contents
- Match the cause to the fix before you edit
- How to pose and frame so the jaw stays clear
- Retouch, reshoot or generate a headshot
- How to reshape the jaw in Photoshop
- Check the edit still looks like you
- Upload your selfies for a clean headshot
Match the cause to the fix before you edit
Camera and pose causes, fixes and target settings
| Cause | What it does to the jaw | Fix | Target setting |
|---|---|---|---|
| Camera below eye level | Exposes the jaw underside and front of the neck | Raise the lens | Eye level or slightly above |
| Camera too close | Enlarges nearby features and distorts proportions | Step back and zoom instead | Comfortable portrait distance, not arm's length |
| Head tilted down or back | Compresses the jaw-to-neck transition | Bring the forehead slightly forward, chin gently lowered | Small movement, no forward thrust |
| Harsh light from above | Deepens the shadow under the jaw | Use soft frontal light from slightly above | Large, diffused source |
| Wide-angle lens at close range | Exaggerates near-to-far proportions | Use a portrait focal length and increase distance | Natural facial proportions without close-range stretching |
| Slumped neck and shoulders | Compresses tissue under the chin | Lengthen the neck and drop the shoulders | Neck tall, shoulders relaxed |
Fix height and distance separately
Camera height changes what the lens sees. Camera distance changes perspective. Raising a close phone doesn't resolve close-range distortion. Stepping back while leaving the phone below your face doesn't resolve the upward view.
RealWorldAppeal's camera-and-pose guide describes a working distance of roughly 1.2–3 m, with about 1.5 m preferred, drawing on medical-photography guidance. Treat that as a practical starting point, not a guarantee of a particular jaw shape.
Set the phone on a support and use the rear camera when practical. Move yourself and the camera apart, then choose enough zoom to restore the framing. Zoom alone doesn't correct perspective if you stay in the same close position.
Practical rule: Change the capture setup before deciding that your face needs changing.
Lighting needs its own test. Put a broad window or diffused light in front of you, slightly above your eyes. Keep a soft shadow beneath the jaw for separation, but avoid a dark band that makes the fold the strongest feature in the portrait.
Know what photography cannot change
Pose and light change the recorded appearance of your neck. They don't remove tissue or permanently alter your anatomy. For questions about a persistent concern beyond photographs, ProMD Health's guide to aesthetic options for a more defined chin provides context for a separate clinical conversation.
Make a fresh frame after correcting the setup. If a distracting fold remains, restrained retouching is the next step, not a reason to invent a different jaw.
How to pose and frame so the jaw stays clear
Start with a relaxed expression and a small head adjustment, not a clenched jaw. Use this portrait as a visual reference for examining the relationship between the face, neck, and camera.
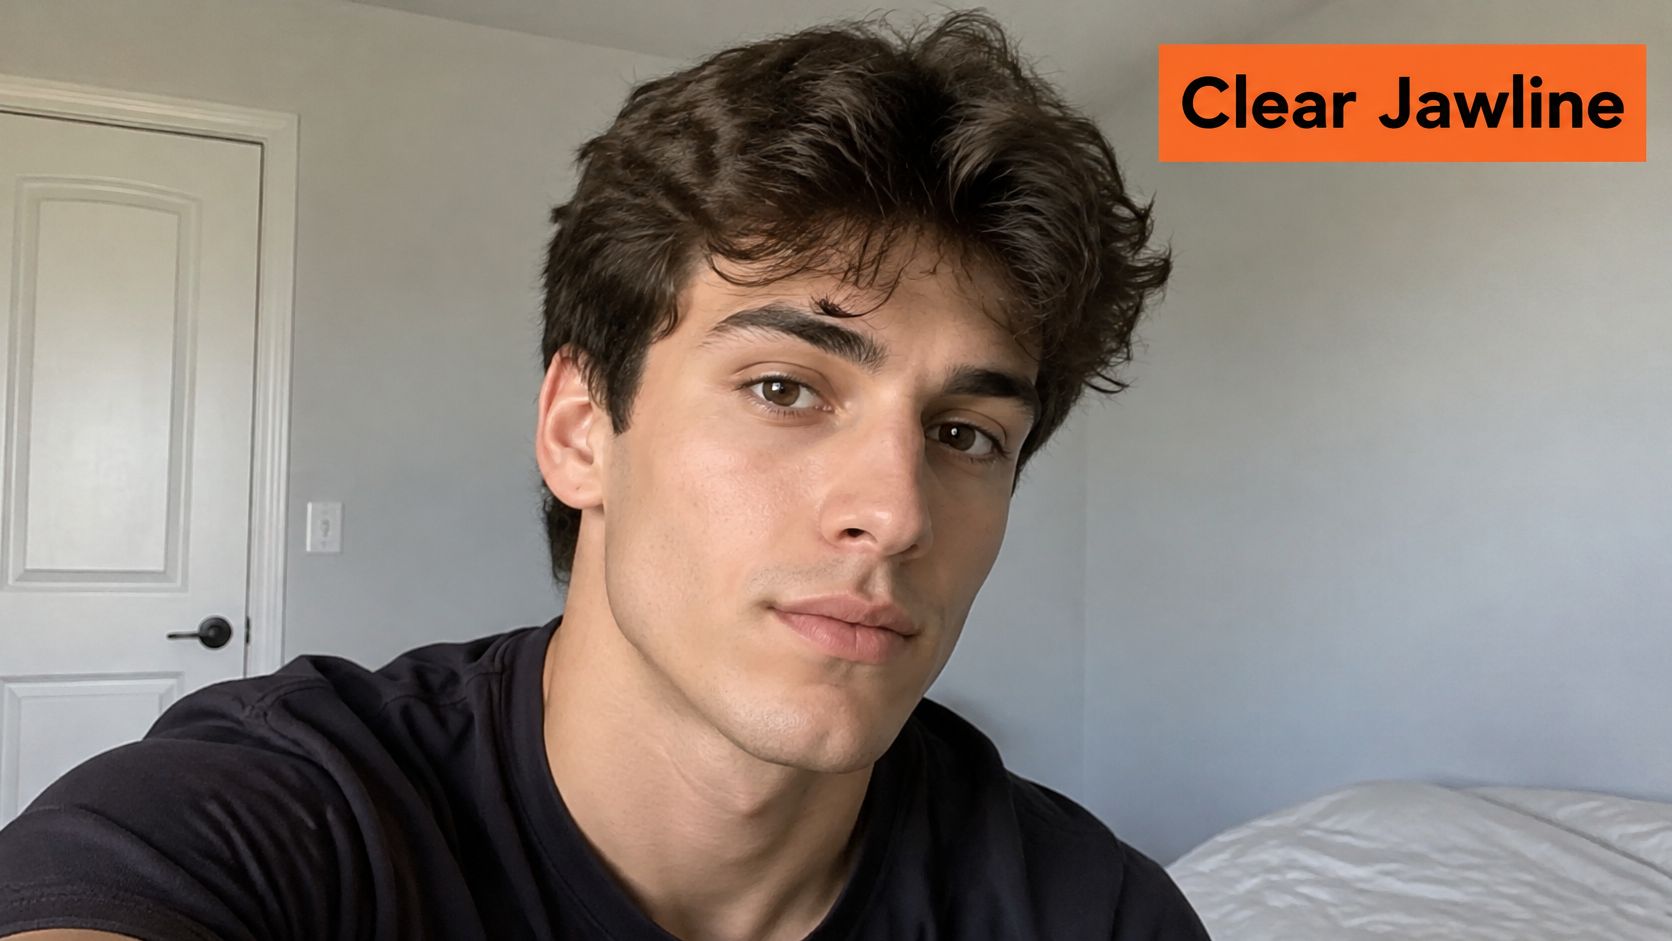
Bring your forehead slightly toward the lens. Keep your chin gently lowered without looking at your chest. Photography Shark's posing guidance explains that this subtle extension lengthens the jaw-to-neck transition, while leaning backward compresses it.
The movement should feel smaller than you expect. Don't reach your whole head forward or pull your lips tight. If the pose looks strained, release it and start again.
Set the shoulders before the expression
Turn your torso slightly away from the camera, then return your face toward the light. Let your shoulders drop and allow your neck to lengthen. Keep your eyes on the lens rather than following your chin downward.
Our guide to posing for a professional headshot gives you a broader framework for coordinating your body, hands, and expression. For the jaw, the useful distinction is extension without tension.
Use the video as a movement reference, then evaluate your own still frames.
Choose the frame, not the most extreme pose
Take a short sequence with small changes between frames. Relax between exposures so you don't gradually tighten your neck or lift your shoulders.
Choose the image with a readable jaw edge, a soft neck shadow, and an easy expression. If the fold disappears when you raise a low camera to eye level, the angle was responsible for that difference. Don't interpret a change between photographs as a change in body weight.
Retouch, reshoot or generate a headshot
| Option | Cost | Time to result | Best use |
|---|---|---|---|
| Retouch one existing photo | Software and your time | One editing session, followed by review | One good frame with a small jaw distraction |
| Professional photographer reshoot | Photographer's quoted session or day fee | Booking, shoot, and delivery schedule | Full control of light, lens, and pose |
| AiHeadshots | Pay once per pack | About 30 minutes | A set of professional headshots generated from 10–20 casual selfies |
Retouch when the photograph already works. If the expression, focus, clothing, and composition are right, a local correction can address the remaining distraction without replacing the portrait. Keep the adjustment modest: reshaping too much can make the jaw look unlike the person.
Photoshop's layers, introduced in version 3.0, allow image adjustments to be controlled separately, as described in Adobe's history of Photoshop.
Choose control or convenience deliberately
A reshoot gives you direct control over the light, lens, pose, and setting. Choose it when you need a specific environment or wardrobe treatment, or want a photographer to direct the pose. It does require scheduling and attending a shoot.
AiHeadshots generates professional headshots from the photos you upload, powered by Studio Pod. You pay once, upload 10 to 20 casual phone selfies, choose styles, and receive a set of 30+ headshots in about 30 minutes. Its AI professional headshot service offers a generated-portrait option when arranging a reshoot is less convenient.
A generated portrait still needs careful review. Convincing isn't the same as accurate, so check that the face and jaw still look like you.
One usable photograph means retouch it. No usable photograph means reshoot or generate.
How to reshape the jaw in Photoshop
Separate shape correction from shadow correction. A dark fold doesn't always need a smaller jaw, and reshaping alone won't repair uneven tone.
The visual workflow emphasizes keeping the original available throughout the edit.
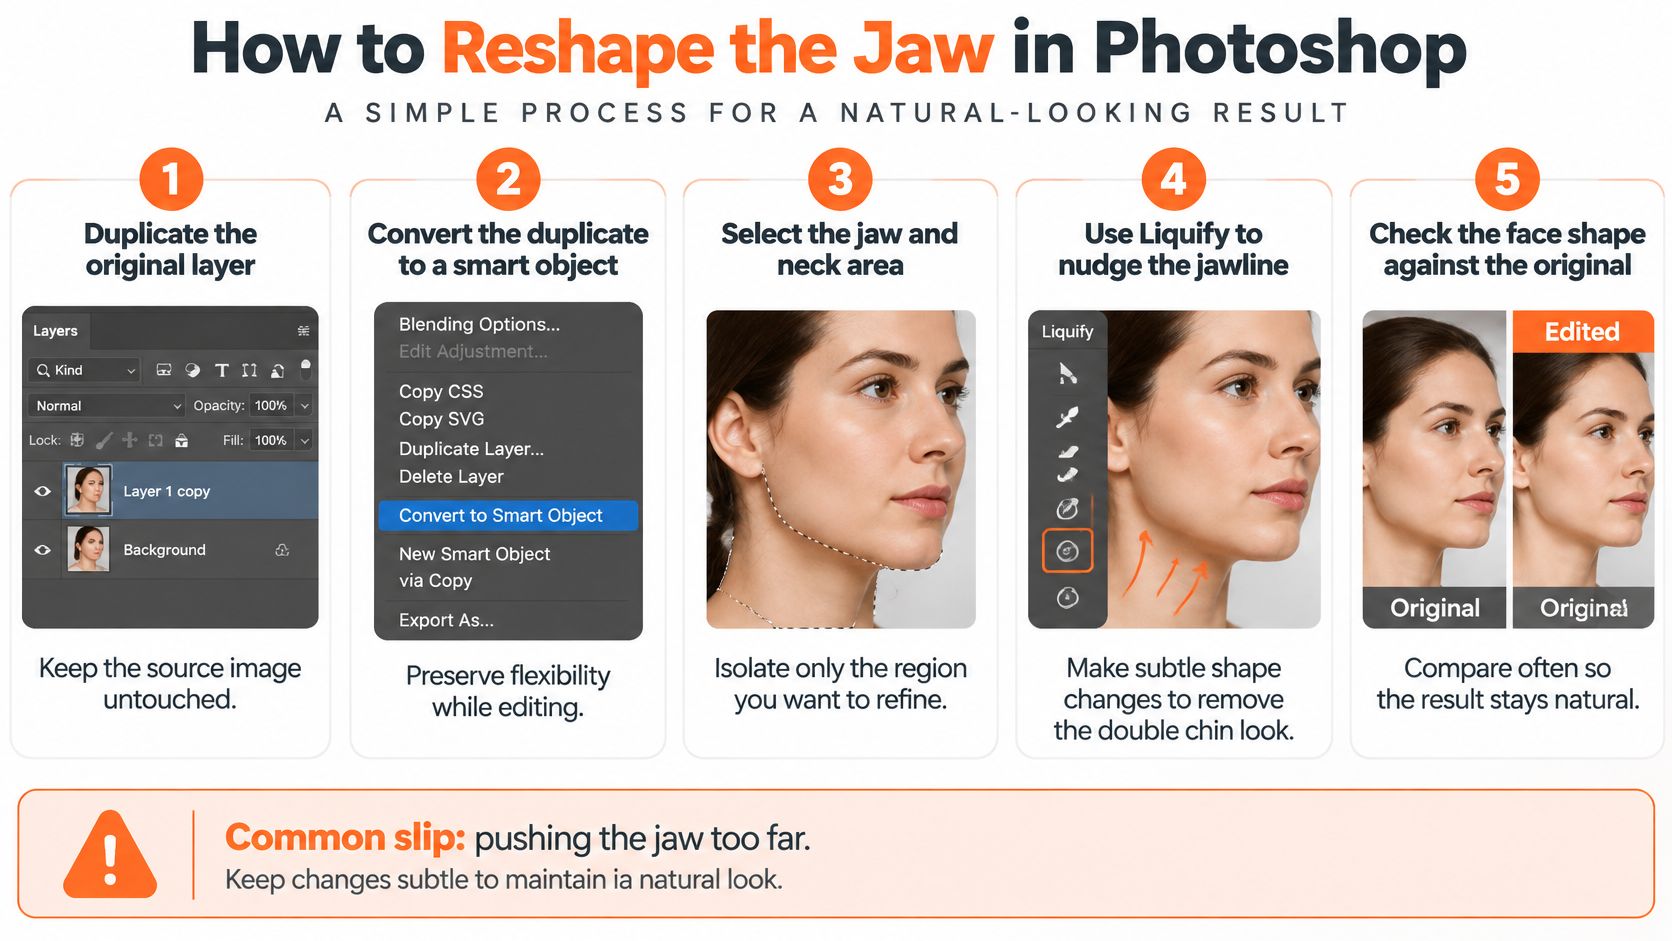
Make the smallest useful adjustment
Adobe's Face-Aware Liquify tutorial documents automatic facial-feature detection, face-shape sliders, and direct Face Tool adjustments. It doesn't publish a validated success rate for double-chin removal, so judge the result against the original rather than a promised improvement.
Duplicate the original layer. Keep the source untouched so you can compare. Don't flatten the file before you've approved the result.
Convert the duplicate to a Smart Object. This keeps the Liquify filter editable rather than committing you to an irreversible deformation. The usual mistake is applying changes directly to the only working image.
Open Filter > Liquify and select the Face Tool. Let Photoshop identify the face, then inspect the detected controls before moving anything. Automatic detection isn't permission to accept an unsuitable adjustment.
Reduce lower-face width only where necessary. Use small slider movements and reassess after each pass. Don't narrow the entire face to solve a localized fold beneath the chin.
Refine the jaw contour locally. Use the Face Tool for supported shape changes, or a restrained Forward Warp adjustment for the remaining contour, then paint on a layer mask with a low-opacity brush to blend the effect. Don't drag the collar, ear, or background along with the skin.
Rebuild tone on a separate dodge-and-burn layer. Gently lighten the deepest distracting crease while retaining enough shadow to describe the underside of the jaw. Removing all shade makes the neck look flat or painted.
Compare detail and normal viewing size. Toggle the edited layer and check facial balance, hairline, ears, collar, and background geometry. If you see stretched pores, bent earrings, or displaced edges, reduce the adjustment.
Stop before the anatomy changes
Don't turn the jaw-to-neck transition into a ruler-straight line. Preserve the person's natural chin projection, asymmetry, and neck texture.
Our double-chin retouching guide distinguishes contour work from tonal work for exactly this reason. A shadow correction and a geometry correction solve different problems.
The contour should look clearer before the viewer notices that anything has moved.
Save an editable master before exporting. If the correction only looks convincing while you stare at the chin, step away and reassess the whole portrait.
Check the edit still looks like you
The thinnest-looking neck isn't the strongest result. The right endpoint is a believable portrait with less distraction, not the maximum adjustment the software permits.
Use the visual checks below before you publish.
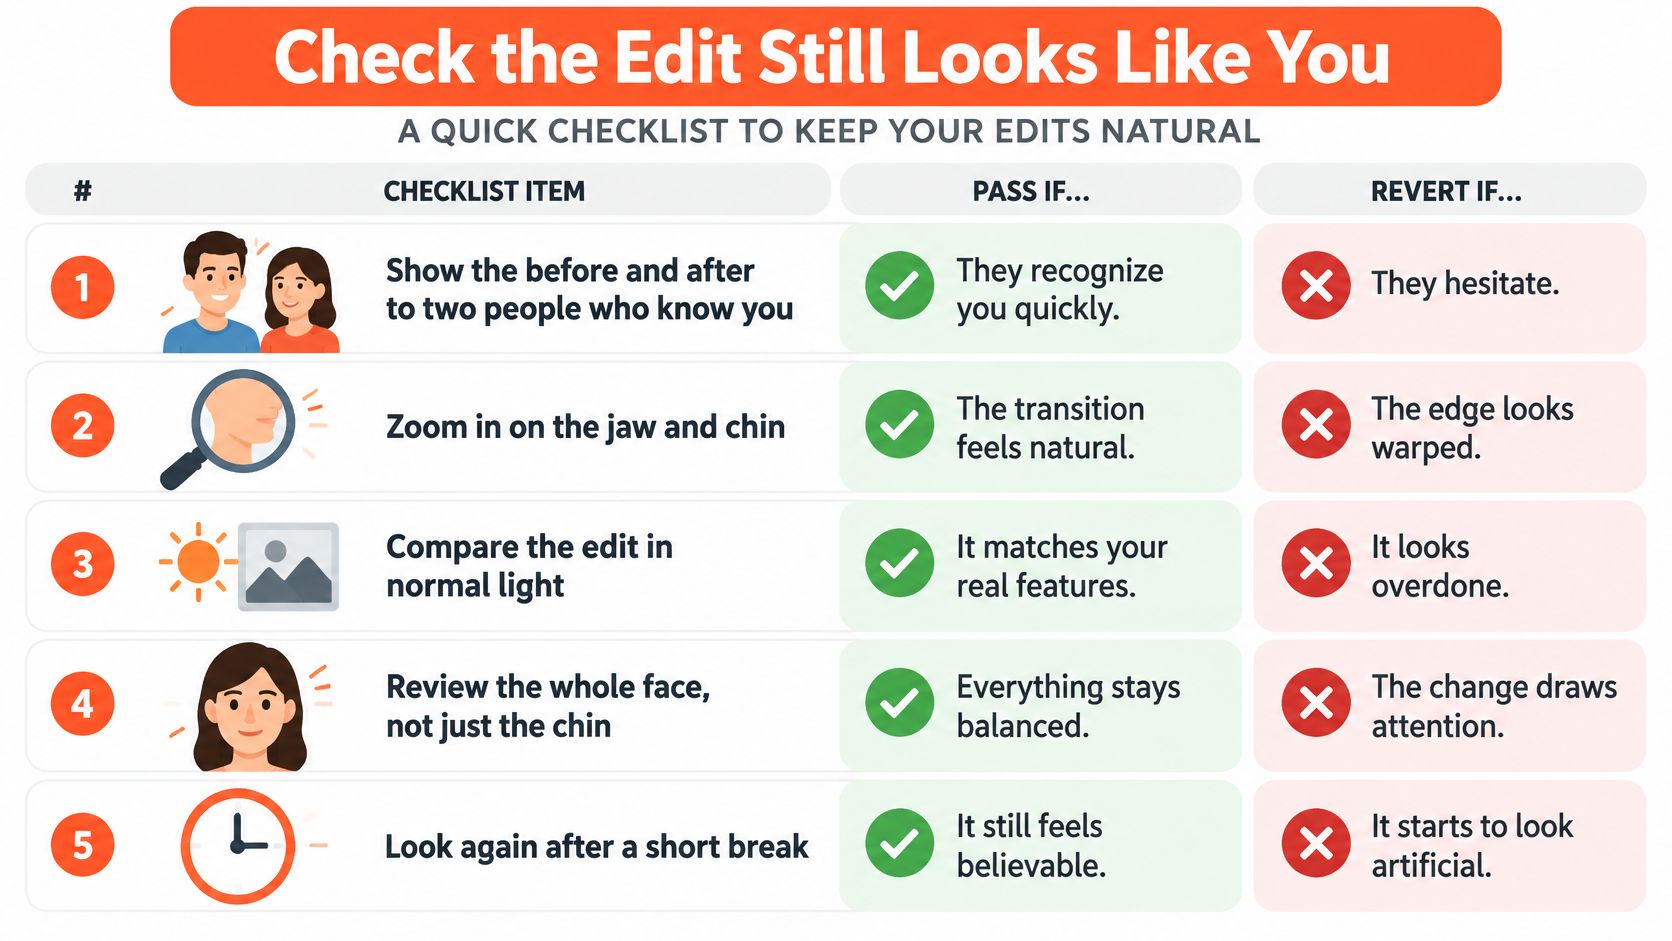
Pass identity before polish
Show the original and edited versions to people who know you well. Pass if they recognize you immediately and the change reads as a flattering photograph. Revert if the narrower jaw changes who they think they're seeing.
Inspect the skin next. Keep natural pores, age cues, and color variation; reject a smooth band beneath an otherwise textured face. Then inspect the shadow, which should transition naturally from jaw to neck without a hard painted edge.
Review the whole frame
Related retouching findings discussed in an ACM facial-perception paper reported that participants correctly identified altered images only 30.6% of the time. That doesn't establish that an undetected edit is accurate or appropriate.
Lighting direction, skin texture, and background geometry must agree with the revised contour. Our guide to editing professional headshots supports this whole-image approach. If the chin draws attention because it looks unusually sharp, undo the change.
For generated images, check the submission rules before uploading. Some contexts, including medical fellowship applications and certain casting platforms, require disclosure that the headshot is AI-generated. Ordinary portrait polishing and generating a new portrait aren't interchangeable.
Upload your selfies for a clean headshot
A useful selfie set gives us clear information about your face, not repeated copies of the same filtered angle. Upload casual phone photographs with varied expressions, angles, and lighting. Professional photography and a studio visit aren't required.
Keep your face visible and avoid beauty filters that erase texture or change your jaw. Include relaxed, representative photographs rather than selecting only the most aggressively posed images. The goal is a headshot that resembles you, not a composite of your strongest slimming tricks.
Inspect the style before uploading
Browse the headshot examples to assess lighting, framing, and background treatment. Check the tier details before you pay. Choose the look that fits your actual use, such as a company directory or a professional profile.
The process is straightforward: pay once, upload your selfies, select styles, and receive the completed pack by email. We offer a 100% money-back guarantee within 14 days if you don't like the results, with a free re-train using better input selfies before a refund.
Before you publish: Choose the portrait that passes the recognition check, not the one with the narrowest chin.
Your final selection still deserves careful review. Check the jaw, expression, skin, and clothing together, then download the frame that looks like a credible photograph of you.
AiHeadshots delivers 30+ studio-grade headshots in about 30 minutes, without manual Photoshop work or a studio visit. For a clean portrait that still needs to pass your own jawline and identity checks, upload 10–20 selfies and choose your headshot style.