



A polished corporate portrait doesn't require dramatic lighting. It requires the right lighting for the message. Soft loop lighting supports authority and dimension, clamshell lighting creates a cleaner and more approachable impression, and window light can communicate workplace authenticity. The strongest corporate portrait lighting setup starts with business purpose, not a diagram.
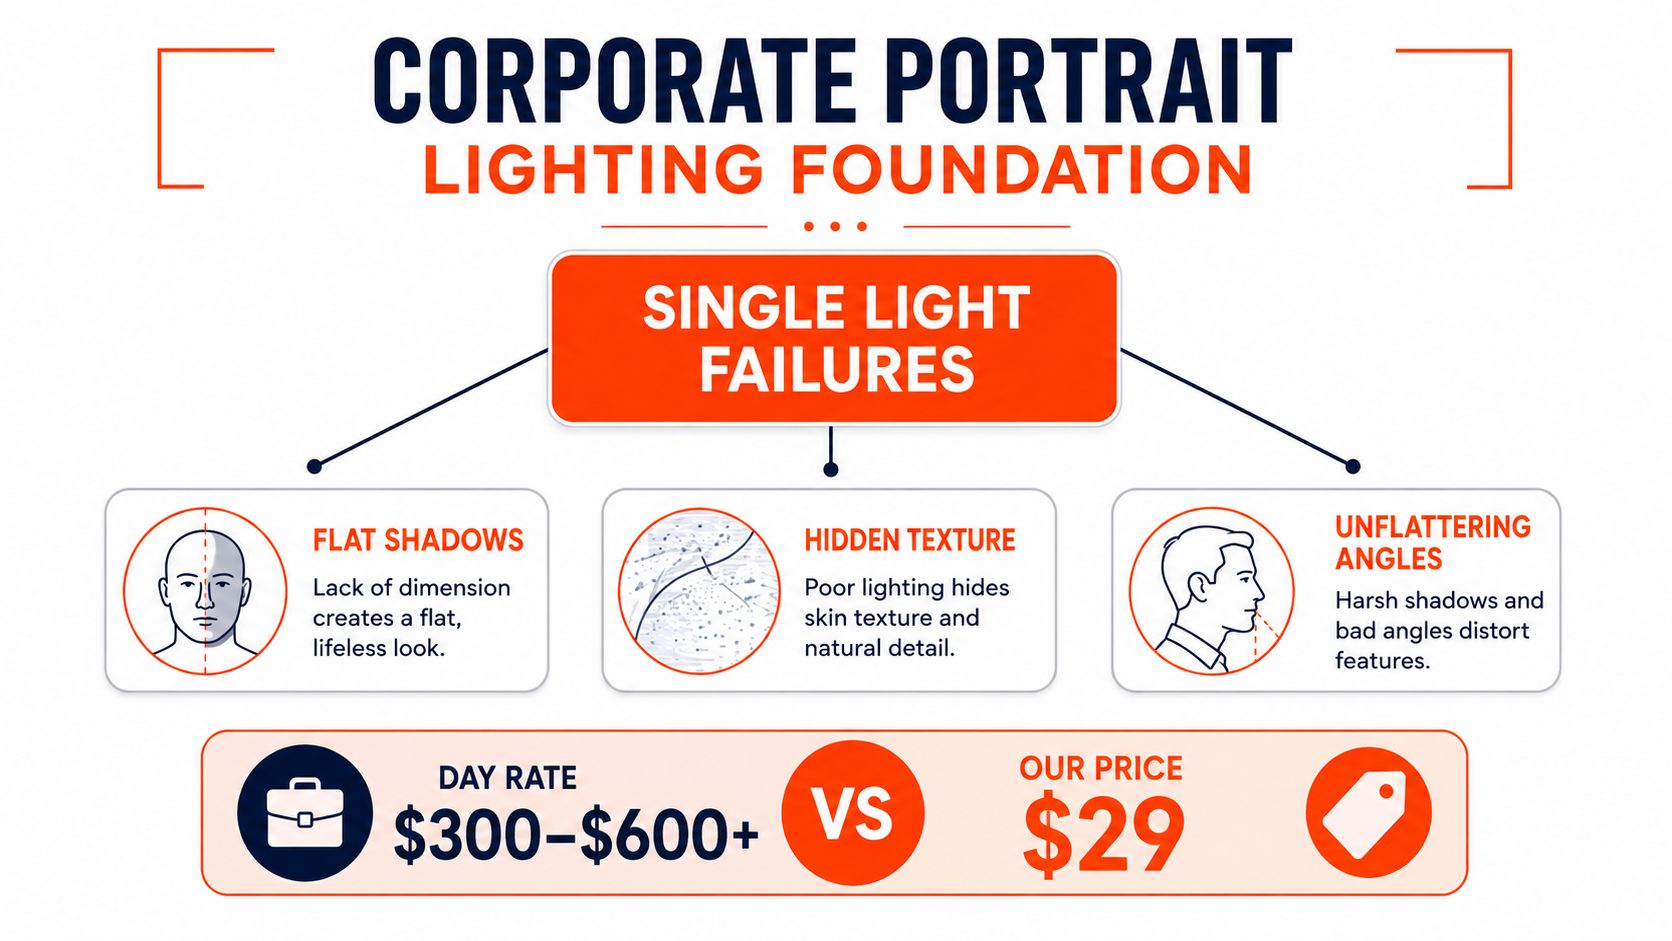
That choice also affects cost and workflow. A traditional photographer may charge a $300–$600+ day rate, while AiHeadshots offers a $29 entry option. The difference isn't just equipment. It's control, consistency, direction, and how much of the production process you need to manage.
Table of Contents
- The Corporate Portrait Lighting Foundation
- Positioning key, fill, and rim lights
- Loop versus clamshell lighting patterns
- Environmental lighting alternatives
- Camera settings and color accuracy
- Common lighting failures to avoid
- From studio lighting to AI headshots
The Corporate Portrait Lighting Foundation
The most common failure in a one-light portrait is not a lack of brightness. It's a lack of control. A single softbox can illuminate a face, but it often leaves you with flat shadows, weak separation from the background, or contrast you can't adjust without moving the entire setup.
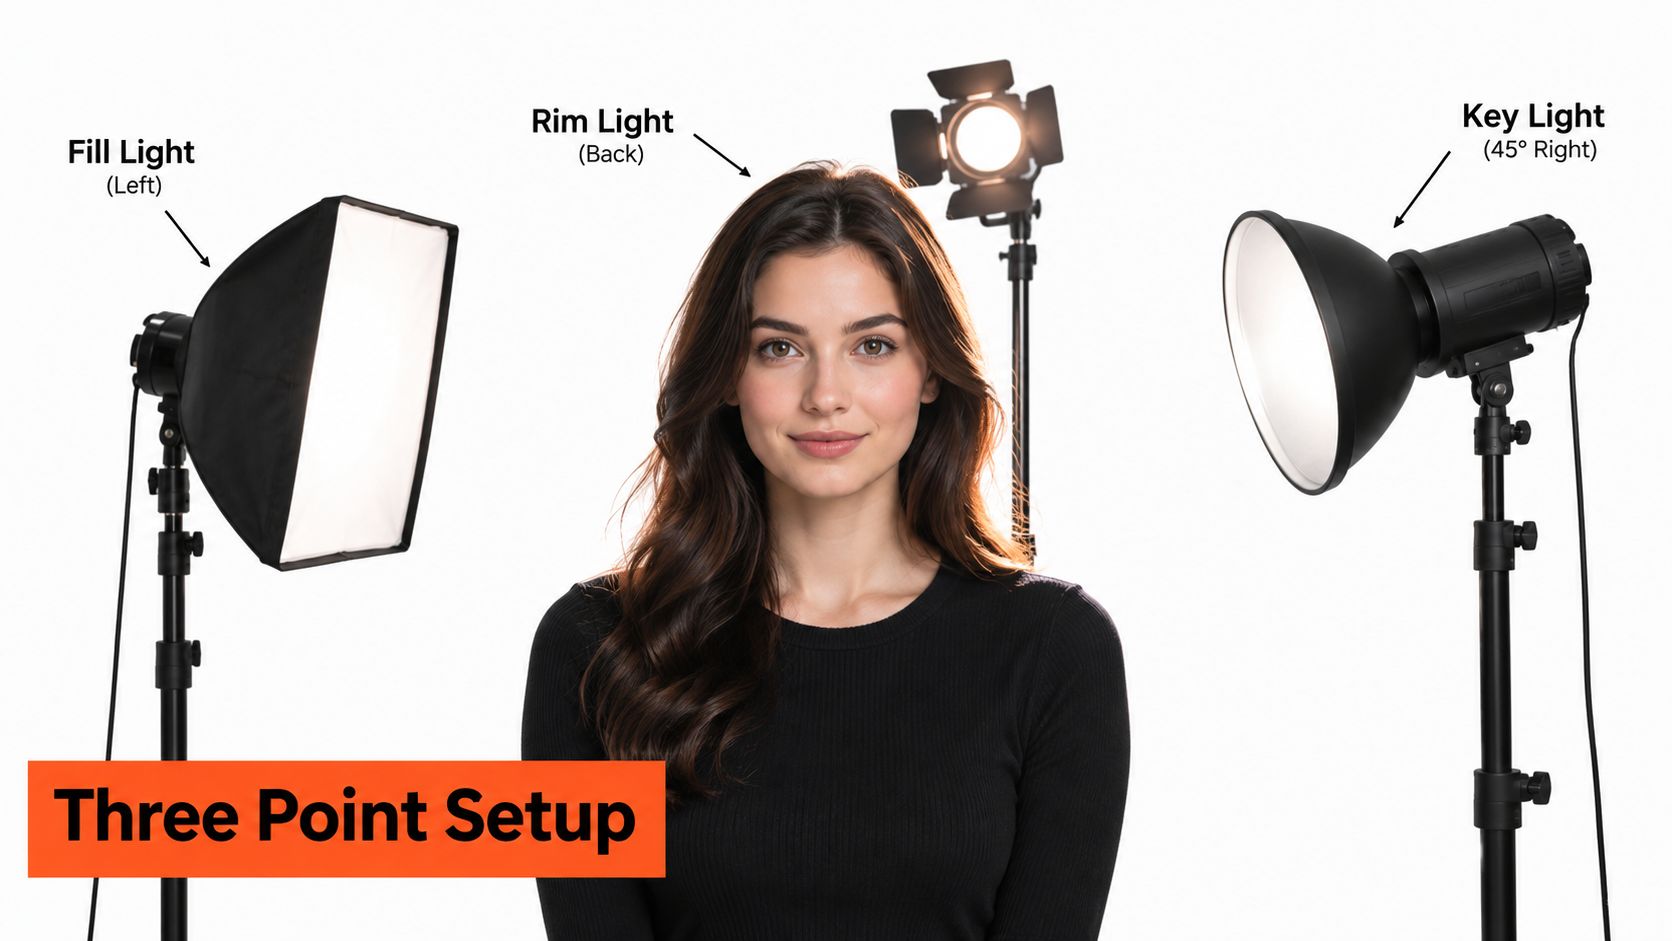
A reliable foundation uses three distinct sources:
- Key light: The dominant source, positioned around 45 degrees from the subject to shape facial features and create depth.
- Fill light: Placed on the opposite side to reduce shadow contrast without removing facial structure.
- Backlight or rim light: Positioned behind the subject to create edge definition around the hair and shoulders, separating the person from a neutral or branded background.
This arrangement comes from controlled studio portraiture, where photographers used artificial illumination, backdrops, and staged environments to create repeatable appearances. For corporate work, repeatability matters as much as style. An executive team should look like one visual system, not a collection of unrelated portraits.
A two-light setup can handle many business portraits. Use one large, soft key and a reflector or low-powered fill. Add the third source when the background, dark clothing, or a large team session requires more separation and consistency.
Practical rule: Start with the simplest setup that gives you independent control over facial contrast and background separation. Add lights to solve a visible problem, not to make the diagram look impressive.
The right corporate portrait lighting setup should make the subject look credible without turning the image into fashion editorial work. The face remains the priority. Everything else supports it.
Positioning key, fill, and rim lights
Place the key light 30 to 45 degrees to one side of the camera and slightly above eye level. A large diffused softbox works well because its apparent size produces gradual transitions across the face. Keep the source high enough to shape the cheek and jaw, but not so high that it creates dark sockets beneath the eyes.
Set the fill near the camera axis, around chest height, on the side opposite the key. Keep it 1 to 1.5 stops below the key. That opens the shadow side while preserving the face's shape. A reflector gives you less output and more subtle control. A powered fill gives you repeatable adjustment across subjects with different complexions, face shapes, and wardrobe.
The rim light belongs behind the subject, aimed at the hair and shoulder edge. A grid keeps spill off the face and background. Don't chase a bright outline. The rim should separate the subject, not announce itself as a visible hotspot.
For exposure, an incident meter at the cheek or nose bridge gives you a more useful reading than the forehead. A practical baseline is ISO 100, 1/125 second, and approximately f/5.6 to f/8. For a broadly flattering result, use a 2:1 key-to-fill ratio, which equals a one-stop difference. Increase to 3:1 or 4:1 only when you want stronger cheekbone and jaw definition.
Feather the key by aiming the modifier slightly past the face. This reduces spill and creates a smoother background gradient. Record the light height, angle, power, and meter position before the first subject arrives. That note becomes your quality-control reference during a team session.
For a deeper walkthrough of modifier choice and placement, use this guide to the best lighting for headshots.
Here's a visual demonstration of how the three sources interact in practice:
Loop versus clamshell lighting patterns
Loop lighting is the dependable default for business portraits. Put the key roughly 30 to 45 degrees off the camera axis and slightly above eye level. The nose shadow forms a small loop toward the corner of the mouth while remaining separate from the cheek shadow. The result has enough modeling to define the face without making the subject look severe.
Clamshell lighting changes the message. Place a large key softbox above the subject and angle it downward. Add a fill source below at chest height, angled upward. The lower source opens the shadows beneath the eyes and chin, producing a clean, polished appearance.
Clamshell is particularly useful for subjects with pronounced eye sockets or for brands that want a smooth, highly controlled portrait. It can flatten facial structure if the lower fill is too strong. Loop lighting gives you more directional definition, but it also demands closer attention to glasses, complexion, and shadow density.
| Lighting Pattern | Visual Effect | Best For |
|---|---|---|
| Loop | Directional modeling with a small nose shadow and readable facial structure | Executive authority, professional services, and portraits that need dimension |
| Clamshell | Frontal, polished illumination with reduced under-eye shadow | Recruiting, approachable leadership, clean team libraries, and beauty-focused corporate branding |
Use the pattern as a communication choice. An executive who needs to appear decisive usually benefits from controlled loop lighting with a moderate ratio. A recruiter or people leader often benefits from clamshell's open expression and reduced contrast.
A third rim light can support either pattern when the subject wears dark clothing or stands against a dark background. Keep its output restrained. The eye should go to the face first.
Environmental lighting alternatives
A neutral studio setup isn't automatically the right choice. A portrait made near a window, with a controlled fill and visible workplace context, can feel more accessible and human. That makes environmental light useful for recruiting pages, company culture campaigns, and professional profiles that need to show more than formal authority.
The trade-off is consistency. Window light changes with time of day, weather, camera position, and the surrounding interior. Artificial light gives you a repeatable baseline across subjects and locations. Natural light gives you atmosphere, but you need to control it with curtains, diffusion, reflectors, and a fixed shooting position.
Choose the style by the business purpose:
- Executive authority: Use loop lighting, restrained contrast, and a controlled neutral or branded background.
- Recruiting approachability: Use clamshell lighting or broad window light with open shadows and a relaxed expression.
- Workplace identity: Use window light or a soft key directed to match the room, while keeping fill consistent.
- Company-wide consistency: Use a fixed studio arrangement, recorded settings, and the same background treatment for every subject.
A white background can support a clear, adaptable corporate library, but it isn't the only credible choice. This guide to white background photos is useful when you need to assess how background brightness changes the impression of a portrait.
The best environmental setup still needs a quality-control frame. Photograph a test subject, inspect highlights and shadow detail, then lock the camera position before the team arrives.
Camera settings and color accuracy
Lighting loses its value when the camera settings change between subjects. Start in manual mode and establish exposure at the face, not the background. For a controlled studio portrait, use ISO 100, 1/125 second, and approximately f/5.6 to f/8. This starting point gives you enough depth of field for a face while keeping the setup easy to reproduce.
Set every fixture to the same color temperature. Daylight-balanced lights sit near 5600 K, while tungsten-balanced sources are approximately 3200 K. Bi-color fixtures commonly cover roughly 2700 to 6500 K, which lets you match window light or create a warmer look. Mixing temperatures without a plan produces inconsistent skin tones and unreliable brand colors.
For a neutral corporate library, 5600 K with CRI 95 or higher is a defensible technical baseline. CRI values closer to 100 indicate more faithful color reproduction. High rendering quality matters because skin-tone differences are subtle, and poor color can make a well-lit face look gray, orange, or overly magenta.
Use a gray card or color target at the start of the session, then keep the camera profile and white balance fixed. Review clothing, skin, and background together. A face can look acceptable in isolation while the company's branded color appears inaccurate beside it.
If these portraits will become part of a broader professional presence, this Instagram guide for photographers offers useful context for presenting consistent visual work across a public portfolio.
Common lighting failures to avoid
Overhead placement is the first problem to check. If the key climbs too high, the brow blocks the light and the eye sockets become dark. Lower the modifier until the eyes remain readable, then confirm the nose shadow still falls naturally.
Excessive contrast creates another predictable failure. A 4:1 ratio gives visibly deeper shadows than a 2:1 ratio, so use the stronger ratio only when the business purpose supports a more editorial expression. Severe lighting can overpower an otherwise approachable subject.
Glasses require a separate test. Reflections often appear when the source sits at an angle that sends the light directly into the lenses. Raise the key, shift it farther to the side, or adjust the subject's head slightly. Test frames before photographing the entire team.
A white reflector isn't universally flattering. On some faces it removes too much shape. A silver reflector restores more dimensionality, but it also creates stronger specular reflection. Check both highlights and shadow detail, particularly when photographing people with different complexions.
Read the full face with the meter. Forehead shine can bias the reading and leave the cheeks underexposed.
Keep the incident meter at the same cheek or nose-bridge position for every subject. Don't meter one person's forehead and another person's cheek. Consistent measurement is part of consistent lighting.
From studio lighting to AI headshots
Professional lighting principles still matter when the final portrait comes from an online service. A strong source image shows natural facial structure, readable eyes, controlled highlights, and believable color. Those qualities give a digital system better material to work with than a dark selfie, harsh overhead light, or lens reflection.
AiHeadshots is the AI-headshot product from Studio Pod, an automated headshot studio in Houston that's shot 10,000+ real professionals since 2019. It was founded by photographers Joseph West and Chris Bailey. We are photographers who built an AI, not a software team retrofitting open models.
That heritage changes how the output is evaluated. The question isn't whether a portrait looks polished in isolation. It's whether the lighting, expression, skin texture, background, and framing remain credible for LinkedIn, an executive bio, a professional-services website, or a team page.
AiHeadshots delivers 30+ studio-grade headshots in approximately 30 minutes from 10 to 20 phone selfies, with no studio visit required. Plans include Basic at $29, Professional at $39, Executive at $59, and Teams volume pricing of $22 to $29 per seat at 10 or more seats. The service also offers a 100% money-back guarantee within 14 days. Its stated retention periods are 7 days for inputs, 30 days for outputs, and 90 days for billing data.
A photographer remains the right choice when you need live direction, location control, or a carefully produced campaign. An automated service fits a different workflow, especially when professionals need consistent portraits without arranging a studio session. This business headshot AI guide explains that connection between photographic fundamentals and digital production.
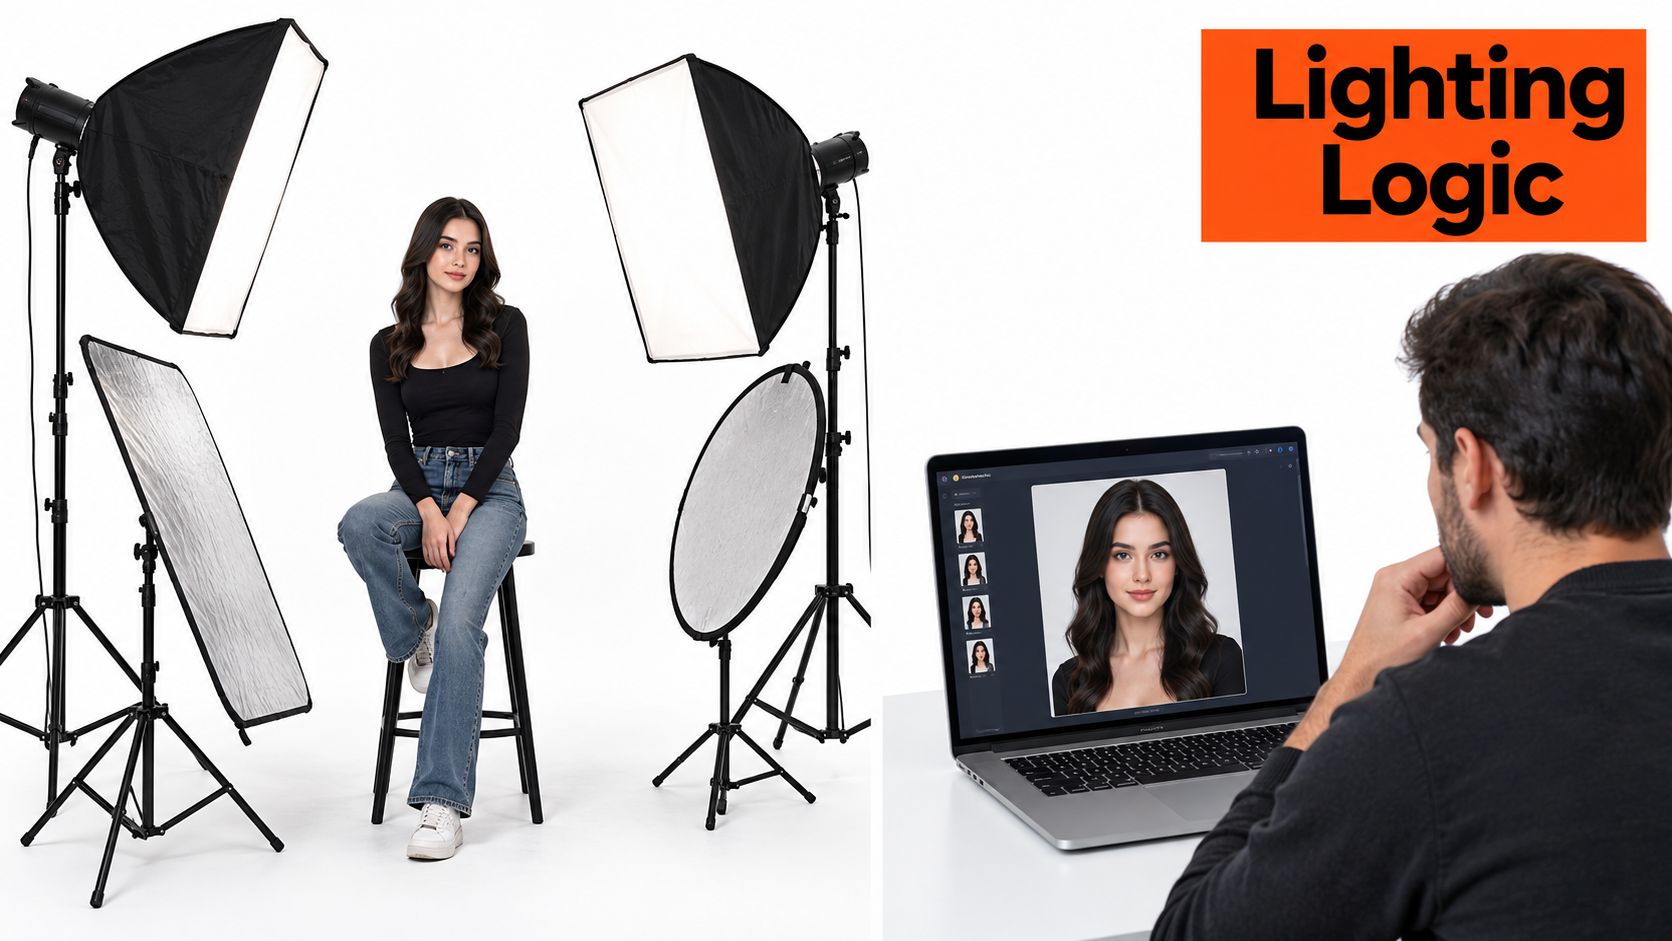
Upload 10 selfies, receive 30+ professional headshots in approximately 30 minutes, and choose a lighting style suited to your business purpose. Visit AiHeadshots to create your corporate portrait set without a studio visit.
