


The fastest way to remove glare from glasses in photo files is not in Photoshop. It's to move the light three feet to the side before you press the shutter. Glare is a position problem first and a pixel problem second. If both irises show, you can mask the reflection and keep the likeness intact. If an eye is fully hidden, no edit restores it. You generate a replacement or you retake the frame.
Table of Contents
- Why glasses glare happens and which fix matches it
- Prevent glare before the shutter clicks
- When eyes are hidden, retake instead of retouch
- Remove glare in Photoshop without darkening the lens
- How AiHeadshots handles reflections in a headshot pack
- Set a glare check before you approve any batch
Why glasses glare happens and which fix matches it
A lens reflects light. It doesn't absorb it. The LensRentals guide to lens reflections notes that uncoated optical surfaces reflect roughly 4% of incident light per surface, so a prescription lens with front and back surfaces can lose approximately 8% to reflection and transmit about 92%. Modern multilayer coatings can reduce reflection at a surface from approximately 4% to as little as 0.2%.
That gap explains why two subjects in the same light look different. One pair of lenses shows clean eyes. The next shows a white patch over the iris. This isn't a rare case. In 2024, approximately 64% of American adults, about 166.5 million people, wore prescription eyeglasses, according to The Vision Council figures reported in a Capturely guide to headshots with glasses.
Match the situation before you pick a tool
| Glare situation | Likely cause | Fix to apply first |
|---|---|---|
| Flash or on-camera light hitting the lenses | Reflection aimed straight back at the camera | Move the light 30 to 45 degrees off-axis and above |
| Overhead or window light angled at the frames | Reflection from ceiling or sky | Tilt the frames slightly or rotate the head a few degrees |
| Glare visible in a finished photo, both eyes showing | Lens surface reflection | Mask and reduce the reflection in Photoshop |
| One eye fully hidden by a reflection | Glare covers iris and pupil | Retake with glasses removed or with the light moved |
| Team batch where glare keeps recurring | Inconsistent lighting across sessions | Standardize the light and shoot two or three takes per person |
We use one check to sort every frame. Can you see both irises? If yes, the fix stays positional or moves to a careful mask. If no, the fix is a new frame, because the camera never recorded the eye behind the reflection.
Prevent glare before the shutter clicks
Glare follows a mirror rule. The angle of incidence equals the angle of reflection, so a reflection reaches the camera when the light sits in the mirror path between the lens surface and your camera. Move any point in that triangle and the reflection moves with it.
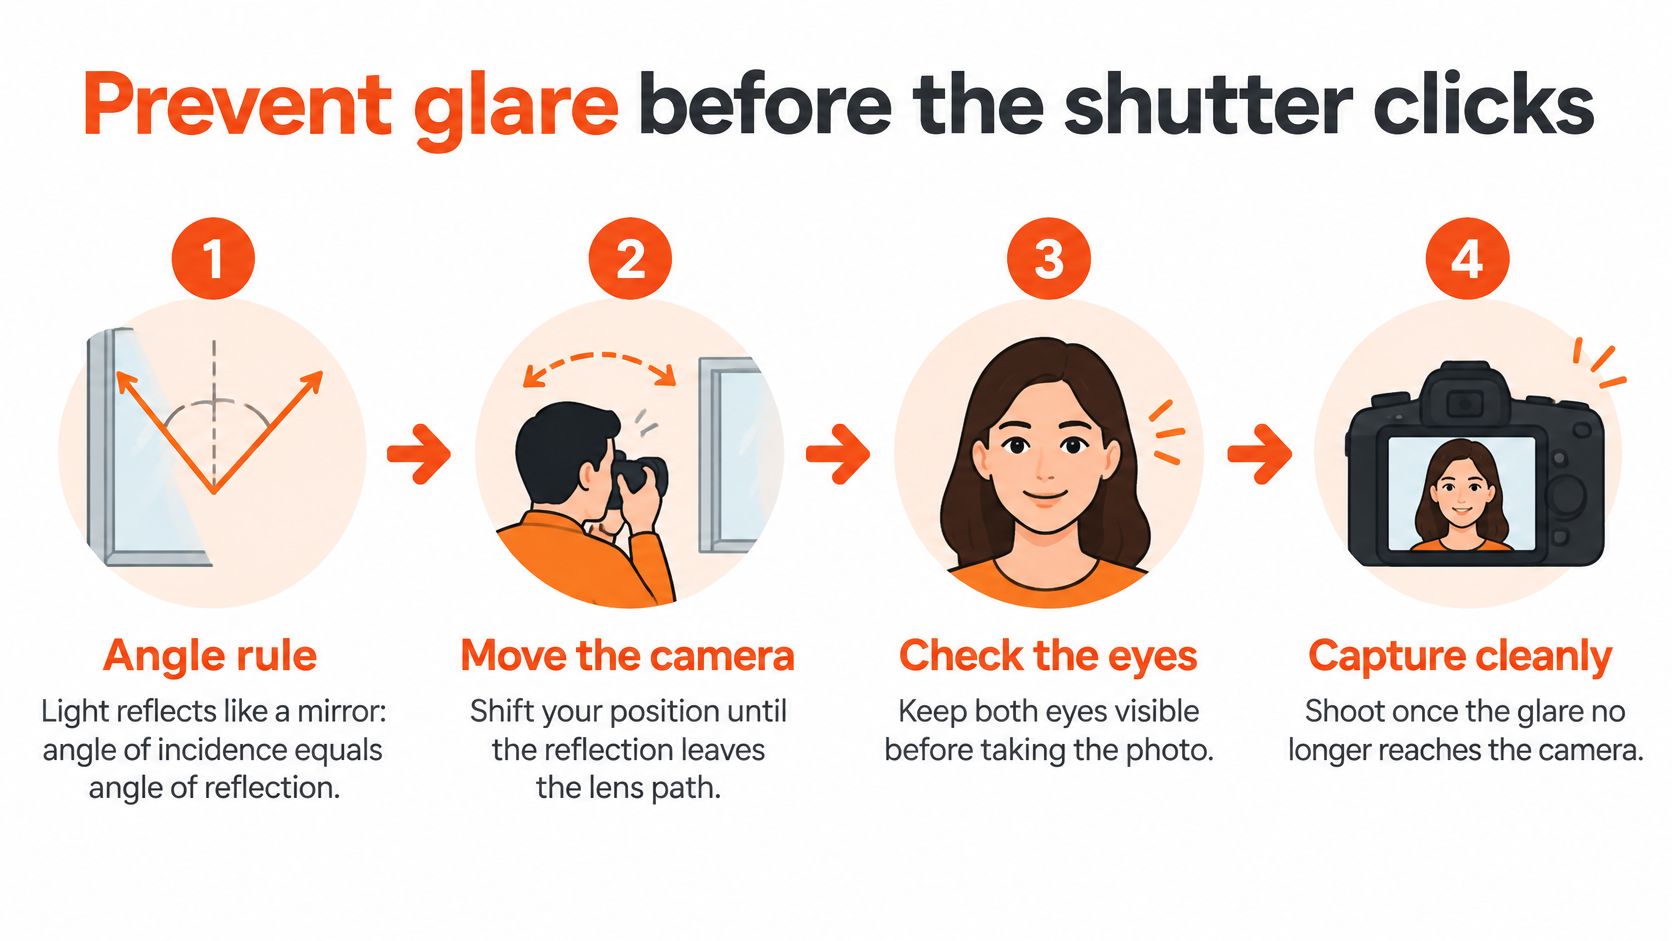
The sequence we run on set
- Set the camera at eye level. This keeps the lens plane predictable. You're solving for reflection, not for a dramatic angle.
- Place the softbox 30 to 45 degrees to one side and above the subject. A Shotkit guide to posing people with glasses gives this same working range. A large, diffused source placed off-axis pushes the reflection out of the camera path.
- Ask the subject to lower or tilt the frames slightly. The expression stays the same. A few degrees change the lens angle enough to clear the eye.
- Rotate a circular polarizer while watching both lenses. It reduces surface reflection because reflected light is often partially linearly polarized. It doesn't remove glare outright, and its effect shifts with coating, geometry, and angle of incidence.
- Shoot a second frame with the glasses removed if the eyes stay obscured. Keep lighting, focal length, focus distance, head position, and expression unchanged. That frame gives you real eye detail for a composite instead of invented detail.
The failures are consistent. A light near the camera axis bounces straight back. A small, hard source paints a bright rectangle across the lens. Turning the head too far fixes the reflection and breaks facial proportions and catchlights in the process.
Move the light in live view until the lens shows the dark room behind the camera instead of a bright patch. That's your clean angle.
Our guide to the best lighting for headshots covers the full placement logic. These steps repair nothing in editing. They keep both eyes in the frame so any edit that follows stays minor.
When eyes are hidden, retake instead of retouch
A fully hidden eye can't be recovered from a single photograph. The file doesn't hold the missing iris, pupil, gaze, or eyelid information. A ClearCrowds guide to removing glare makes that limit plain. Any eye built under solid white glare is generated, not restored.
Check the frame before you open an editor. Partly visible eyes give you reference pixels to work from. Fully obscured eyes give you nothing to verify against, and polished output can hide a quiet change in gaze or identity.
| Eye visibility | Method | Risk to likeness |
|---|---|---|
| Both eyes fully visible | Mask and reduce the reflection only | Low, original iris color and gaze stay intact |
| One eye partly visible | Align visible detail from the other side with a feathered mask | Medium, check head pose, eyelid curve and iris scale |
| One eye fully hidden | Retake with the light moved or use a glasses-off frame | High if generated, so retake is the safer route |
| Both eyes fully hidden | Retake the portrait | Very high, no edit restores the gaze |
Where the risk actually sits
For LinkedIn, executive, legal, medical, and recruitment portraits, identity fidelity outranks visual polish. A generated iris with the wrong color or a pupil placed a few pixels off changes how a person reads. Keep the unedited file, compare every edit against it, and check iris color and pupil position before delivery.
Some contexts, such as medical fellowship applications and certain casting platforms, require disclosure that the headshot is AI-generated. Disclose generated detail when the destination asks for it. Review it internally when it doesn't. I would retake any frame where one eye is fully hidden rather than defend an invented eye later.
Remove glare in Photoshop without darkening the lens
Editing earns its place in one narrow case. Both eyes stay visible and the glare sits on the lens surface rather than across the iris. Then you're reducing a reflection, not rebuilding an eye.

Duplicate the background layer first so the original stays intact. Zoom in, then outline the reflection with the Lasso tool, keeping the selection tight where the glare boundary overlaps the eye and the surrounding frame. Adobe's Photoshop guide to removing glasses glare recommends this selection, adjustment layer, and mask workflow for the same reason. A loose mask darkens skin and frame along with the reflection.
Tone first, texture second
Add a Levels adjustment layer and pull the tonal sliders until the lens reads as glass rather than white. Feather the layer mask so the correction blends into neighboring pixels instead of ending on a hard edge. Protect the frame edge as you work, because stripping highlights from the frame destroys the edge contrast that makes glasses look real.
Work in 16-bit where the file allows it. Correct large tonal differences before you touch texture. For residual sheen, add a low-opacity texture pass with frequency separation or texture cloning after the tone sits right, not before.
Check at two sizes. Review the result against the original at 100 percent and at phone size. A correction that holds at both sizes holds in use.
Without Photoshop, the same logic transfers to Lightroom or a phone editor. Apply a local adjustment or masking brush with exposure pulled down over the reflection alone, keep the frame edge out of the mask, and compare against the original. Our guide to editing professional headshots walks through that broader retouch discipline. Darken the reflection alone. A flattened, reflection-free lens makes the eyes behind it look dead.
How AiHeadshots handles reflections in a headshot pack
A clean lens in a finished pack starts upstream of any retouch. AiHeadshots builds each set from 10 to 20 casual phone photos with varied angles, expressions, and lighting conditions. The same face shows up under different reflections instead of one fixed hot spot. A glare that hides an eye in a single frame does not lock the whole pack.

The method comes from controlled portrait work. Studio Pod shot thousands of professional portraits under controlled conditions, year after year. Running the studio taught the company how light lands on a face, why a jaw looks wrong at 35mm, and what separates a LinkedIn-ready shot from a snapshot. Other AI headshot companies are software teams retrofitting open models on scraped internet photos. AiHeadshots comes from photographers who put that lighting knowledge into the generation pipeline.
What you upload and what you check
Upload a mix of frames with and without glasses. Some photos supply a clear eye. Others lock the frame shape. Professional photography is not required. Casual phone photos work when the light and the angle change from frame to frame.
When the pack arrives, review lens glare and eye clarity before you judge likeness. I would reject a frame whose iris is still a white disc, because no later crop fixes an eye the source photos never showed. If a pack does not look like the customer, AiHeadshots offers a free re-train with better selfies before a refund. A 100% refund guarantee within 14 days covers a result the customer still does not want.
Set a glare check before you approve any batch
Approve a batch only after every kept frame passes the same glare test. Software hits a hard limit here. A Photography Icon guide to glasses glare summarizes emerging research showing that single-image reflection-removal methods have limited generalization under unknown lighting, whereas polarization-guided methods use differences between reflected and transmitted light.
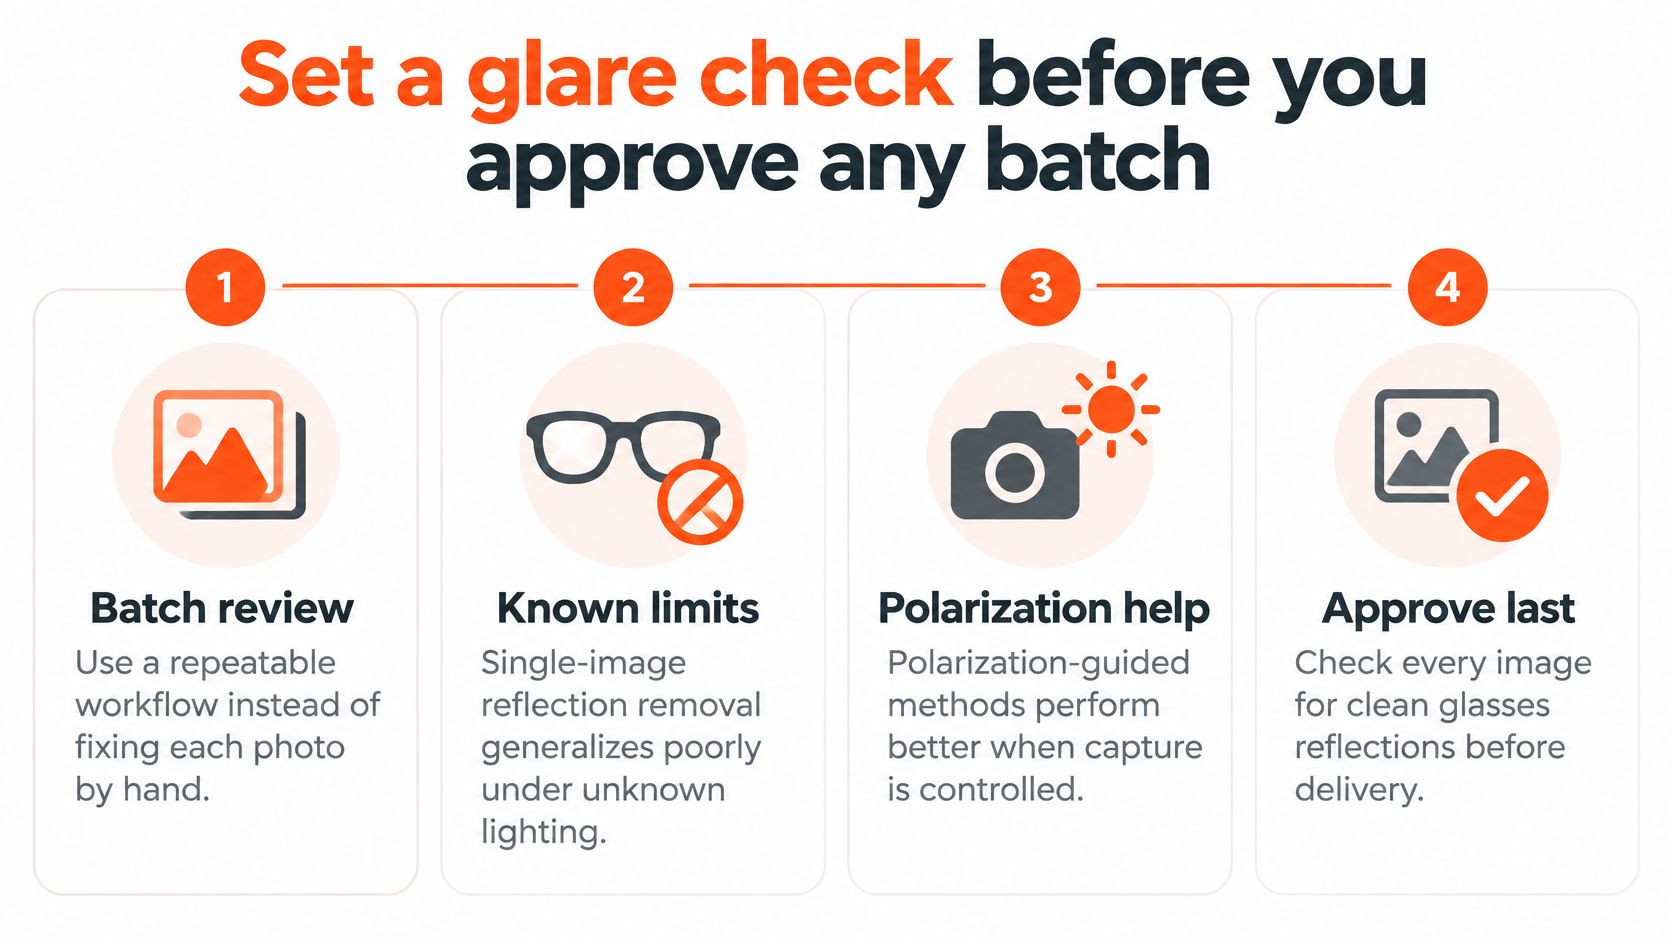
The approval standard
Lock backdrop and lighting for the whole team before the first frame. Use a large source set off the lens axis, and leave the on-camera flash off. Shoot two or three takes per person so a reflected pair of lenses always has a clean backup. Our guide to photo batch editing treats glasses-glare correction as a face-specific exception pass, which is the right place for it in a batch.
Both irises have to show in every frame you keep. Scan each lens for leftover green, purple, or blue coating sheen under the same light you used for the set. Anti-reflective coatings cut reflections. They do not erase them.
Reject the bad frame at approval, not after delivery. A retake caught then is one short session. Glare found later means a reshoot across the team.
For one professional, the next step is short. Upload 10 to 20 casual phone photos, with and without glasses, using varied angles, expressions, and lighting. AiHeadshots Basic is $29, with a 100% refund within 14 days if the pack is not right.