



Most LinkedIn headshots fail for mechanical reasons, not because the person isn't photogenic. A weak crop, uneven light, low resolution, or distracting clothing can bury a perfectly good face. LinkedIn says profiles with a photo can receive up to 14 times more profile views and up to 36% more connection or message activity than profiles without one, according to its professional profile guidance.
We've photographed 10,000+ real professionals at Studio Pod since 2019, from executives to job seekers. The same technical mistakes appear across every industry. The fix is simple: control the framing, light, wardrobe, and crop. None of those require modeling experience. They require a repeatable setup.
Table of Contents
- Why your LinkedIn headshot is a mechanical problem
- Framing your headshot the way LinkedIn crops it
- Lighting setup that works in any room
- Clothing and expression choices that read as credible
- Cropping and uploading to LinkedIn's exact specs
- When to shoot it yourself and when to let AiHeadshots do it
Why your LinkedIn headshot is a mechanical problem
A LinkedIn profile photo has one job before anyone reads your headline. It has to make your face clear, current, and easy to recognize inside a small circular avatar. Style matters, but the fundamentals matter first.
LinkedIn's own guidance says 90% of profiles are judged within the first few seconds, and identifies the photo as the top driver of that first impression. The same guidance reports that a profile photo can influence whether someone views the profile or starts a conversation. That makes the headshot a working part of your professional identity, not a decorative extra.
A separate study of 400 participants found that a new professional headshot increased perceived competence by 75.9%, likability by 9.7%, and influence by 62%, as summarized in professional headshot research. Those figures point to a practical truth. Your photo affects how people interpret your authority before they've assessed your experience.
Practical rule: Fix the image mechanics before chasing a distinctive style.
Four decisions control the result:
- Framing: Your face needs to remain readable when LinkedIn reduces the photo to a circle.
- Light: Both sides of your face need even illumination without harsh shadows.
- Wardrobe: Your clothing should support your professional context without competing with your expression.
- Crop: The final square needs enough space around your head to survive LinkedIn's circular trimming.
A phone can capture enough detail for this job. A large camera won't rescue a backlit face or a poorly composed crop. Start with the specifications, then make the portrait feel like you.
Framing your headshot the way LinkedIn crops it
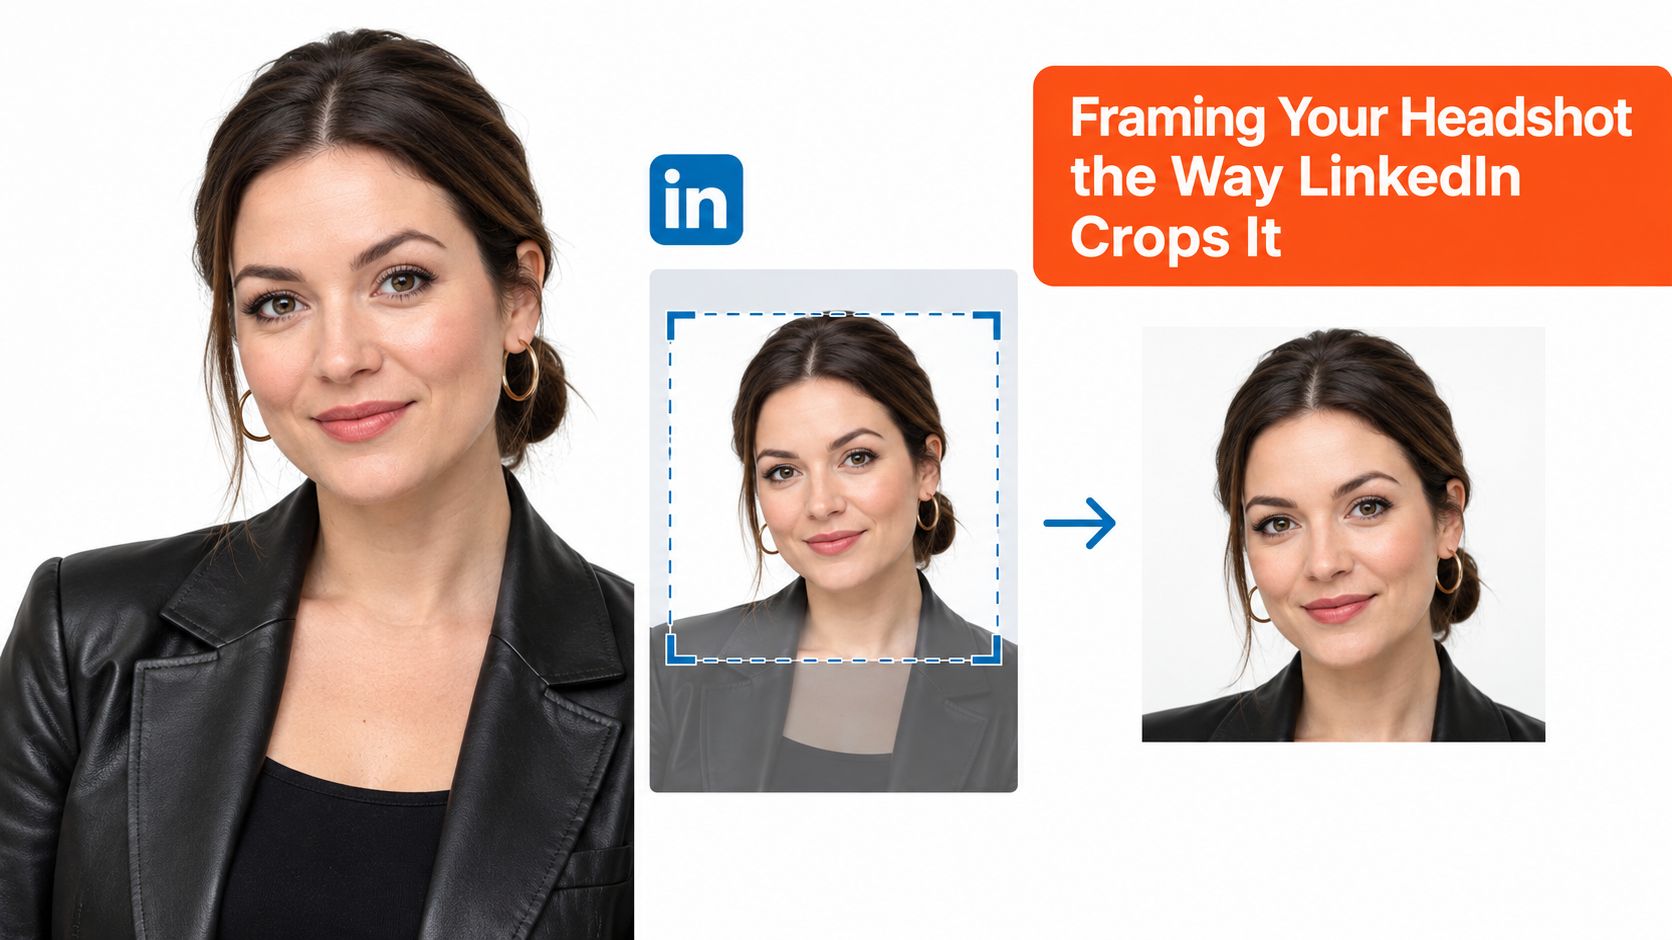
LinkedIn's profile image is a small circle, so compose for the final avatar rather than the full phone screen. Use a clear head-and-shoulders portrait, keep your face centered, and leave a modest border around your hairline and chin.
LinkedIn recommends that your face cover 40–60% of the frame and advises using a high-resolution image of at least 1000 × 1000 pixels in its profile picture guidance. That range gives the face enough visual weight without making the crop feel cramped.
Set the camera at eye level
Put the phone or camera at eye level. The lens should look straight at your face, not up from a desk or down from a tall shelf. A low angle changes the proportions of the face, while a high angle can make the portrait feel less direct.
Use the rear camera if someone else can hold the phone. Place yourself far enough from the wall that your head and shoulders don't merge into the background. A small amount of separation gives the image cleaner edges and keeps the avatar from looking flat.
Avoid a full-body photo that's been aggressively enlarged. It often produces a soft face and awkward cropping. A group photo creates a different problem. Even if you cut out everyone else, the original composition usually leaves the face too small or places it off-center.
The LinkedIn photo resizer can help you check the square format before uploading, but you should still inspect the image yourself at thumbnail size. Shrink the image until it's roughly the size of the avatar in a profile search. Your eyes, mouth, and outline should remain clear.
Check the crop in this order:
- Your face fills 40–60% of the frame.
- Your eyes sit near the upper middle of the square.
- Your chin and hairline have breathing room.
- Your shoulders anchor the lower part of the image.
- No object or bright patch pulls attention away from your face.
A final preview matters because a portrait that looks balanced full-size can feel cramped or anonymous inside the profile circle.
Lighting setup that works in any room
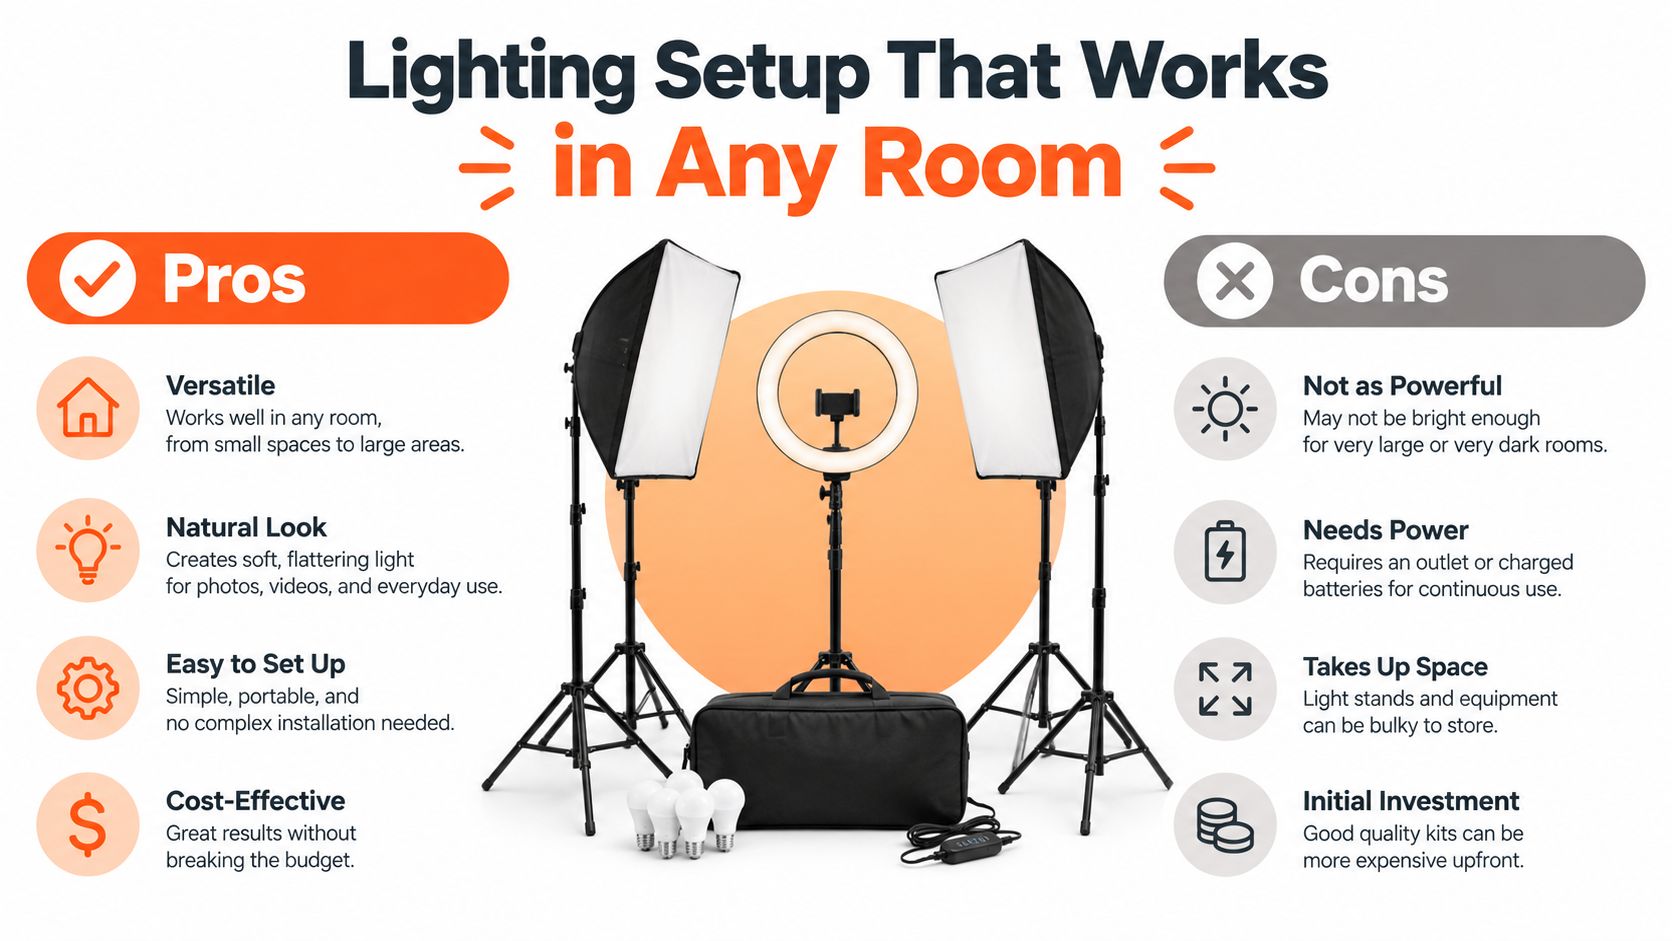
Face a large window or another broad, diffused light source. That's the reliable setup. Keep the window in front of you, or slightly off to one side, so both sides of your face receive even illumination.
The goal isn't dramatic contrast. LinkedIn needs a face that reads quickly and naturally. Before you press the shutter, check your cheeks, forehead, and eye area. The left and right sides of your face should look evenly lit.
Remove the common failure points
Direct sunlight creates hard shadows and sharp contrast across the face. It also makes it difficult to keep your eyes relaxed. Move into open shade or use a sheer curtain to soften the light.
Overhead fluorescent lighting creates shadows beneath the brows and eyes. The result is a tired appearance, even when you feel rested. Turn those fixtures off if the window provides enough illumination.
On-camera flash flattens facial structure and produces a quick, artificial look. It can also create bright skin highlights and a distracting shadow behind the head. Keep the flash off and use the broadest available light source instead.
The backlit-window mistake is just as common. If the window sits behind you, the camera exposes for the bright background and your face becomes too dark. Turn around so the window lights your face, not the wall behind your shoulders.
Natural, diffused light is the strongest quality factor in a simple headshot setup.
If the room has mixed lighting, close the blinds on warm lamps or switch off competing fixtures. A cool window on one side and a warm lamp on the other can create uneven skin color that's difficult to correct later. Move until one broad source does most of the work.
For a deeper technical reference, this guide to lighting for headshots covers how broad sources, diffusion, and camera position affect facial detail. The same principle applies with a phone beside a window. Broad light first, camera settings second.
Clothing and expression choices that read as credible
Wear what you'd wear to an important meeting in your industry. A lawyer, doctor, consultant, developer, and creative director don't need the same wardrobe. The correct choice is the one that matches your professional context and still looks like you.
Solid colors usually photograph more cleanly than tight stripes or busy prints. Choose a shirt, jacket, or blouse that fits properly and doesn't pull across the shoulders. Avoid oversized layers, large logos, and accessories that catch the light or compete with your face.
Neutral colors such as navy, charcoal, gray, and muted blue are dependable. A stronger color also works if it reflects your normal professional wardrobe. The portrait shouldn't suggest a role you'd never occupy in person.
Your expression carries more weight than the outfit. Look directly into the lens and use a natural smile. LinkedIn's guidance cites a study of 800 profile pictures showing that smiling subjects were perceived as more likable, competent, and influential. Smiles showing teeth were rated twice as likable as closed-mouth smiles in that study, according to LinkedIn's professional profile photo tips.
That doesn't mean forcing a wide grin. Relax your jaw, lower your shoulders, and think about greeting someone you're pleased to meet. A real smile reaches the eyes. A staged one usually tightens the mouth and cheeks.
At Studio Pod, we see the same pattern across thousands of sessions. Relaxed expressions read better than stiff corporate poses because viewers recognize tension quickly. You don't need to look casual. You need to look comfortable in the professional setting you're presenting.
For a wider view of how the photo fits into your profile, the LinkedIn branding checklist by Grou is a useful companion. It connects the headshot with your headline, banner, and other visible profile signals.
Cropping and uploading to LinkedIn's exact specs
LinkedIn gives you clear technical boundaries. Use a square image, keep the face near 60% of the frame, and preview the result as a circular avatar before you commit.
| Spec | LinkedIn requirement |
|---|---|
| Accepted pixel range | 400 × 400 to 7680 × 4320 |
| Recommended working size | At least 1000 × 1000 px |
| Maximum file size | 8 MB |
| Format | Square profile image |
| Face position | Approximately 60% of the frame |
LinkedIn's upload requirements define the accepted pixel range and file limit. The platform's professional tips recommend cropping from the top of the shoulders to just above the head. That keeps the face prominent while preserving enough space for the circular crop.
Build the crop from the shoulders upward
Start with the top of your shoulders. Keep the head centered and leave a small margin above the hair. Don't crop directly against the chin or hairline. The circle removes the square's corners, so a tight rectangular crop can lose important parts of the face once it's displayed.
Check the image at three sizes. First, inspect it full-size for sharpness and stray distractions. Next, view it as a square. Finally, reduce it to the approximate size of your LinkedIn avatar. At the smallest size, the face should still be the first thing you see.
A common mistake is choosing the most flattering full-size composition instead of the clearest thumbnail. The background can look elegant on a large screen but become a gray blur that competes with your face in the profile circle. Keep the background quiet and the facial features strong.
Upload the highest-quality version that fits LinkedIn's limits. Don't send a compressed screenshot or a downloaded image from a messaging app. Compression removes detail around the eyes, hair, and jawline, which are exactly the edges that need to stay clean at small sizes.
When to shoot it yourself and when to let AiHeadshots do it
You have three practical routes.
A DIY session costs nothing beyond your time. Use a phone, a window, a clean background, and the specifications above. The result depends on your room, your ability to hold the camera steady, and whether you can review several frames objectively.
A traditional photographer gives you direction, controlled lighting, and a physical studio. The trade-off is a typical photographer day rate of $300–$600+, plus booking and a 1–3 week wait. That route makes sense when the portrait is part of a larger brand shoot or you need a photographer on set.
AiHeadshots sits between those options. You upload 10–20 phone selfies and receive 30+ studio-grade headshots in about 30 minutes. Packages start at $29, with Professional at $39 and Executive at $59. Teams receive volume pricing at 10+ seats, priced at $22–29 per seat. The service includes a 100% money-back guarantee within 14 days.
AiHeadshots comes from Studio Pod, an automated headshot studio in Houston founded by photographers Joseph West and Chris Bailey. We've shot 10,000+ real professionals since 2019, served 30,000+ customers, and delivered 255,000+ headshots, with a 4.9-star rating. We're photographers who built an AI product, not a software team retrofitting open models.
For teams comparing portrait options, Pebb company photos offers another useful reference point for organizing consistent employee imagery. And this analysis of whether AI headshots are worth it lays out the practical trade-offs between a phone session, a photographer, and an automated workflow.
Upload 10 selfies, see 30+ LinkedIn-ready headshots in about 30 minutes, starting at $29. Visit AiHeadshots to choose a professional style and review the result under the 14-day money-back guarantee.
