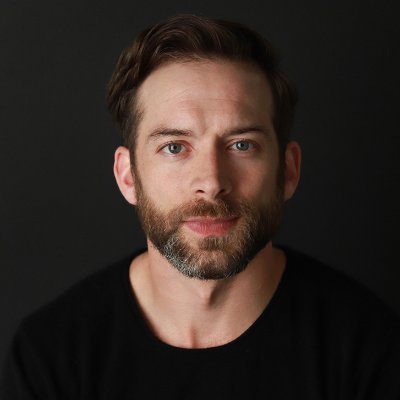
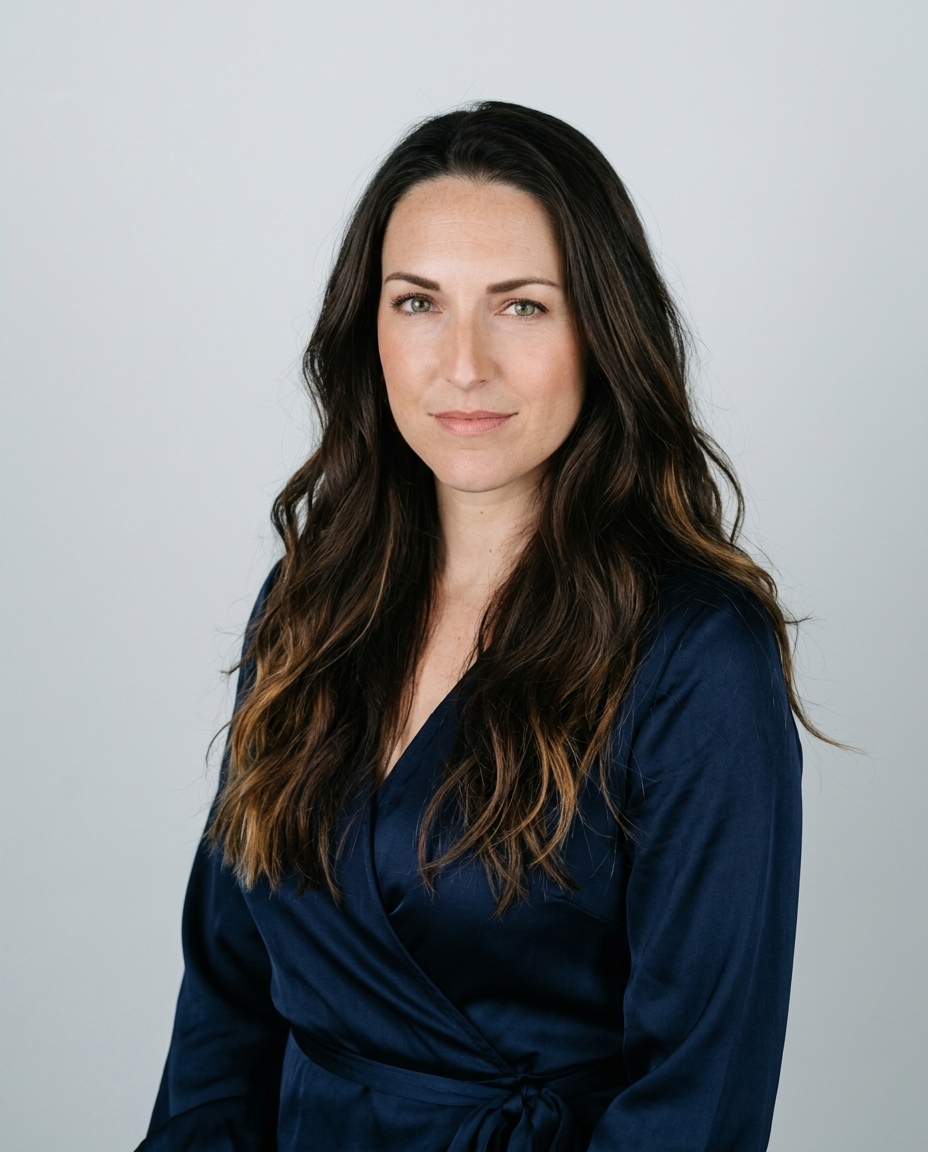

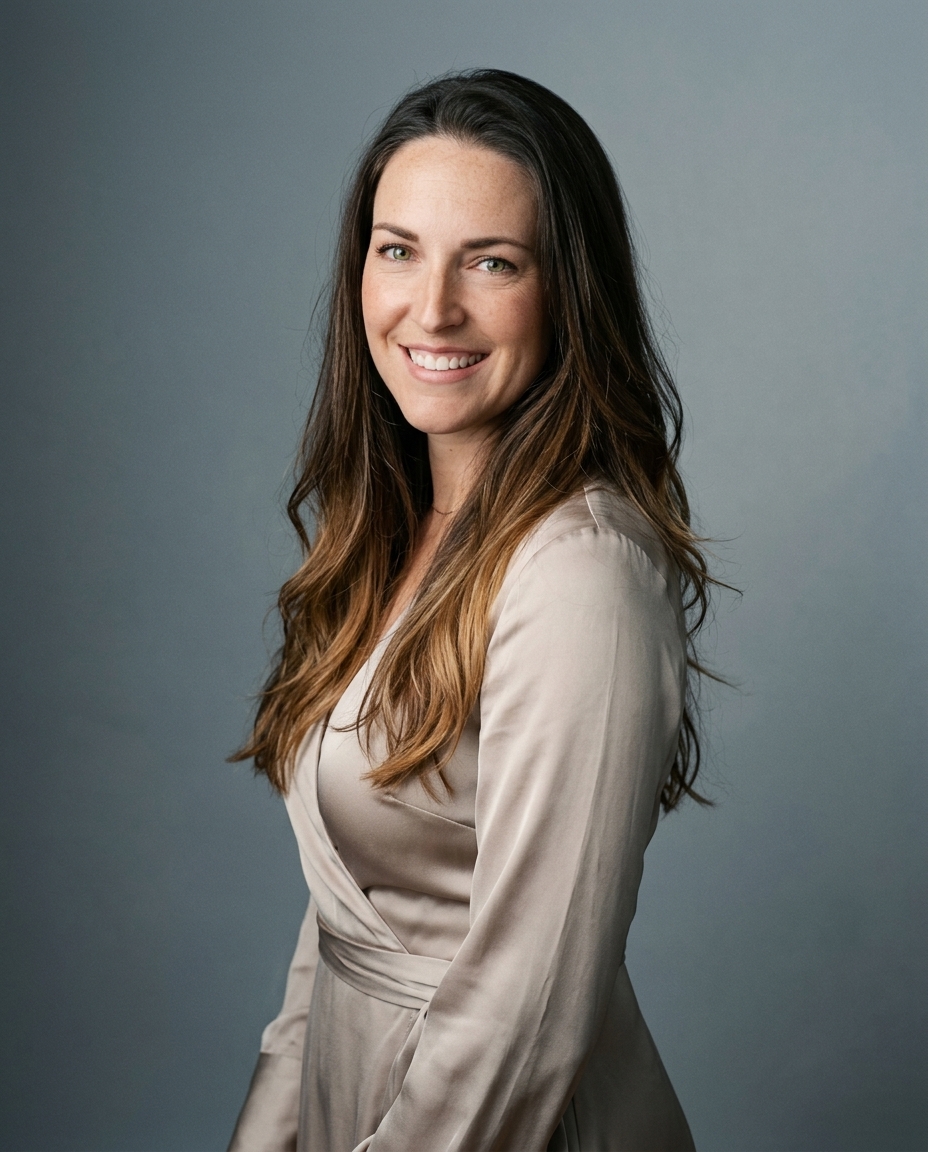

Most advice on how to take a professional headshot at home is too optimistic. A good result isn't just a phone, a blank wall, and five casual frames. It's a portrait session in miniature. If you don't control light, camera position, background, pose, and editing, you don't get a headshot. You get a decent selfie.
We know the difference because we're photographers first. Studio Pod has photographed 10,000+ real professionals since 2019, and that studio experience is exactly what shaped AiHeadshots. We didn't start as a generic software company and bolt photography language onto it later. We built from portrait fundamentals outward. That matters, because home headshots fail in the same predictable ways every day: overhead light, clutter in the frame, camera too close, forced smile, then editing that goes too far.
You can absolutely do this well at home. But you need to think like a photographer, not like someone grabbing a quick profile pic. And if your space keeps fighting you, the smart move isn't endless trial and error. It's knowing when to stop.
Table of Contents
- A great DIY headshot is harder than it looks
- Mastering the three core elements of your setup
- Posing and expression that looks natural not staged
- How to actually get the shot with your phone
- Basic retouching to look polished not plastic
- When your home setup just is not working
A great DIY headshot is harder than it looks
A real headshot has intent. Every choice supports one thing: making your face look clear, believable, and professional at a glance. That's why a strong headshot reads differently from a selfie even when both come from a phone.
The common mistake is assuming the camera does the work. It doesn't. Light shapes the face. Distance controls distortion. Background controls attention. Expression decides whether you look confident or uncomfortable.
Practical rule: If the photo feels easy from the first frame, it usually looks casual. Good headshots take setup, repetition, and restraint.
This is also why home advice often breaks down in real houses and apartments. Plenty of people don't have a bright neutral wall. They have dark interiors, mixed bulbs, narrow rooms, and visual clutter they can't move. That doesn't mean they're doing anything wrong. It means DIY has limits.
What works and what does not
Here's the difference in plain terms:
- What works: Window light, eye-level camera position, clean framing, a little distance between you and the background, and enough patience to shoot multiple variations.
- What fails fast: Ceiling lights, front-facing selfie cameras, standing against a busy bookshelf, holding the phone in your hand, and trying to “fix” a weak image with filters.
A photographer sees a room and asks one question first. Where is the good light? Everything else comes after that.
A professional headshot doesn't need expensive gear. It needs decisions that make the photo look intentional.
If you approach your setup with that mindset, you can get a result that looks serious and current. If you skip that mindset, the photo usually announces “taken at home” before anyone notices your expression.
Mastering the three core elements of your setup

The fastest way to improve a home headshot is to stop thinking about gear and start thinking about light, camera, and background. If those three are right, the rest gets much easier.
Light comes first
The best free tool in your house is a large window. Capturely's headshot guide recommends natural window light, with the subject standing or sitting so the light falls evenly across the face, the camera positioned about 4–6 feet away, and framing that lets the face occupy about 60% to 70% of the frame.
That advice is correct because window light behaves like a soft source. It wraps instead of blasting. It gives shape without cutting deep shadows into the eye sockets and under the chin.
Turn off overhead lights. Mixed light is ugly fast. Daylight from a window plus warm bulbs from the ceiling creates color problems that are much harder to clean up later.
A simple setup check helps:
| Element | Good sign | Bad sign |
|---|---|---|
| Light on face | Even and soft | Bright forehead, dark eyes |
| Color | One consistent tone | Yellow ceiling light mixed with daylight |
| Direction | From in front of you | Window behind you |
A quick visual reference helps if you need to see the setup in motion.
Camera distance changes your face
A lot of people blame their phone when distance is the problem. If the camera is too close, your features stretch. Forehead, nose, and cheeks start to look wider than they do in person. A headshot needs a little room.
Set the phone at eye level. Use the rear camera. Put it far enough away that your proportions stay natural, then frame from there. Don't hold the phone in your hand. Use a tripod, a shelf, or a stack of books. The camera should feel placed, not improvised.
If you want the photo to read as professional, the lens has to stop behaving like a selfie lens.
Background is part of the portrait
A plain wall is ideal because it keeps the attention where it belongs. But the key isn't “blank” by itself. The key is non-distracting. You don't want bright objects, hard lines, or household details fighting with your face.
Step away from the background so it doesn't feel glued to you. That separation also helps reduce harsh wall shadows and gives the image a cleaner portrait look.
If you can't make the background quiet, don't force it. That's one of the clearest signs your room isn't helping you.
Posing and expression that looks natural not staged

Good light and a clean background still won't save a stiff face. I see that mistake all the time. People spend twenty minutes building a decent setup, then stand like they're waiting for a passport clerk to call their number.
Use a portrait stance not a passport pose
Start by turning your body slightly off camera, then bring your eyes back to the lens. That small angle gives the frame shape and keeps you from looking flat. Keep your weight uneven, with a little more pressure on the back foot or hip, so your stance feels settled instead of rigid.
The chin matters too. Push it slightly forward, then lower it a touch. It feels awkward in real life and usually looks right on camera. That move tightens the jawline and separates your face from your neck, which is one of the oldest portrait tricks in the book because it works.
Hands usually stay out of a tight headshot, but they still affect the picture. If your arms are tense, your neck and mouth will show it. Shake out your shoulders between takes.
If you want a few prep examples before shooting, this selfie prep guide shows the kind of source photos that translate cleanly into polished portraits.
Expression is mostly timing, not effort
A natural expression rarely appears when you hold a smile and wait for the shutter. It shows up in the moment just before or just after that held pose. That is why headshots improve when you work in short bursts and reset between them.
A simple routine works well. Look away. Breathe out. Look back into the lens. Let the smile build instead of placing it on your face all at once. The best frame is often the one where the expression is just arriving.
Reset your face every few shots. Tension builds fast, and the camera sees it before you do.
These cues produce better expressions than “smile”:
- Soften your mouth: Closed lips are fine if they look relaxed. A strained smile reads as nervous.
- Let your eyes engage: Focus on a person or idea, not the phone itself.
- Keep the brow quiet: Raised brows can make you look anxious or overly performative.
- Change one thing at a time: Adjust chin, eyes, or smile separately so you can see what helped.
Different uses call for different energy. A law firm bio usually needs restraint. LinkedIn can carry a bit more warmth. A consultant, realtor, or creative profile often benefits from more openness and approachability. The right expression is not the biggest smile. It is the one that matches the job the photo needs to do.
And here's the honest limit of DIY. If you cannot relax in front of your phone, no amount of posing advice will fully fix that. Some people get a better result with a guided AI workflow from strong source images. Others need a photographer who can direct expression in real time. Knowing which problem you have saves a lot of wasted effort.
How to actually get the shot with your phone
Good phone headshots are won before you tap the shutter. The capture part is simple. The hard part is controlling distance, angle, focus, and timing well enough that the photo looks intentional instead of accidental.
Stability beats camera specs
Lock the phone down first. A tripod is best because it keeps framing consistent from shot to shot, but a shelf or stack of books can work if it puts the lens at eye level and keeps the phone perfectly still. Handholding causes small shifts in angle and height, and those tiny changes are enough to make one frame look sharp and another look amateur.
Use the rear camera if you can. It usually gives you a cleaner file than the front camera. Set the phone at eye height, step back enough for a little space around your head and shoulders, then tap your face on screen to set focus and exposure. If your phone lets you lower exposure slightly, do it. Bright phone photos often blow out skin faster than people expect.
Portrait mode is a judgment call. Some phones handle hair and shoulders well. Others create fake blur and messy cutouts that make the image look cheap. If you see edge errors, turn it off. A clean background with normal depth looks more professional than bad software blur. If you want the fuller explanation, this guide on why a phone camera isn't enough explains where phones still fall short even when the camera itself is good.
Shoot in rounds and review with a cold eye
Do not chase a single perfect frame. Shoot in rounds so you can compare small changes instead of guessing what worked.
Use the timer or a remote shutter. That removes the shake you get from touching the phone and gives you a second to settle into position. Capture a short set, stop, review, make one correction, then run another set. Change only one variable at a time. Raise the chin a touch. Turn the shoulders slightly. Move half a step closer. That is how you find the strongest setup without losing track of what improved the shot.
A practical sequence looks like this:
- Set the frame: Keep the camera level, leave modest headroom, and make sure the eyes are in sharp focus.
- Run a short burst: Take several frames with the same pose so natural micro-changes in expression give you options.
- Check for technical misses: Blur, bad crop, tilted horizon, harsh shadow across the face.
- Adjust one thing: Distance, chin, shoulder angle, or exposure.
- Repeat for three to five rounds: Enough variation to choose from, not so much that the session falls apart.
The keeper usually feels a little plain while you are taking it. That is normal. Strong headshots often look calm and controlled, not dramatic.
One more practical limit. If the room still looks cluttered or distracting after you have done the basics, stop rebuilding the whole setup around the background. It is often faster to keep the lighting and expression right, then test a cleaner backdrop with an add background to image with AI tool. If the photo itself is weak, though, no background swap will save it. That is the line DIY shooters need to understand.
Basic retouching to look polished not plastic
The edit should finish the portrait, not change the person. Most DIY headshots go wrong in post because people see a few skin details, get nervous, and overcorrect everything.

Edit for credibility
Patricia Delgado's guide points to a problem most articles skip: headshots have to feel credible across different platforms, which means balancing polish and authenticity while avoiding heavy editing.
That's the standard to use. Not “Does this look impressive?” but “Does this still look like me in a professional setting?”
If your room gave you a strong photo but the background still isn't neutral enough, a utility like this add background to image with AI tool can help you test cleaner backdrop options without rebuilding the whole shot.
What to change and what to leave alone
Good retouching is selective. You can correct exposure, tame shadows, remove a temporary blemish, and tighten the crop. You should not erase all skin texture, sharpen every detail, or apply beauty filters.
A simple rule of thumb:
| Keep | Avoid |
|---|---|
| Minor exposure and shadow fixes | Heavy smoothing |
| Temporary blemish cleanup | Face-shape changes |
| Light crop refinement | Obvious filters |
| Background cleanup | Artificial skin texture loss |
If you need a cleaner cutout for background cleanup, our background remover tool is a straightforward way to isolate the subject before making small environment changes.
A polished headshot still needs pores, texture, and the expression people will actually recognize in person.
This matters even more on LinkedIn, company sites, and professional directories. Over-edited portraits don't look premium. They look untrustworthy.
When your home setup just is not working

Sometimes the honest answer is that your home isn't a usable photo space. That's more common than most guides admit.
Know the failure points
Scale Headshots notes that most guides don't address what happens when dark interiors or cluttered spaces make good DIY results impossible, and that DIY then becomes a false economy.
That phrase is exactly right. If you've tried multiple setups and every image still has flat light, mixed color, distracting background problems, or an overall casual look, the issue usually isn't effort. It's the room.
A few signs tell you to stop troubleshooting:
- Your light is always mixed: Window daylight plus indoor bulbs keeps contaminating skin tone.
- You can't get enough distance: The camera or background is always too close.
- Your background won't disappear: No matter where you stand, the room still reads loudly.
- You're spending hours for one usable frame: Time is now the true cost.
Pick the right fix
At that point, you have three real options. Keep trying. Book a photographer. Use a purpose-built workflow that doesn't require a studio visit.
Traditional photographers still make sense when you want a fully directed session. The trade-off is cost and scheduling. A photographer day rate commonly lands around $300–$600+. If you need a quick update, that's a lot of friction for one image set.
The other route is a system built from portrait practice. AiHeadshots comes from Studio Pod's photography background, not a generic AI stack, and it gives you 30+ studio-grade headshots in about 30 minutes from 10–20 phone selfies. Pricing starts at $29 on the Basic tier, with a 100% money-back guarantee within 14 days. If you want to compare options and output styles first, look at the pricing, browse examples, or read customer reviews.
This isn't about replacing DIY in every case. It's about knowing when DIY has stopped being efficient.
Upload 10 selfies, see your first headshot in 30 minutes. AiHeadshots starts at $29.