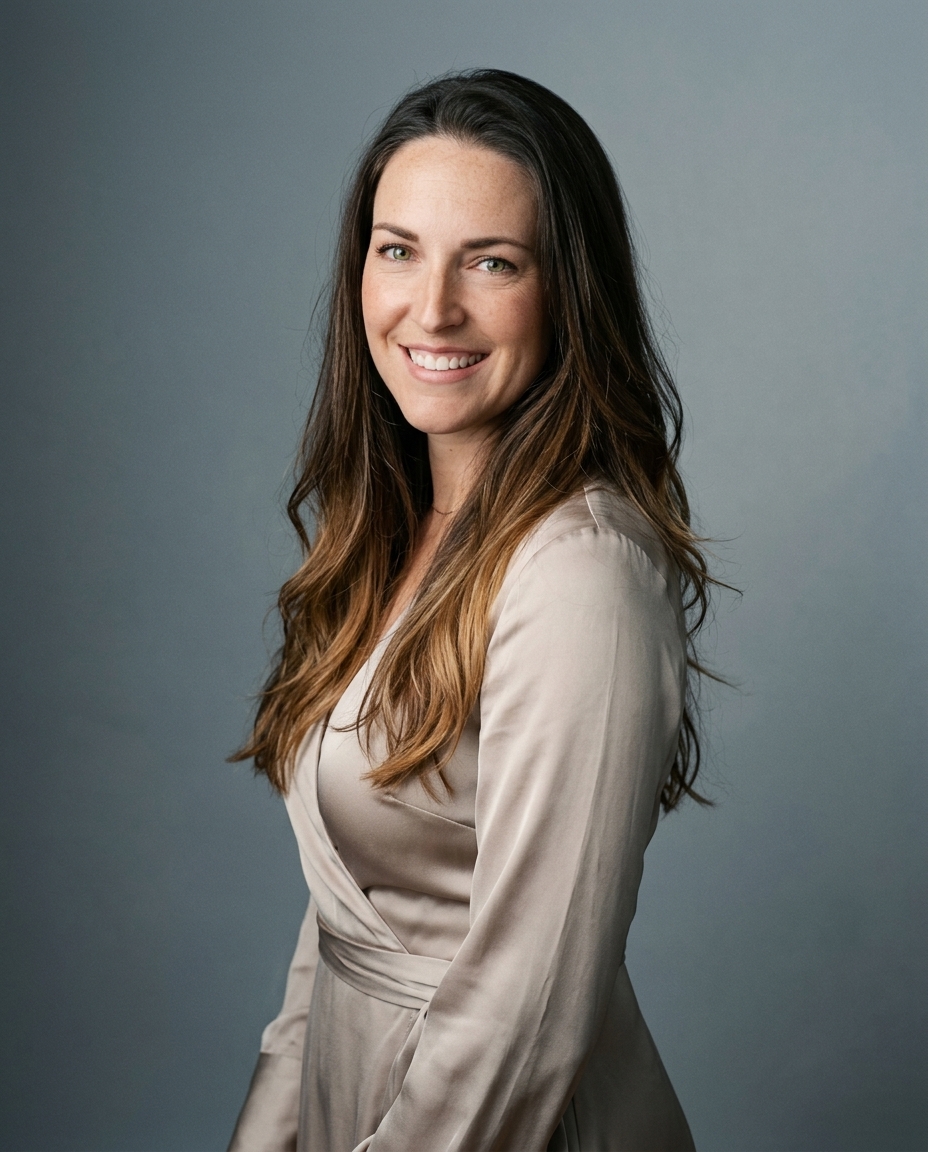

A professional photo looks polished before you edit a single pixel. That isn't opinion. LinkedIn reports that profiles with professional headshots receive up to 21 times more profile views and 36 times more messages than profiles without professional photos, which makes image quality a practical business decision, not a vanity project (LinkedIn headshot data discussed here).
Amateurs chase gear. Professionals control variables. They prepare the frame, shape the light, direct the expression, and edit with restraint. That's how to make pics look professional, whether you're holding a mirrorless camera or a phone.
Table of Contents
- Preparation is 90% of a professional photo
- Mastering light and camera settings
- Posing and expression without looking stiff
- The professional editing workflow
- The modern choice AI headshots vs a photographer
Preparation is 90% of a professional photo
Preparation gets ignored because it isn't flashy. It's still the part that separates a clean headshot from a rushed selfie.
At Studio Pod, Joseph West and Chris Bailey built their reputation by photographing real professionals in Houston, not by guessing at portrait theory from a software dashboard. That photographer-first background matters. The same habits that make a studio session work also make a phone photo work at home.

Start with what the photo needs to say
Your clothes should support your face, not compete with it. Solid colors work. Clean necklines work. A jacket that fits your shoulders works. Loud prints, tiny stripes, heavy logos, and shiny fabrics usually don't.
Background matters just as much. A professional-looking image doesn't need a fancy office. It needs a wall, doorway, curtain, or corner that looks intentional and uncluttered. If there's a laundry basket, kitchen mess, or bright lamp growing out of your shoulder, the photo already feels amateur.
Practical rule: If your eye keeps drifting to something in the frame that isn't your face, remove it or change position.
Mindset shows up on camera. People tense up when they treat the shoot like a test. Treat it like selection. You aren't trying to nail one heroic frame. You're building a set of usable options.
Build a clean frame before you shoot
Preparation comes down to a few essential elements:
- Wardrobe first: Pick one outfit that fits well and communicates your role. If you're unsure, go one step more polished than your daily default.
- Background second: Use a simple space with depth behind you. Flat clutter kills credibility fast.
- Camera height third: Keep the lens at eye level. Shooting up from your lap looks casual. Shooting down from above looks diminutive.
- Skin and hair last: Blot shine, tame flyaways, and check collars. Small fixes before the shutter save time later.
If you want a sharper pre-shoot process, this selfie prep guide for headshots is the same kind of checklist we'd want a subject to follow before stepping in front of a camera.
Mastering light and camera settings
Good light forgives. Bad light exposes every mistake.
Those trying to learn how to make pics look professional overcomplicate this part. They think they need strobes, light modifiers, and a camera manual open in another tab. They don't. They need one strong light source and enough control to avoid ruining skin tone.

Window light beats bad artificial light
Stand facing a large window during the day. That setup works because window light is broad, soft, and predictable. It wraps across the face instead of carving harsh shadows under the eyes and nose.
Don't stand with the window directly behind you. That creates a bright background and a dim face unless you expose very carefully. Don't mix window light with random overhead bulbs if you can avoid it. Mixed color temperature is one of the fastest ways to make skin look strange.
A few feet from the window usually looks better than pressed right against it. You want softness, not blown highlights.
Move your body before you move your settings. A small turn toward or away from the window changes the portrait more than most app filters ever will.
Get the file right in camera
This is the technical part worth learning. According to Kelli Connor's exposure and white balance guidance, professional-looking photos start with correct exposure, Kelvin white balance, and highlight control via the histogram. Starting at 5500K for daylight is a solid baseline, and getting those decisions right in camera reduces post-editing errors by 50%.
That advice applies to phones too, even if the controls are simpler. Tap to focus on your face. Lower exposure slightly if your forehead or cheeks look shiny. Protect highlights first. Skin with detail looks professional. Skin with bright clipped patches looks cheap.
If you're using a DSLR or mirrorless camera, the exposure triangle still rules the shot. Aperture controls depth of field. Shutter speed controls motion. ISO controls noise. For a headshot, keep the subject sharp, the background calm, and the ISO as low as the room allows.
A quick visual on shaping light and camera position helps here:
Posing and expression without looking stiff
The stiff look usually starts with good intentions. Someone stands straight, locks their knees, pulls a frozen smile, and waits for the shutter. The result is tidy and unusable.
We've seen that pattern for years with executives, recruiters, founders, and first-time job seekers. The people who photograph best aren't the most photogenic. They're the ones who stop performing and start making small controlled adjustments.
Stop trying to look natural
“Act natural” is useless direction. Real posing is mechanical first, expressive second.
Turn your body slightly off-center instead of facing the lens square. A slight angle gives the frame shape. Shift your weight to one leg if you're standing. Relax your shoulders down. Push your forehead subtly toward the camera and lower the chin just enough to define the jaw without looking tucked.
If your pose feels a little deliberate, that's normal. On camera, subtle direction reads as ease.
The same goes for seated photos. Sit near the front edge of the chair, lengthen your posture, and avoid leaning back into the seat. Leaning back looks passive. A slight forward lean looks engaged.
What to do with your face and hands
Expression matters more than pose. A professional photo needs to look approachable and competent at the same time. That usually means a soft smile or a calm neutral expression with alert eyes. Dead eyes ruin more headshots than bad cameras.
Don't smile on command. Exhale. Reset your mouth. Think of a real person, not the camera. Then let the expression arrive. That's what gives you life in the eyes instead of a pasted-on grin.
Hands create trouble because people forget they exist. Give them a job. Hold a jacket edge. Rest one hand lightly at the waist. If the crop is tight enough that hands barely appear, even better. Half-visible awkward fingers are worse than no hands at all.
Take many frames with tiny variations. Change the chin by a fraction. Soften the mouth. Shift the shoulder. Professional portraits are usually built from micro-adjustments, not dramatic poses.
The professional editing workflow
Editing should refine the photo, not announce itself. The best retouching usually goes unnoticed.
That's where many people ruin an otherwise strong image. They smooth every line, sharpen every edge, and push contrast until the portrait stops looking human. A professional result looks clean, not synthetic.

Edit in the right order
A proper workflow keeps you from chasing problems twice. StudioBinder's editing guide lays out eight core steps: crop and straighten, remove unwanted elements, spot-clean blemishes, adjust exposure, shadows, and highlights, apply tone curves, use HSL for color, and sharpen sparingly. It also notes that results improve when skin smoothing is reduced by 50%.
That restraint matters more now because viewers notice fake retouching immediately. Clean skin is fine. Plastic skin isn't.
If you need the shortest version, follow this order:
- Crop and straighten first: Fix framing before touching color.
- Correct brightness next: Exposure, shadows, and highlights should look balanced before you do any beauty work.
- Retouch distractions only: Temporary blemishes, lint, stray hairs, background junk.
- Adjust color carefully: Neutral skin beats dramatic grading for professional portraits.
- Sharpen last: Enough to restore crispness, never enough to create halos.
For social distribution after editing, aspect ratio matters too. If you're turning a headshot into profile assets or marketing content, Gainsty's guide to Optimal Instagram post formats is useful for sizing without awkward crops.
Phone edits need restraint
Mobile apps can do a lot fast. Lightroom Mobile and Snapseed handle most of what a professional portrait needs. The trick is knowing what not to touch.
Use healing tools for temporary distractions. Bring highlights down before lifting shadows. Add clarity carefully. Skip aggressive beauty filters. If the background is busy, a dedicated background remover tool can clean the frame faster than trying to blur or erase around hair by hand.
Good retouching preserves skin texture, eye detail, and believable color. If your face looks airbrushed, you went too far.
The modern choice AI headshots vs a photographer
There are now three real options. Hire a photographer. Do it yourself. Use an AI headshot service.
Each path has trade-offs. Pretending otherwise is marketing. A traditional photographer gives you live direction, customized lighting, and the judgment that comes from experience. That's why a real session still has value, especially for teams, executives, and brand-critical work.
What you pay for with a photographer
A conventional photographer session usually costs $300–$600+. You're paying for time, setup, direction, editing, and turnaround. You're also working around calendars, locations, and delivery windows.
If you want a sense of what polished studio portrait work looks like in a traditional setting, Liz by Design's headshot examples show the kind of consistency a good photographer brings across different subjects and industries.
DIY costs less in dollars and more in effort. You handle wardrobe, lighting, posing, selection, and retouching yourself. If you already understand portrait craft, that's workable. If you don't, the “cheap” option gets expensive in time.
Where AI headshots fit
Photographer-built systems have a real edge. Studio Pod has photographed 10,000+ real professionals since 2019, and AiHeadshots comes from that background. Joseph West and Chris Bailey didn't start as a software team retrofitting open models. They started by directing real faces in real sessions, then built a faster process around the same visual standards.
The quality issue in AI headshots isn't speed. It's trust. Verified guidance in this space notes that 68% of LinkedIn users distrust headshots with over-smoothed skin or unnatural lighting, and that gap exists because many tools still optimize for technical polish instead of believable human detail. AiHeadshots was designed around that exact problem.
Here's the practical comparison:
| Method | Cost | Time Investment | Turnaround | Output |
|---|---|---|---|---|
| Traditional photographer | $300–$600+ | High. Booking, travel, session, review | Often longer than same-day | Directed portraits with custom lighting |
| DIY with phone or camera | Low direct cost | High. You do prep, shooting, and editing | Depends on your skill and availability | Usable if you control the process well |
| AiHeadshots | $29 to start | Low. Upload 10–20 phone selfies | 30+ studio-grade headshots in about 30 minutes | Fast professional options without a studio visit |
For broader side-by-side detail on that trade-off, this comparison of Studio Pod vs AI headshots breaks down where each option makes sense.
Competitors such as HeadshotPro, BetterPic, Aragon, Secta, and ProPhotos all serve the same broad need. The clean distinction here is heritage and workflow. AiHeadshots comes from photographers first. Pricing is straightforward. Plans are Basic $29, Professional $39, Executive $59, and Teams for 10+ seats at $22–29 per seat. It delivers 30+ studio-grade headshots in about 30 minutes, serves 30,000+ customers, has delivered 255,000+ headshots, carries a 4.9★ rating, offers a 100% money-back guarantee within 14 days, and keeps data on a defined schedule with 7-day input retention, 30-day output retention, and 90-day billing retention (AiHeadshots pricing, examples, reviews, about Studio Pod, teams).
Upload 10 selfies, see your first headshot in 30 minutes, $29. Try AiHeadshots.