
The honest timeline for a blemish runs 2 to 3 months, not overnight. Daily use of benzoyl peroxide or a retinoid typically takes that long before results become visible, according to the Mayo Clinic's acne treatments guide. That's the skin. The photo has a different clock, and it runs about sixty seconds.
Two problems hide inside the question of how do I get rid of blemishes. One is a pore full of oil and bacteria that needs weeks of consistent treatment. The other is a red dot in a JPEG that needs one click. Treat them as a single problem and you get the worst of both: a rushed peel the week of a shoot, or a portrait smoothed until the face looks like plastic.
The skin needs weeks. The photo needs a minute. Keeping those lanes separate is most of the work.
Table of Contents
- Match each blemish to the right treatment
- How to build a 12-week skin routine
- Habits that make blemishes worse
- How to remove a blemish in photo editing software
- Retouching that keeps skin looking like skin
- Pick your fix before your next portrait
Match each blemish to the right treatment
Most blemishes clear with two over-the-counter actives, and the spot in front of you decides which one you start with. Whiteheads and blackheads are clogged pores, so a retinoid leads. Red, inflamed pimples are bacterial and inflammatory, so benzoyl peroxide leads. A face carrying both needs both, at different hours of the day.
The American Academy of Dermatology's guidance on treating acne at home is blunt about patience: use one product as directed for 6 to 8 weeks and add nothing else during that window, because every switch restarts the test. Adapalene, the over-the-counter retinoid, clears blackheads, whiteheads and pimples by unclogging pores, while benzoyl peroxide is particularly effective on mild pimples. Nonprescription benzoyl peroxide is sold in strengths up to 10%, but dermatologists recommend starting at 2.5% to cut unnecessary irritation.
| Blemish | First treatment | Judge the result after |
|---|---|---|
| Whiteheads or blackheads | Adapalene 0.1% at night | 6 to 8 weeks |
| Red, inflamed pimples | Benzoyl peroxide 2.5% in the morning | 6 to 8 weeks |
| Mixed or widespread breakouts | Benzoyl peroxide in the morning and adapalene at night | 2 to 3 months |
| Deep, painful nodules or cysts | See a dermatologist | Book now, not after another product trial |
| Dark marks after a spot heals | Daily broad-spectrum sunscreen and consistent treatment | End of the same 12-week cycle, since pigment fades last |
Deep, painful lumps don't belong in any row of home care. They sit under the skin, never come to a head, and carry the highest risk of leaving something permanent behind.
If the spot has already healed and left a mark, the plan changes again. Look at how different acne scars and marks are treated before you buy another active, because a flat dark mark and a pitted scar need completely different approaches.
Then keep a tally. Count new spots once a week and write the number down. One bad morning is not data, and one good morning isn't either.
How to build a 12-week skin routine
Twelve weeks is the trial, not the first calm morning. The NICE guideline on managing acne vulgaris sets the assessment point at twelve weeks rather than the first few days, and that framing is the routine. Benzoyl peroxide reduces acne-associated bacteria. A retinoid normalizes follicle-cell shedding and blocks new clogs. Two repairs, running in parallel, and neither one is finished in a week.
Skin that is still breaking out at week four can still be on schedule. A portrait from that week can be cleaned up in editing in about a minute, and that is a separate job from changing the skin. Push the retouch past real texture and the face stops looking like a face. This routine is the slower fix, the one you judge only at the end.
The five steps
- Cleanse gently, morning and night. Use a cleanser that lifts oil without leaving skin tight. Over-washing and abrasive scrubs damage the barrier, which works against the plan.
- Benzoyl peroxide 2.5% every morning. Apply a thin layer across the whole acne-prone area, not only the spots you can see. You are treating the pore that has not surfaced yet.
- Adapalene at night. If skin turns red or tight, drop to every other night and build back to nightly across the first two weeks.
- Moisturize, then sunscreen. Moisturizer after the active dries keeps irritation from reading as a flare. Broad-spectrum sunscreen every morning matters because UV deepens the marks a spot leaves behind.
- Hold the whole thing for twelve weeks. Then count.
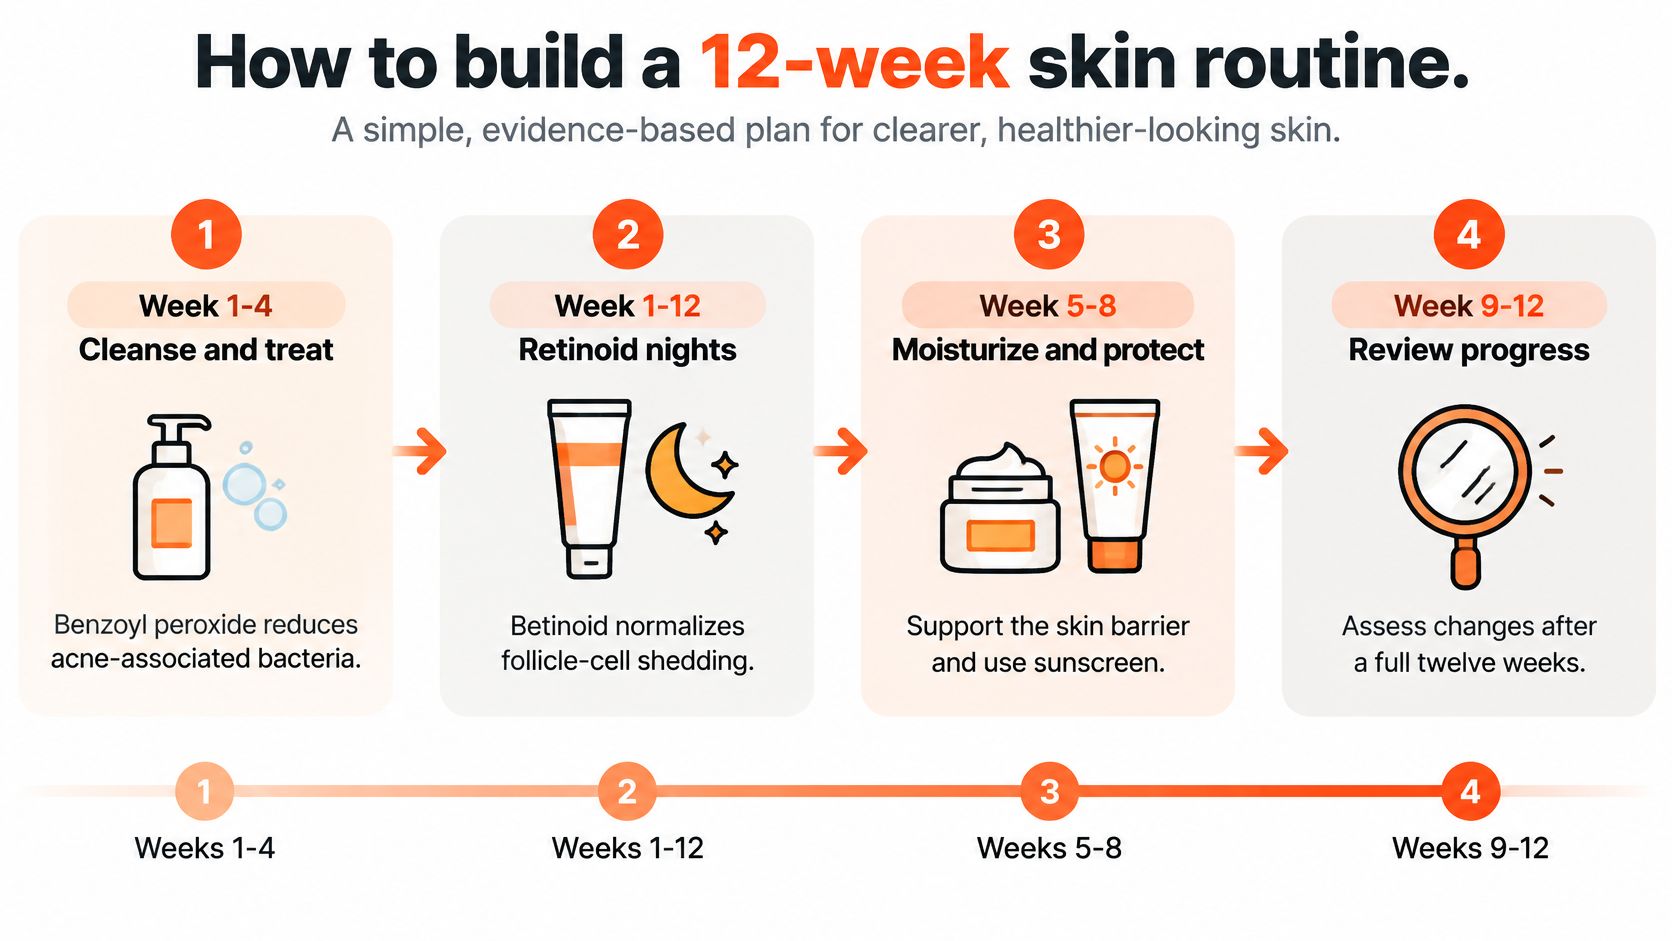
The rule: one plan, one frequency, twelve weeks. Every product you add mid-cycle makes the result impossible to read.
Two cautions sit outside the routine. Benzoyl peroxide bleaches fabric, so keep a white pillowcase and a white towel. Adapalene isn't for pregnancy without a clinician's sign-off. If a prescription is already part of your week, read its protocol with the same care you'd give a new active, and XO's guide to semaglutide prescribing shows the level of dosing detail a proper prescribing reference carries.
Habits that make blemishes worse
Squeezing a spot is the most expensive thing you can do to your face. NHS inform's acne guidance advises against squeezing because the pressure damages surrounding skin and raises the risk of scarring, with nodules and cysts carrying the highest risk of all. Extraction tools and the satisfying ritual of emptying a blackhead belong in the same category. You aren't clearing the pore. You're injuring the tissue around it.
The second habit disguises itself as effort. Stacking a scrub, a toner, an acid and a retinoid in week one brings redness, dryness and peeling within days, and people read that as the blemish getting worse. So they quit, or they add another product. The irritation wasn't a flare. It was the routine.
The photo deadline makes both mistakes worse. A spot squeezed the night before a shoot stays red for days and shows up under every light. A rushed peel the week of a shoot leaves flakes that no retoucher can pass off as skin. Both are self-inflicted scheduling.
If you need coverage while a spot heals, use makeup built to read as skin on camera. Natural makeup for headshots covers what survives a lens better than a scrub ever will.
Leave the skin alone, run one plan, and judge it at the end of the trial.
How to remove a blemish in photo editing software
A photo blemish is a single spot, and the fix runs under a minute in every tool below.
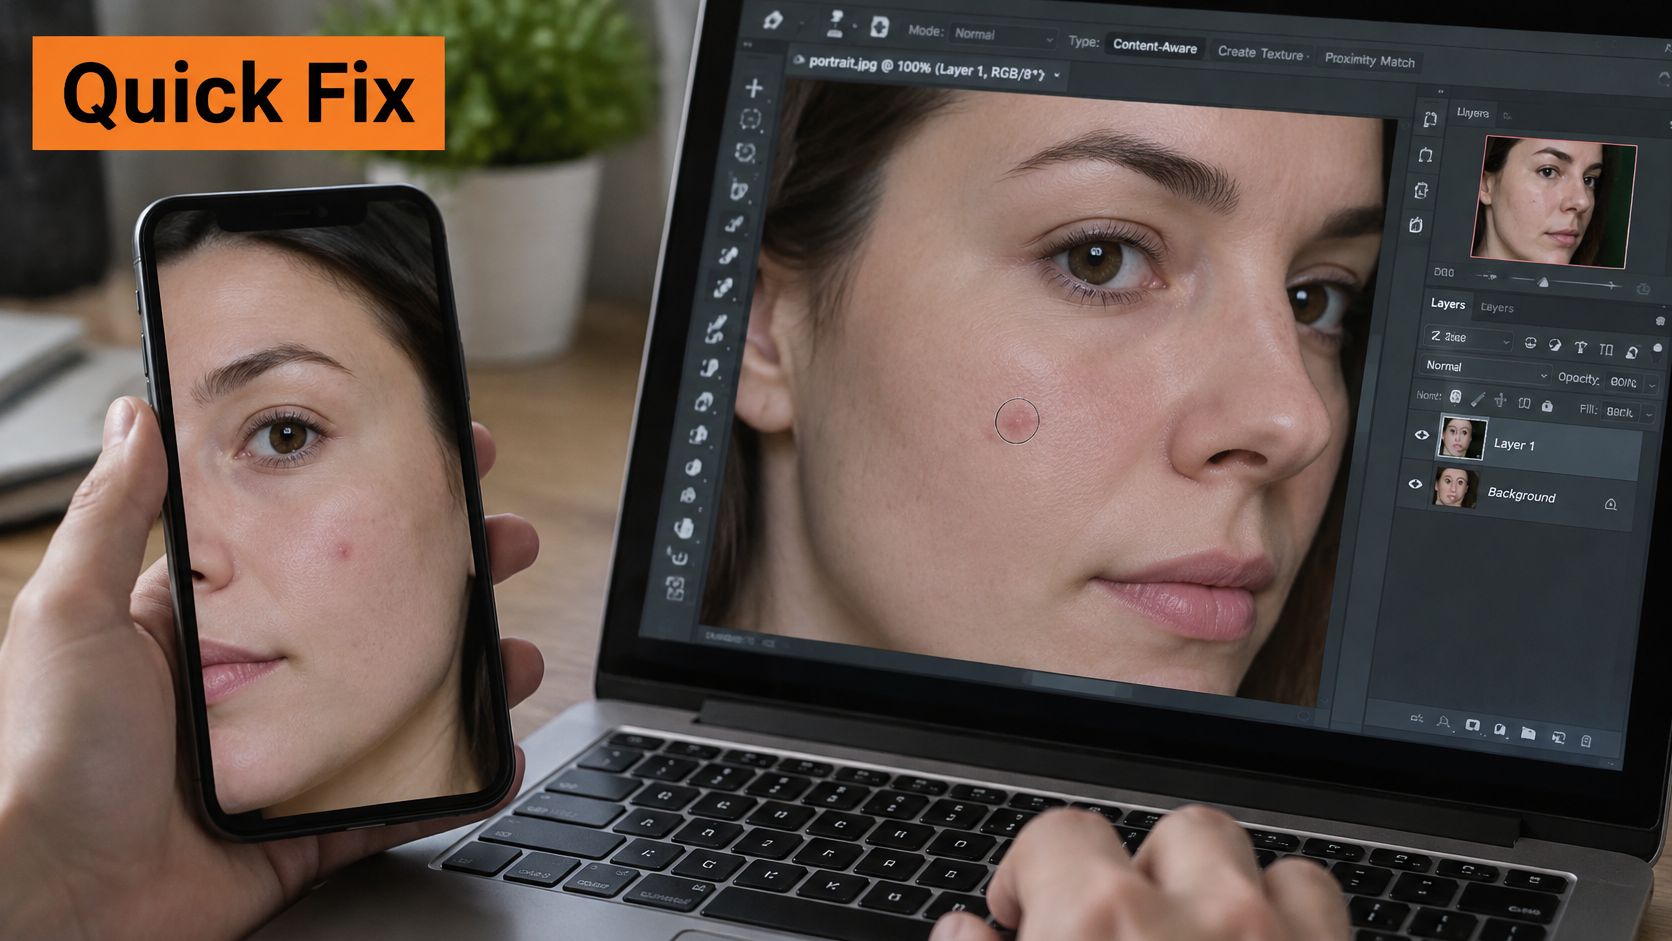
In Photoshop, duplicate the background layer first so the original stays clean, then take the Spot Healing Brush (J) and set it slightly larger than the blemish. One click. Repeat clicks smear the surrounding texture into a blur that reads worse than the spot did. At an edge, near hair or beside a shadow, the healing brush samples the wrong tone, so switch to the Clone Stamp (S) and sample skin of the same tone and light angle.
Why the clone stamp still matters
Healing tools guess. Cloning copies. On a flat cheek, guessing works. Along a jawline where the light falls off, it doesn't.
In Lightroom, the Spot Removal tool (Q) handles single blemishes inside a catalog edit. On a phone, Snapseed's Healing tool is the fastest route for a quick edit before posting. The same trade-off applies everywhere: a brush that's too large removes texture along with the spot, so keep it small and work in short passes.
| Tool | Shortcut | Best for |
|---|---|---|
| Photoshop Spot Healing Brush | J | Single small spots on clean, even skin |
| Photoshop Clone Stamp | S | Spots near hair, edges or shadows where healing blends the wrong tone |
| Lightroom Spot Removal | Q | Quick removal of individual blemishes in a catalog edit |
| Snapseed Healing | Touch tool, no shortcut | Single spots in a fast phone edit |
If you'd rather watch the moves than read them, this walkthrough runs the same tools in real time.
For the workflow around the blemish itself, from color to crop, how to edit professional headshots covers the steps a single-spot fix doesn't.
Retouching that keeps skin looking like skin
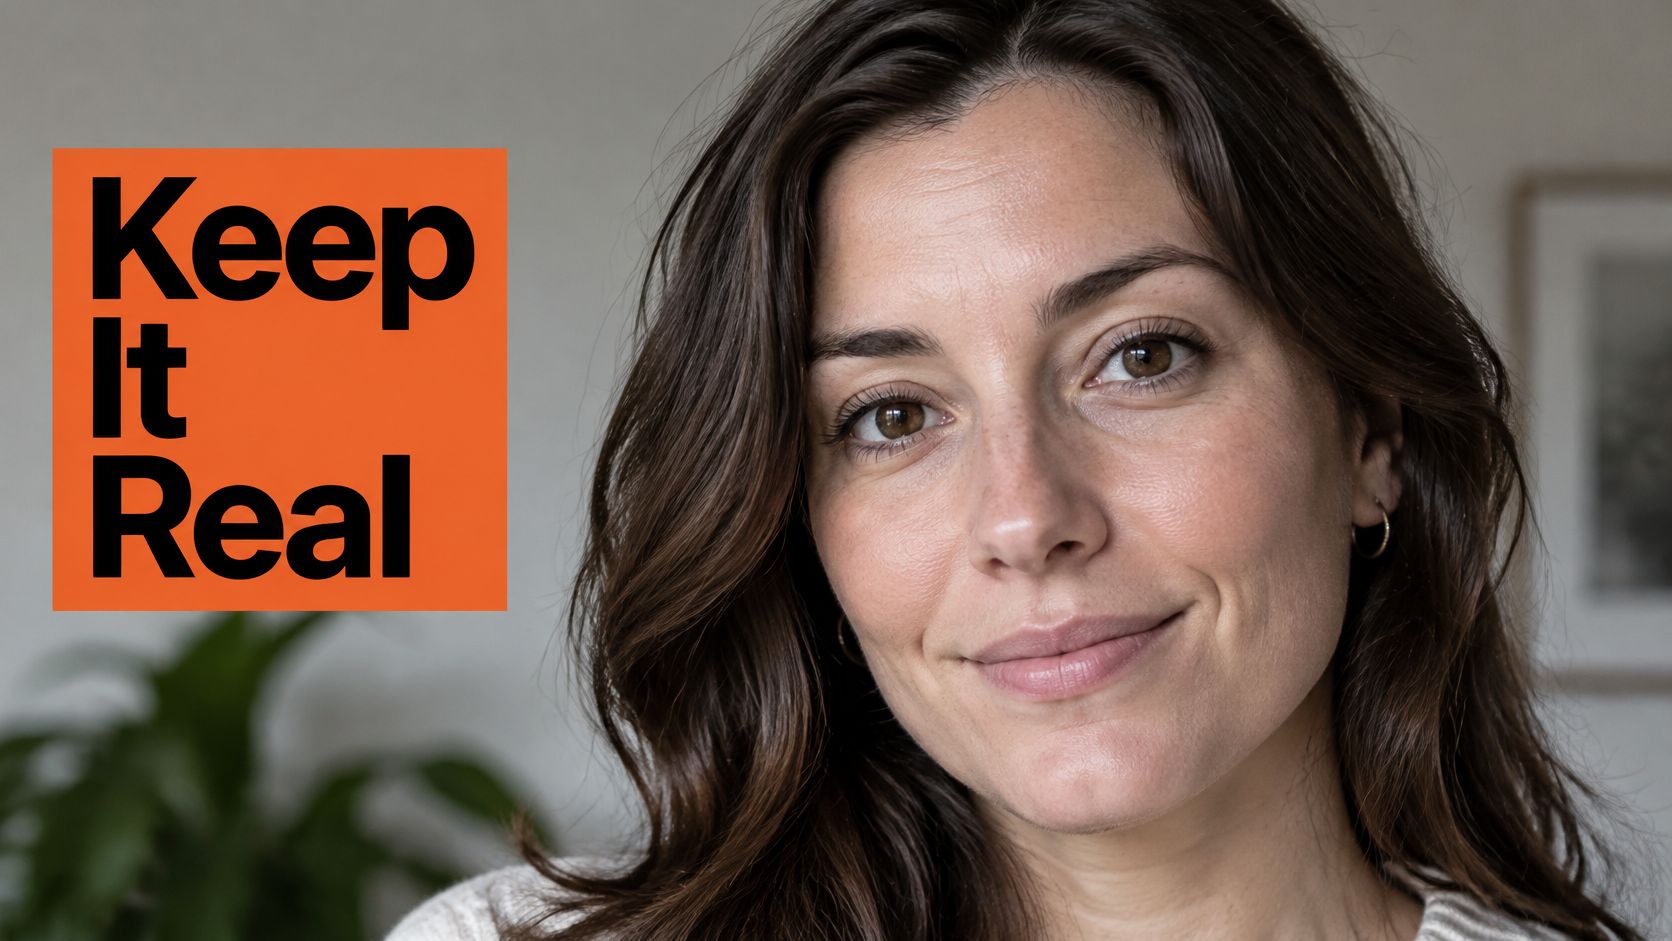
A finished portrait fails when the skin has no pores. Take out the red, active spots and the marks that pull the eye, then stop. Pores, fine lines, freckles, and the shift in tone across a cheek are what make a face read as a face. That stop is the line between a one-minute photo fix and a six-to-twelve-week skin treatment: pixels can hide a spot today, and they cannot replace texture the camera recorded.
Two checks before you export
View the file at 100 percent on a monitor. If the skin looks plastic, or texture disappears in patches, the brush went too far. Then look at the export size, a LinkedIn thumbnail or a 200-pixel circle on a team page. At that size a spotless face with flat tone looks wrong in a way people feel without naming.
Keep the catchlights in the eyes and the shadow under the jaw. Removing either flattens the face. Spot cleanup will not restore light you already erased.
A retouched portrait should look like a good day, not a different person.
AiHeadshots outputs hold realistic skin texture, accurate facial features, and hands that look right. Judge that texture yourself in the examples gallery and the customer reviews. The guide to AI photo retouching shows where smoothing should stop.
Pick your fix before your next portrait
The portrait deadline and the breakout are two different jobs. Treat them as one and you either delay the photo for a cream that needs weeks, or you sand the face down until it no longer looks like you.
Active blemishes that built up over several weeks belong on a topical routine, with a judgement date six to eight weeks out. A 2024 review in the NIH literature, published through PMC, reports that acne affects more than 90% of teenagers, that roughly 40% to 60% continue to experience it into their twenties, and that about 20% develop some degree of scarring. That spread is why a sustained routine beats a panic purchase the night before a shoot.
Painful, deep, or spreading lesions, and marks that are already scarring, are a dermatologist visit rather than another bottle from the shelf. Over-the-counter care is not built for nodules and cysts. Waiting is what turns a treatable breakout into a mark that stays.
A portrait with a hard date stays in the pixel lane. One spot, one click, then stop. Heavy smoothing is the choice that makes the photo look worse than the blemish did. The over-edited face is the line between a six-to-twelve-week skin plan and a minute-long photo fix. Cross it and the portrait reads as a different person.
Need a full set for LinkedIn, a corporate team page, or an acting reel rather than one edited frame? AiHeadshots generates professional headshots online in minutes, with realistic lighting, studio-quality retouching, and multiple background styles through Studio Pod technology. A studio day with a photographer is a different cost and calendar, and retouching is often billed on top. I would book that day when you want a directed sitting. I would use the online set when the deadline is this week and the skin plan still has weeks left.
Blemishes fade. The file you post this week does not. If you want the selfies and generated photos deleted sooner, one request does it. Upload your photos at AiHeadshots and keep the result in the range of a good day: texture still there, features still yours.