



You're three minutes from taking a professional headshot, and your makeup looks perfect in the bathroom mirror. Then the camera catches the shine across your forehead, the foundation line near your jaw, and a lip color that suddenly dominates your face. Natural makeup for headshots is not minimal makeup. It's makeup chosen for light, lens distance, texture, and recognizability.
The reliable standard is simple: look like a polished version of yourself, not like you're wearing a different face. That principle has held across entertainment, corporate branding, casting, and professional portraits, where a headshot often introduces you before anyone meets you. The techniques below focus on what the camera records, including shine, texture, flashback, color shift, and the difference between mirror makeup and studio makeup.
Table of Contents
- Why natural makeup wins on camera for headshots
- Skin preparation and foundation that still looks like skin
- Brows eyes and lashes that define without distracting
- Lip and cheek color that flatters every skin tone
- Lighting wardrobe and background that support your makeup
- Your pre-shoot checklist and quick studio touch-ups
Why natural makeup wins on camera for headshots
A headshot can fail before anyone notices the quality of the camera. The face looks overworked, the skin loses dimension, or the makeup becomes the first thing people see. High-resolution sensors and studio lighting reveal texture and reflective products with far more clarity than a casual bathroom mirror. Heavy eyeliner, glitter, and dramatic contouring can distract from the features that make you recognizable.
Professional headshot guidance consistently recommends a neutral, natural finish and advises people to “err on the side of less” rather than building a glamour look. Backstage's headshot makeup guidance reflects the durable rule used by photographers and makeup artists: the finished image should still look like you.
That matters on LinkedIn, corporate team pages, professional services websites, and casting profiles. A recognizable face communicates more than polish. It supports the viewer's quick judgment of approachability, credibility, and likeness. A 2020 experimental study found that viewing idealized selfies reduced satisfaction with overall facial appearance, while viewing no-makeup images reduced facial satisfaction without changing overall satisfaction. The study's controlled comparison supports a practical portrait rule: don't create a face that feels edited before retouching even begins.
Camera rule: Makeup should remove distractions from your face, not create a new focal point.
The shift away from glamour-style portrait makeup also follows the imaging environment. Digital sensors and studio lights expose shine, uneven coverage, and harsh color transitions. Matte or satin finishes, light coverage, and restrained tones hold together better because they preserve facial structure.
A makeup specialist can be useful if you're unfamiliar with camera makeup, especially if you want specific help with product choice and application. This guide on why see a makeup specialist offers broader context on when professional preparation makes sense. If you're doing the work yourself, the same photography-first thinking applies. Start with skin, control reflectivity, define features lightly, and verify the result through a camera rather than trusting the mirror alone. The guide to looking photogenic adds useful preparation advice for the complete portrait, not just the makeup.
Skin preparation and foundation that still looks like skin
The base determines whether every later decision looks refined or layered. Start with clean skin, then use a light amount of moisturizer that suits your skin type. Give it time to settle. A wet or overly slick surface encourages foundation to move, while completely dry skin makes thin coverage catch on flakes and emphasize texture.
Build coverage from the center outward
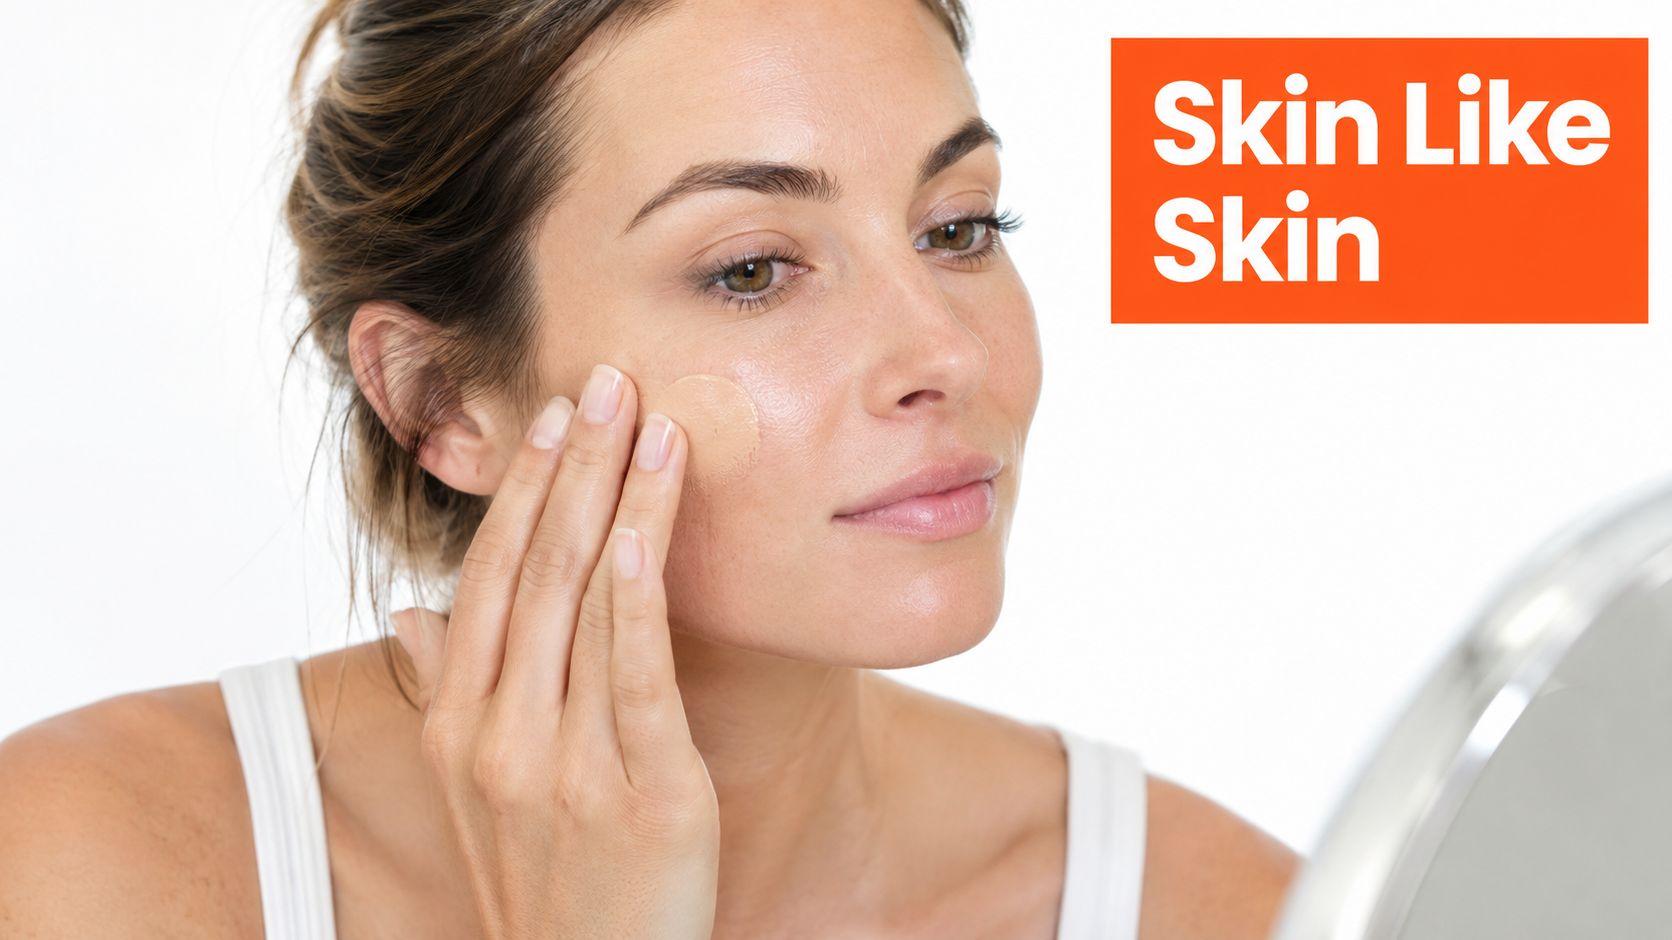
Use foundation that matches your skin tone closely, including its undertone. Apply a thin layer from the center of the face outward, where redness and uneven tone usually need more attention. A technical application method described in headshot makeup guidance from Beaupix recommends spreading foundation in wide circles first, then tightening the circles as you work toward areas that need more precision.
That method prevents the common mask effect. Wide blending distributes product across the center of the face, while smaller circles let you refine coverage around the nose, inner cheeks, and blemishes without adding a heavy layer everywhere. If you need extra correction, add it only where the camera will see a distinct color difference. Thin layers preserve pores and natural facial dimension.
Check the foundation in daylight and indoor light. A shade can appear correct under a warm bathroom bulb and look gray, orange, or pink in a studio. Pay special attention to the jawline, sides of the nose, and hairline. The right match disappears at the edges rather than stopping at them.
If you're researching formulas for sensitive or blemish-prone skin, a product reference such as foundation beige Oxygenetix shade can help you compare shade information, but don't choose a foundation from the name alone. Undertone, finish, and the way the product behaves under your lighting matter more than a label.
The camera doesn't need flawless skin. It needs consistent tone without a visible coating.
For portraits where a small blemish still draws attention, restrained makeup works alongside subtle editing. The blemish removal guide explains why removing a temporary distraction is different from reshaping your face.
Watch the application approach in this practical demonstration, then test the result through your phone camera before the shoot.
Brows eyes and lashes that define without distracting
The upper face carries much of the headshot's expression, but definition has to survive cropping without becoming theatrical. Start with brows that follow your existing shape. Fill sparse areas with short, hair-like strokes in a neutral shade rather than drawing a solid block.
Strong brow contrast can make a natural base look heavier than it is. Brush the hairs upward and outward, then soften any sharp edges with a clean spoolie. The result should frame the eyes, not create two separate graphic shapes above them.
Keep eye definition close to the lash line
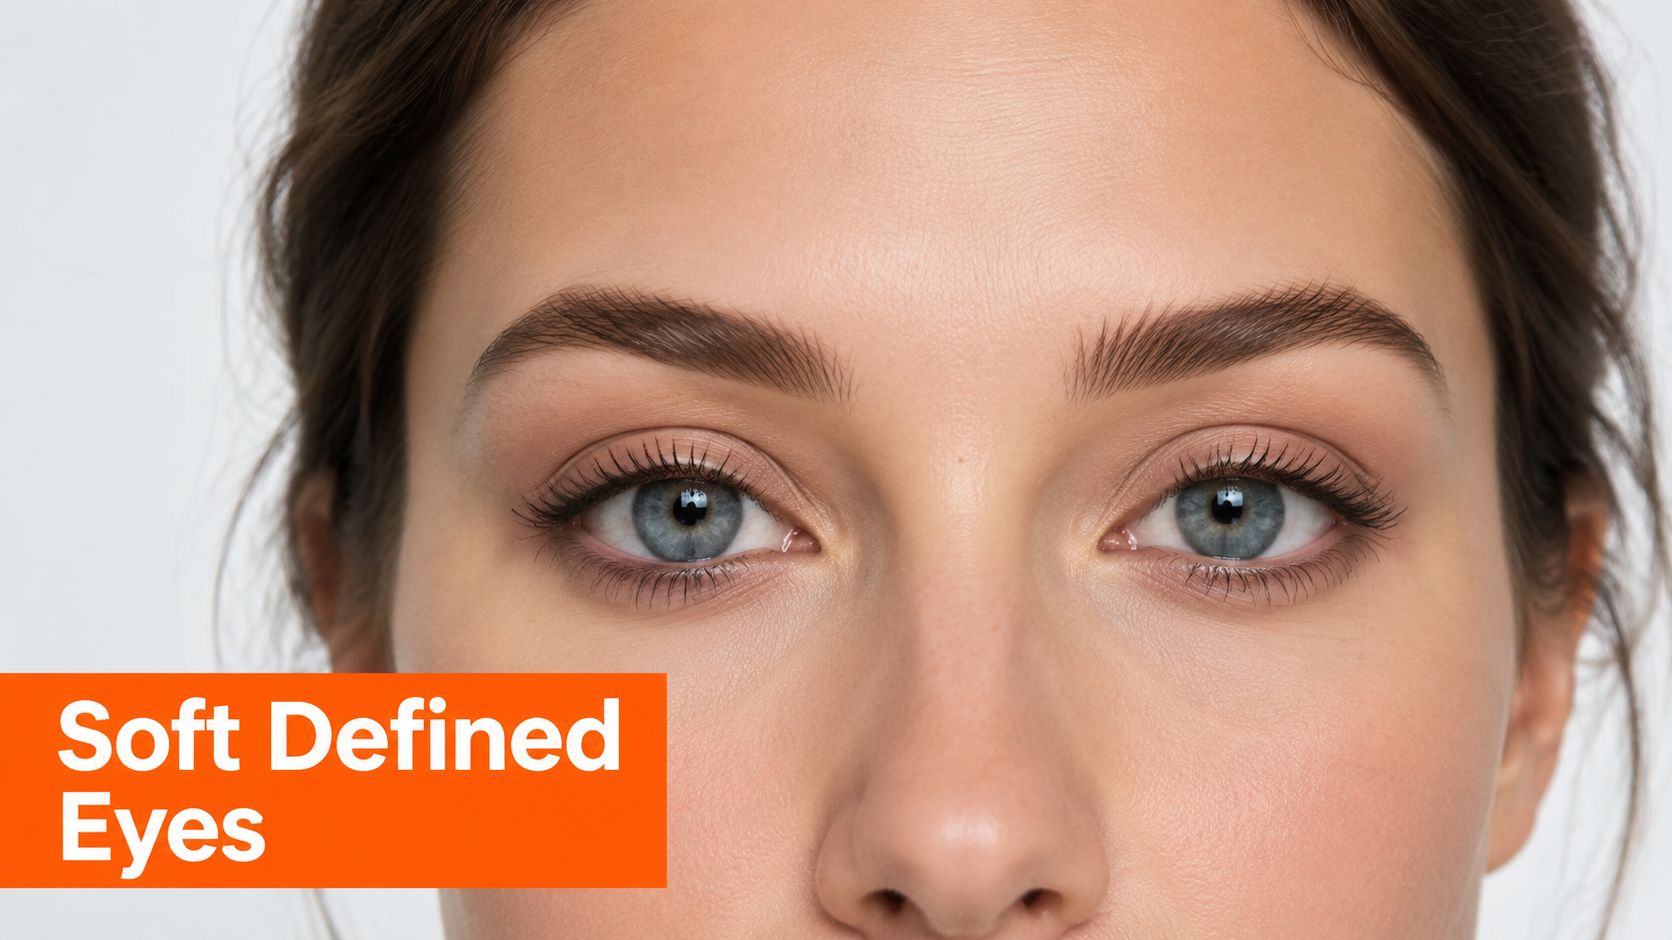
Choose soft-matte neutral shadow. Taupe, muted brown, soft beige, and comparable low-shine colors add depth without reflecting the light source. Shimmer and metallic highlighter create small bright points that compete with the eyes themselves, especially in close portraits.
Use a thin liner close to the upper lashes. Avoid a thick graphic wing unless it reflects your normal appearance and the brief specifically calls for it. A heavy line can narrow the visible lid and make the eye area look harsher than it does in person.
Mascara should separate and darken the lashes, not create spikes. Apply thin layers, let each layer settle, and check for clumps before sitting in front of the camera. Look down and then straight ahead. Fallout under the eyes can resemble shadow, while a dark fleck on the cheek becomes obvious once the face is evenly lit.
Lash extensions and clusters also need restraint. If you use them, review a cluster lash care routine before the shoot so the lash line looks clean and controlled. Loose edges, adhesive shine, and uneven clusters photograph as errors, not softness.
A final check should happen through your phone camera. Blink, smile, and turn slightly. If the eyes disappear, add definition at the lash line. If the liner dominates before you notice the expression, soften it.
Lip and cheek color that flatters every skin tone
Lip and cheek color should restore healthy dimension after foundation evens the complexion. The safest starting point is your own natural coloring. Look at the center of your lips and the tone that appears in your cheeks after mild activity. Choose colors close to those references, then adjust depth rather than jumping to a dramatically different hue.
Fair skin usually benefits from sheer muted pink, soft peach, or gentle rose. Medium skin can carry warmer peach, dusty coral, or rose-brown tones. Olive skin often reads well with muted peach, terracotta, or neutral rose that doesn't turn overly orange. Deep skin needs enough pigment to remain visible, including berry, warm rose, brick, or rich terracotta, while the finish stays controlled.
The key distinction is color depth, not a fixed shade family. A blush that looks subtle in the compact can disappear under studio light. Build gradually on the apples and blend toward the cheekbone. Heavy contouring creates hard artificial planes and can look especially severe in a headshot, where the face occupies much of the frame.
| Do | Don't |
|---|---|
| Stay near your natural lip tone with a satin finish. | Use high-gloss or glitter products that create bright reflections. |
| Choose muted cheek color that restores warmth. | Use a bold lip that pulls attention away from the eyes and face. |
| Use satin or soft-matte textures for controlled dimension. | Build heavy contour that looks harsh under directional light. |
Gloss reflects the light source and can make the lips look wet rather than defined. Glitter creates isolated highlights that don't match the rest of the skin. A satin or soft-matte lip keeps shape and color while allowing the expression to remain central.
Match the cheek and lip family without making them identical. A muted peach cheek with a warm nude lip feels coherent. A cool rose cheek with a related rose lip also works. The best colors for headshots provides further guidance on coordinating makeup with clothing and background choices.
Lighting wardrobe and background that support your makeup
Makeup doesn't operate alone. The light, shirt, and backdrop determine how its colors and textures read. A studio source aimed toward the face makes reflective areas visible, especially across the forehead, nose, and chin. That T-zone catches light first, so a soft-matte finish there usually photographs more consistently than a fully dewy one.
SPF requires special attention. Some sunscreen formulas create flashback, a pale or bright cast that appears when flash or strong light reflects from the product. Professional headshot guidance advises limiting or skipping SPF on shoot day when appropriate, particularly if your makeup already contains sun protection, but follow your medical needs and photographer's instructions. Don't remove a necessary product without a safe alternative.
Shimmer and metallic highlighter create a similar problem through concentrated reflection. Heavy powder creates the opposite problem, flattening the skin and emphasizing texture. The useful middle ground is targeted powder on the T-zone and a natural or satin finish elsewhere. This professional headshot makeup guide also recommends neutral brows, thin mascara layers, and lip and blush colors close to natural tones.
Let clothing and backdrop reduce color conflict
Solid, muted clothing keeps attention on the face. Busy patterns compete with subtle makeup, and shiny fabrics can introduce additional highlights that make the skin appear more reflective by comparison. Choose a neckline that doesn't crowd the jaw or create a distracting edge beneath the face.
Background tone changes perceived makeup color. A warm background can make foundation and blush look warmer. A cool gray or blue background can make warm lip color appear stronger. Test the full combination on your phone, including shirt, makeup, and a similar wall or backdrop.
The T-zone is the final lighting check. Blot first, then apply a small amount of powder to the forehead, nose, and chin. Scale Headshots' guidance on T-zone control focuses on those areas because they commonly catch the most light. Keep powder away from places where you want natural dimension unless shine is clearly visible.
Your pre-shoot checklist and quick studio touch-ups
Run the complete look through a camera before the session, not just a mirror. Take one image facing the light and another with your head turned slightly. Check the jawline, nostrils, brow edges, under-eye area, lip border, and the center of the forehead. A camera test exposes color mismatch and shine faster than repeated bathroom inspections.
Use this short sequence before shooting:
- Prepare the surface: Clean the skin and apply light hydration. Avoid leaving a slick layer that encourages foundation movement.
- Build the base: Apply skin-matched foundation in a thin layer, then spot-correct only where needed.
- Control reflection: Blot the T-zone and set it with soft-matte powder. Don't powder the entire face automatically.
- Define the eyes: Groom the brows, use neutral matte shadow, keep liner thin, and separate the lashes.
- Restore color: Add muted cheek color and a satin or soft-matte lip close to your natural tones.
- Check the frame: Test the complete look with your clothing, background, and available light.
If you wear daily SPF, check for flashback before the shoot and ask the photographer about the lighting setup. If you have visible pores or acne, don't bury the texture under thick foundation. Thin coverage with localized correction preserves a more credible surface, while restrained retouching can handle temporary distractions. If your skin is oily, keep blotting sheets and a small powder compact nearby. If it's dry, hydrate lightly and avoid layering powder over flaky areas.
Climate changes the balance. Humid air increases surface shine and can make foundation shift, so use lighter hydration and targeted setting. Dry air increases the risk of patchiness, so prioritize a settled, comfortable base before adding powder. Neither climate justifies covering the whole face with product.
Right before the shutter, use a two-minute touch-up. Blot the forehead, nose, and chin. Press, don't rub, so you don't move the base. Add powder only where the reflected light remains visible, then refresh the center of the lips and inspect the teeth line for transfer.
Modern portrait editing works best with a face that already has believable tone and texture. The direction is toward invisible retouching, not heavy correction that makes real skin and edited skin disagree. Makeup should give the photographer a clean, natural starting point.
Upload 10 selfies to AiHeadshots, choose a camera-safe natural look, and see your first professional headshot in about 30 minutes for $29.
