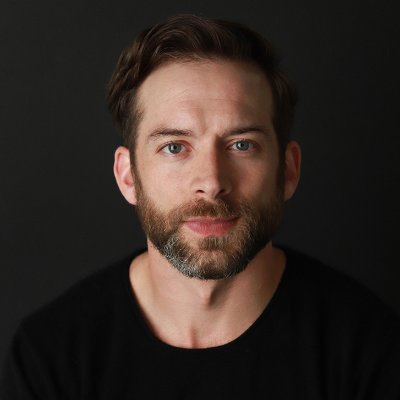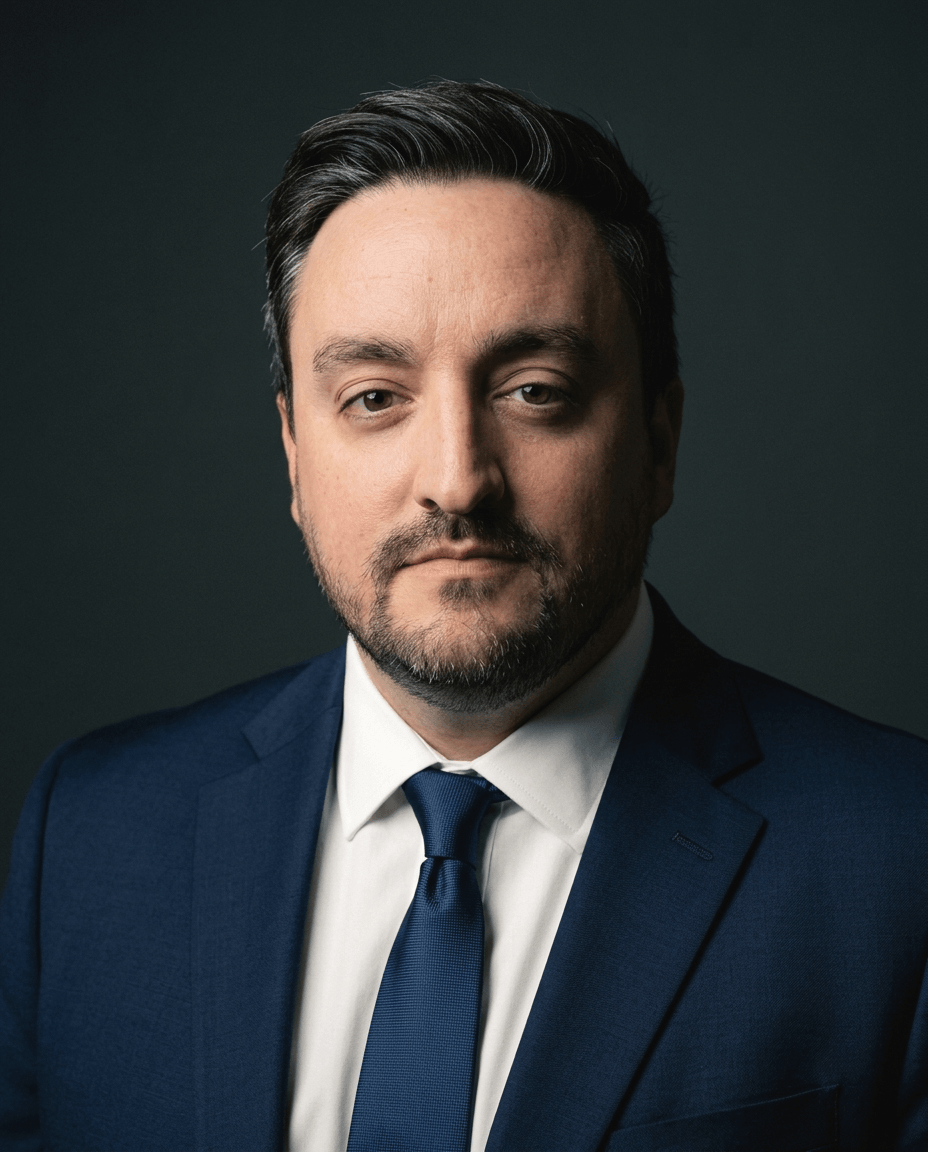
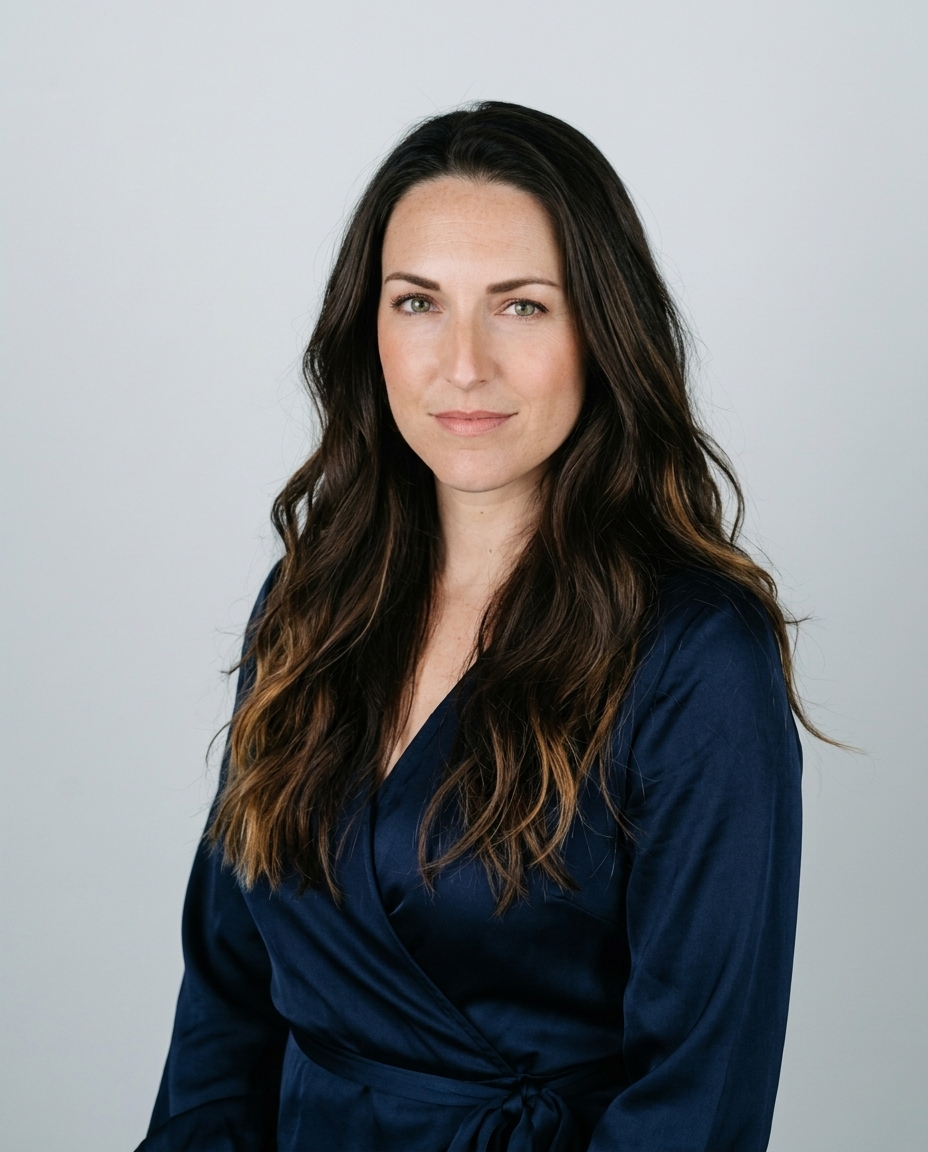
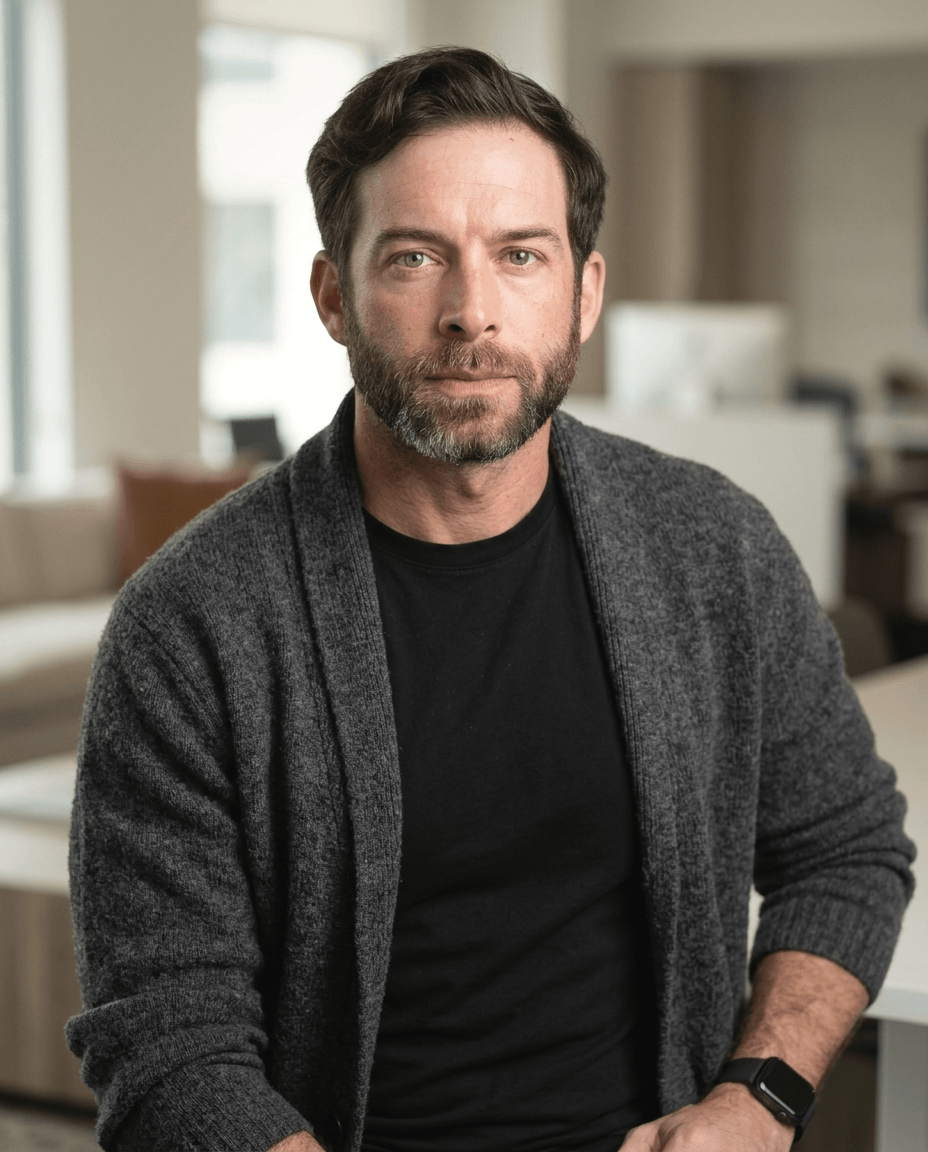
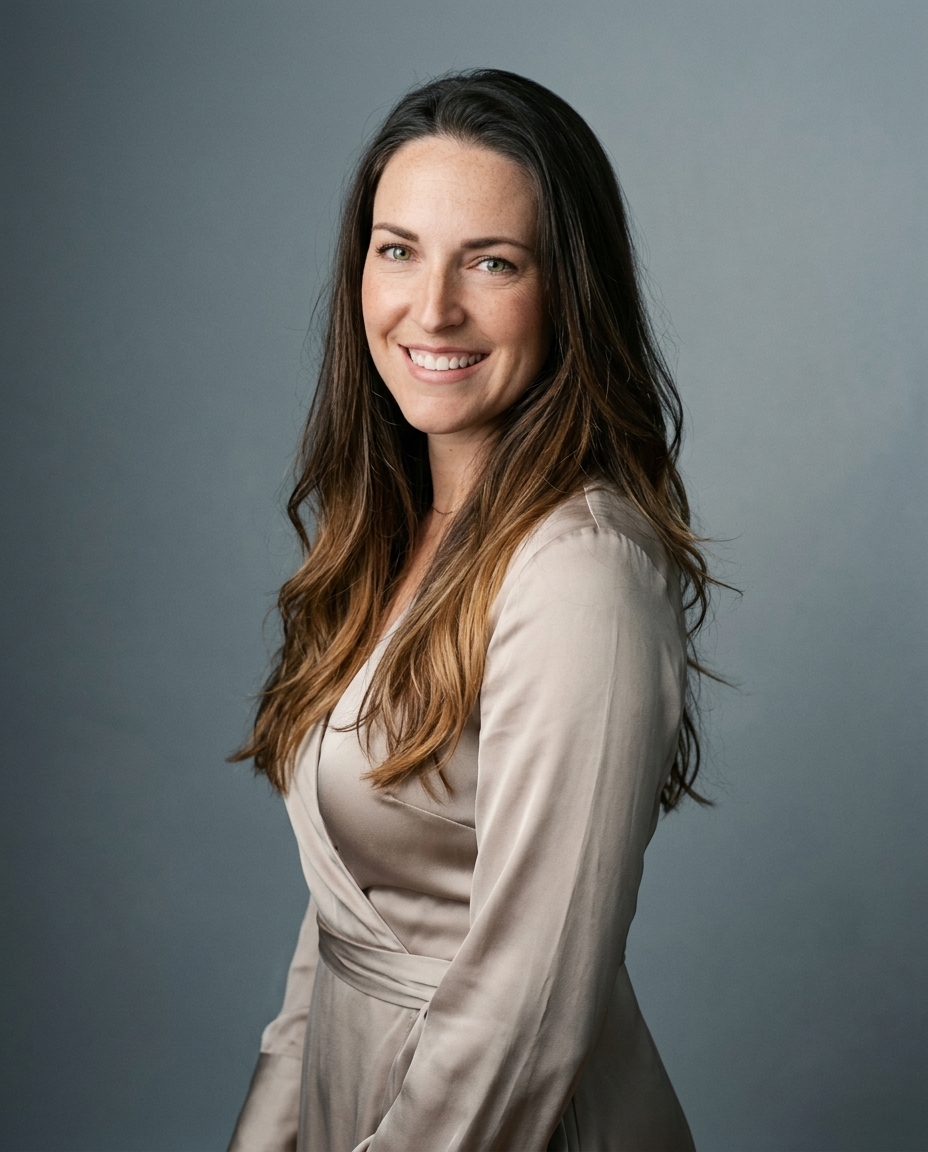
A more obvious smile isn't automatically a more natural one. A comparison of spontaneous and posed smiles found stronger cheek-raising activity in spontaneous smiles, which explains why lifting the lips without adjusting the upper face creates an unconvincing result.
To change facial expression naturally, edit the regions that move together, preserve the person's underlying features, and stop before the adjustment becomes a different face. The useful question isn't how far your editor can push a smile. It's how little you need to change for the photograph to communicate the right expression.
Table of Contents
- Pick the expression your photo needs
- Why mouth-only edits look wrong
- How to change a facial expression step by step
- Acceptance checks before you publish
- Cultural and accessibility limits on expression edits
- Decide between editing a photo and reshooting
Pick the expression your photo needs
Target expressions, regions to edit and safe strength
| Target expression | Regions to edit | Safe strength | Common failure |
|---|---|---|---|
| Warm smile | Mouth corners, cheeks, outer eye corners | Moderate, teeth mostly hidden | Lip-only lift that looks forced |
| Relaxed closed-mouth look | Lips and a slight cheek lift | Low | Stretched lips that read as tension |
| Neutral and composed | Brows and eyelids only | Low | Flat face with heavy eyelids |
| Focused and confident | Brows and closed mouth, jaw untouched | Low to moderate | Lowered brow that reads as anger |
| Approachable and open | Small brow lift, warm cheeks, mouth | Low | Raised brows that read as surprise |
Start with the intended expression, not the smile slider. A therapist's directory portrait and an executive's conference biography don't need the same degree of animation. Choose an expression that suits the photograph's use and that the subject recognizes as their own.
Read the strength column as a limit, not a target. Low means barely perceptible displacement at the image's working resolution. There's no universal pixel allowance because face size and image resolution change how much movement each pixel represents.
Define the change before touching the face
For a relaxed closed-mouth look, release visible lip compression without stretching the mouth sideways. Keep the eyelids relaxed rather than adding a smile-like squint. For a composed portrait, preserve an already suitable mouth and concentrate on unnecessary tension around the brows.
A warm smile needs a different balance. Keep the person's existing lip shape, avoid inventing exposed teeth, and let the cheeks carry part of the warmth. Our guide to happy facial expressions is useful for distinguishing a restrained smile from a more animated expression.
Working limit: An expression adjustment should change what the face communicates, not which face the viewer recognizes.
Write the target in a sentence before opening the editor: a restrained, closed-mouth smile with relaxed brows and recognizable facial proportions. Check that sentence against the table. If your instruction also asks for a sharper jaw, larger eyes, or a narrower nose, separate those requests from the expression edit.
Why mouth-only edits look wrong
A smile moves the lips, cheeks, and eye region together. The zygomaticus major pulls the lip corners upward, while the orbicularis oculi raises the cheeks, narrows the eye opening, and produces outer-eye wrinkles, as described in this study of smile mechanics.
Compare the mouth with the surrounding face, not just with its original outline.
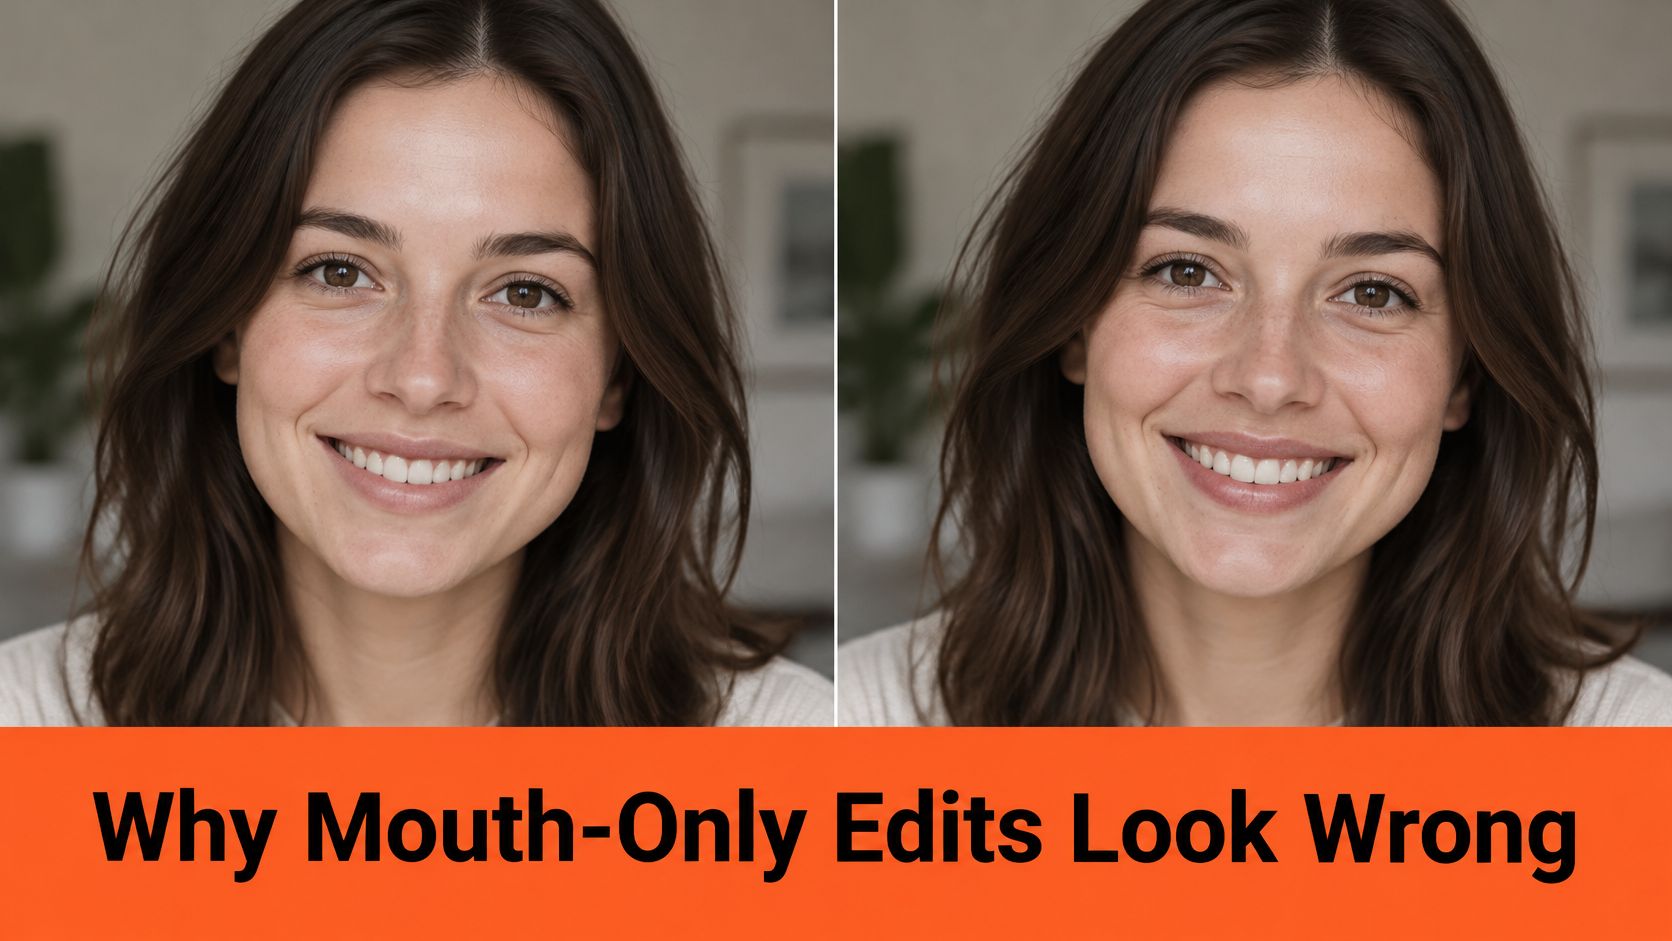
Say you widen the mouth slightly and lift its corners while leaving the cheeks flat. The mouth now suggests a smile, but the tissue above it still resembles the original expression. Pulling farther usually makes the mismatch more conspicuous, especially where the lips meet the cheeks.
The answer isn't to add exaggerated crow's feet. The eye-area marker associated with a Duchenne smile also occurs in posed expressions, so it isn't a sincerity detector. Preserve the subject's existing creases rather than drawing a generic happy-face pattern onto their skin.
Coordinate the regions without exaggerating them
The mouth still matters. A Frontiers in Psychology study found that observers generally struggled to distinguish genuine from posed smiles, and training attention on mouth movement improved recognition more than training focused on Duchenne markers.
That finding argues against both shortcuts: mouth-only editing and eye-only editing. Keep lip-corner movement, cheek lift, and eye narrowing proportional. A restrained smile doesn't need the compressed eyelids of a broad grin.
Use the demonstration as a movement reference rather than a shape to copy.
Finish with a squint test. View the photograph small or temporarily blur a preview so fine texture disappears. If the mouth looks cheerful while the upper face looks detached, reduce the mouth adjustment before adding more movement elsewhere.
How to change a facial expression step by step
Use this order: detect and align, mark the regions, define the target, blend the movement, coordinate the face, clean the seams, then validate. Keep an untouched original and make geometry adjustments on a duplicate layer so you can back off without rebuilding the edit.
Facial Action Coding System, or FACS, gives practitioners a shared vocabulary for describing facial movement. A psychometric evaluation of FACS found good-to-excellent reliability for action-unit occurrence, intensity, and timing when certified coders performed the assessment. That's a reason to define the movement precisely, not to assume an automated expression label proves success.
Make the regional edit
Detect and align the face. Start with a front-facing photograph where both eyes and the mouth are clear, then check that the editor's guides follow the actual features. Hair across an eyelid, glare on glasses, or a hand beside the mouth requires manual correction before you distort anything.
Mark landmarks and expression regions. Identify the brows, eyelids, cheeks, and mouth, then protect the surrounding face with a mask. In Photoshop, use Face-Aware Liquify cautiously and freeze areas that shouldn't move, including the nose bridge, ears, and jaw boundary.
Define the target movement. For a smile, specify lip-corner pulling and cheek raising, or select a target expression class your tool supports. If you're using a prompt-based tool such as the ImagesArt AI AI image editor, describe the regional change and explicitly request unchanged facial proportions.
Blend across the facial mesh. Increase the adjustment in small increments rather than committing to the strongest preview. With a landmark-based workflow, check the mesh around the lips and eyelids before blending so misplaced control points don't drag adjacent skin.
Match the mouth and eyes. Compare the cheek height and outer-eye compression with the amount of mouth movement. Preserve natural asymmetry instead of forcing both sides into identical curves.
Clean the seams. Inspect the mask boundary, lip outline, eyelid folds, and nearby skin for smearing or doubled edges. Heal isolated texture defects on a separate layer, but undo distorted geometry rather than painting over it.
Validate expression and identity. Toggle between the original and edited versions at the same scale and alignment. Reject changes to eye spacing, nose shape, tooth arrangement, or jaw proportions that weren't part of the intended expression.
Keep geometry and finishing separate
Don't use skin smoothing to hide a difficult transition. It removes the texture you need to judge whether the surrounding tissue still belongs together. Likewise, sharpening a stretched lip edge makes the distortion clearer rather than fixing its cause.
For broader cleanup, our guide to editing professional headshots separates portrait finishing from structural changes. Finish the expression first, then balance color and local contrast without changing the result.
Keep a visible review reference beside the working image.
Stop when the expression reads correctly at normal viewing size. An edit that only works under magnification isn't ready.
Acceptance checks before you publish
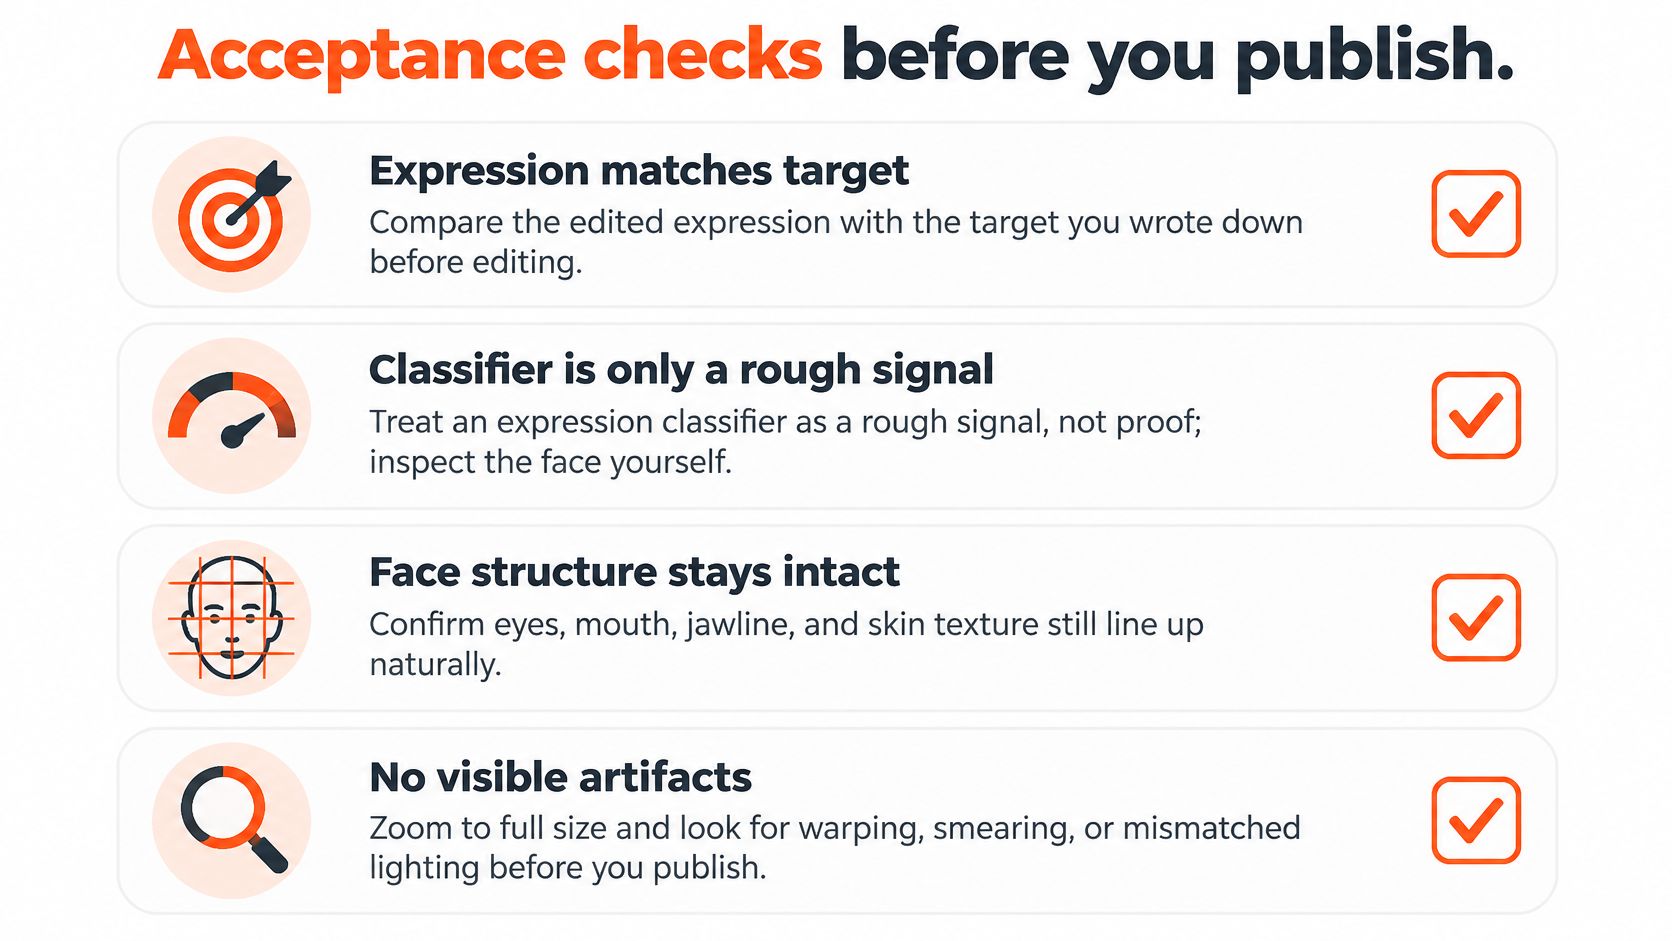
Check expression, identity, artifacts, and photographic consistency separately. Don't combine them into a single impression that the picture looks good. An attractive portrait still fails if it shows the wrong expression or no longer resembles the subject.
First, compare the result with your written target. A 2025 study involving 34 participants found human agreement rates of 87% for sadness, 73% for anger, and 69% for happiness when evaluating AI-generated facial expressions. Treat a classifier as a rough signal, then inspect whether the requested expression reads in this photograph.
Separate identity from expression strength
Second, check resemblance independently. A facial-expression editing benchmark uses 747 source–target–edit triplets, evaluates Fidelity, Alignment, and Relative Expression Gain separately, and reports identity-preservation scores around 0.54–0.66. Those scores aren't universal pass marks for your headshots; calibrate any automated similarity threshold against accepted and rejected images from your own workflow.
A reviewer should also compare recognizable details directly. Look at the upper-lip contour, resting eyelid shape, dental features, and habitual asymmetry. Don't accept a generic resemblance while overlooking a changed feature that the subject immediately notices.
Third, inspect artifacts at full size. Follow the lip border into the mouth corners, check tooth separation, and trace the eyelid folds. Examine the hairline too, especially if the editing tool changed more than the selected region.
Use a checklist to keep approval consistent.
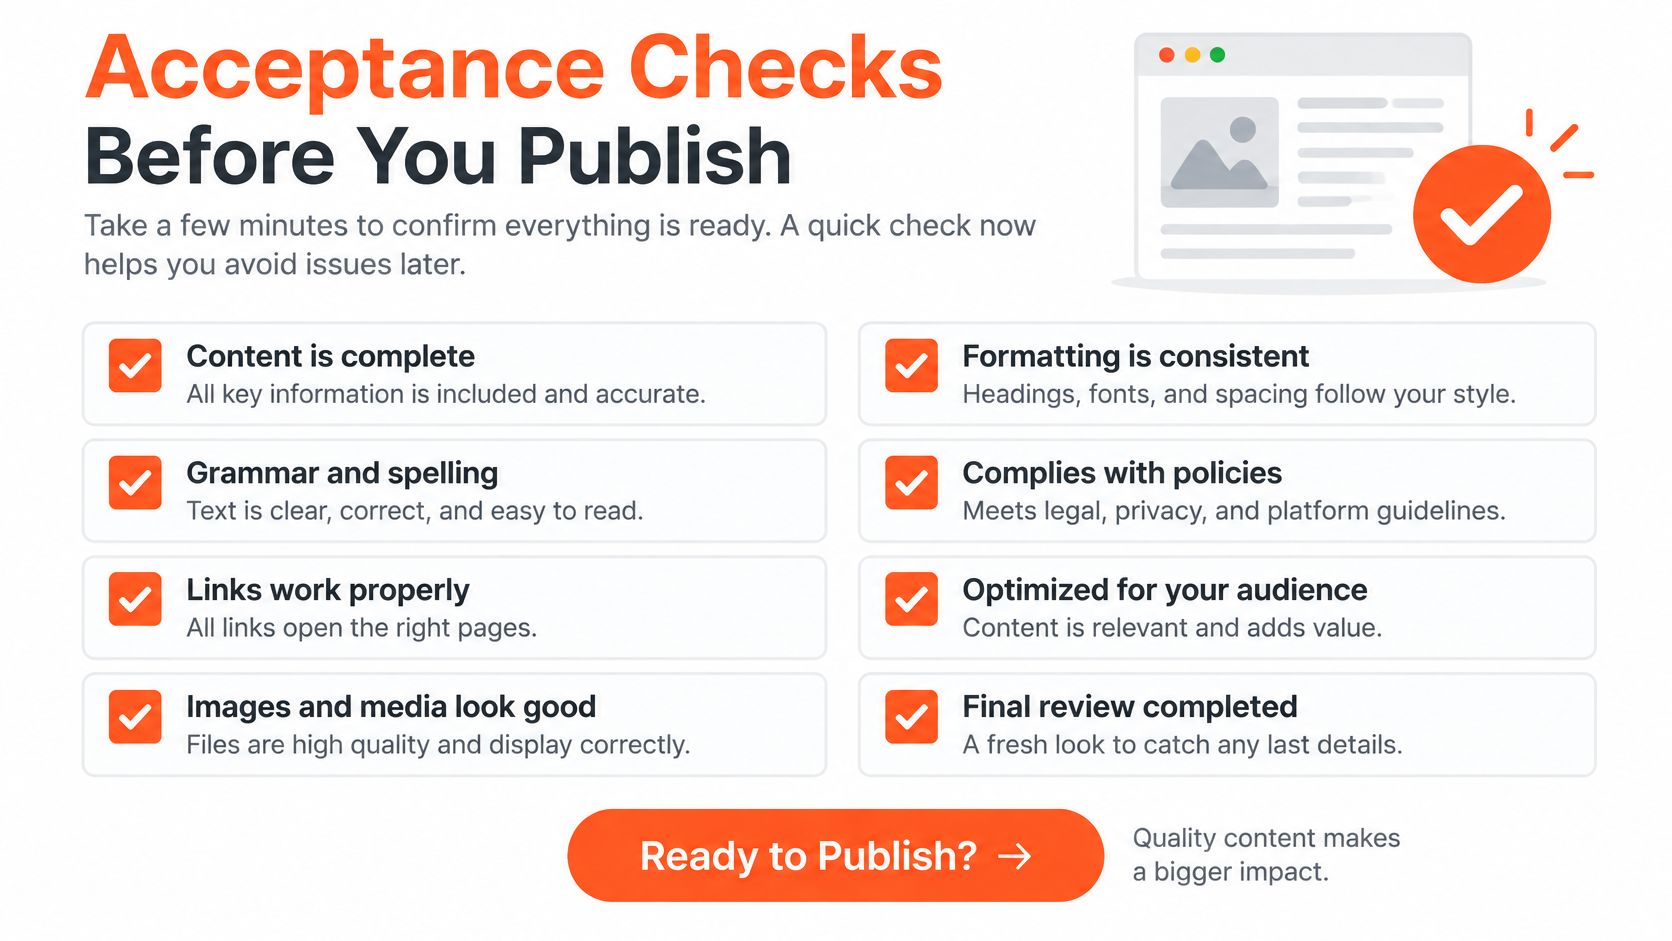
Check the photograph, not just the face crop
Fourth, inspect lighting and pose across the complete image. Newly raised cheeks should retain plausible highlights and shadows. A clean facial crop doesn't excuse mismatched skin detail or a mouth that appears more front-facing than the head.
A comparison of automated systems and human raters found lower recognition performance on non-standardized expressions than on standardized images. Record pose, lighting, and occlusion when evaluating a workflow rather than treating every photograph as an equivalent test.
Our guide to a realistic AI image adds context for reviewing the complete portrait.
Publication gate: Require a target match, identity above your calibrated baseline, clean feature boundaries, and human review of every borderline result.
Cultural and accessibility limits on expression edits
A bigger smile isn't automatically more credible. A 2025 systematic review of 105 studies identified nine mechanisms behind cross-cultural differences, including attention to eyes versus mouth, display rules, stereotypes, and differing emotion concepts. The review also discusses an experiment across North America, Europe, and Japan covering 45,231 facial reactions to 2,185 videos, with broad convergence alongside differences in expression intensity.
Don't turn that evidence into a national smile preset. Match the expression to the individual, profession, intended audience, and actual placement. For a global team, prepare a restrained option and let the person review it alongside a warmer version.
Don't confuse conformity with professionalism
Eye contact, symmetry, and an easily categorized emotion aren't universal measures of a good portrait. An analysis of AI hiring systems warns that interpreting expressions and social cues can disadvantage people with disabilities, neurological conditions, or facial differences. Autistic people also express internal states through cues that differ from neurotypical expectations.
Ask the subject which expression feels recognizable and comfortable. Keep improvements to lighting, posture, and framing separate from requests to change identity-linked facial signals. A focused or neutral portrait doesn't need conversion into a broad smile to count as polished.
Respect the subject: Don't erase facial difference or habitual expression to satisfy a corporate template.
For recruitment and company-wide branding, require human review and give employees a meaningful choice. Reviewers should judge photographic quality without treating atypical expression as evidence about competence or personality.
Submission rules matter too. Some contexts, including medical fellowship applications and certain casting platforms, require disclosure that a headshot is AI-generated. Check the destination's requirements before submitting, and don't describe a generated portrait as an unaltered camera photograph.
Decide between editing a photo and reshooting
Edit when the face is right and the expression needs a restrained adjustment. Reshoot or regenerate when the change requires rebuilding the face. A successful correction preserves the useful photograph; repeated reconstruction usually means you're working from the wrong source.
Choose another frame if you need to invent visible teeth, uncover an obscured eye, or reverse an extreme expression. Better source material gives you real anatomy and texture instead of asking the retouch to supply them. Time already spent on a file is a poor reason to keep pushing.
Choose realism or illustration deliberately
For a professional portrait, prioritize recognizable features over a dramatic transformation. If the intended result is deliberately illustrated, you can compare cartoon profile pic makers through Creators Toolbox instead of treating stylization as realistic retouching. Those are different visual decisions, with different standards for resemblance.
AiHeadshots is an AI research team developing new ways to automate photography, powered by Studio Pod. Running a working studio taught the team how light lands on a face, why a jaw looks wrong at 35mm, and what separates a LinkedIn-ready shot from a snapshot. Other AI headshot companies are software teams retrofitting open models on scraped internet photos.
You upload 10–20 casual phone selfies, choose styles, and receive 30+ studio-grade headshots in about 30 minutes, with an email when the pack is ready. Your selfies are used only to generate your pack and are never sold, never shared with third parties, and never used to improve the base model. If the pack doesn't resemble you, AiHeadshots offers a free re-train with better selfies before a refund, backed by a 100% money-back guarantee within 14 days.
AiHeadshots gives you professional portrait options so you can choose a recognizable expression instead of forcing a heavy edit onto the wrong photograph. Try a free preview, or pick the $59 Executive plan for 70 finished headshots in 7 unique style looks, with an outfit and up to 4 backgrounds.