
The best corporate headshots aren't the ones shot with the fanciest camera. They're the ones that make a stranger trust you in a split second.
That isn't just photographer bias. Professional headshots have a measurable effect on visibility and recall. LinkedIn profiles with professional photos receive up to 21× more views and 9× more connection requests, and one visual-memory summary notes that people remember about 10% of written information after three days, but recall improves to 65% when a photo is added, according to this photography marketing summary. That's why the best corporate headshots matter. They don't just look polished. They do a job.
We've seen that firsthand. Studio Pod has photographed 10,000+ real professionals since 2019, and that photographer-first experience shaped how Studio Pod built AiHeadshots. The standards haven't changed just because delivery methods have. Good light still matters. Good framing still matters. Expression still matters. The difference now is that you have more ways to get there.
Table of Contents
- Your headshot is a signal of trust
- The three paths to a corporate headshot
- What makes a headshot work the photographer's framework
- Posing and expression that build trust
- Styling your shot wardrobe and background
- From session to selection choosing your final images
Your headshot is a signal of trust
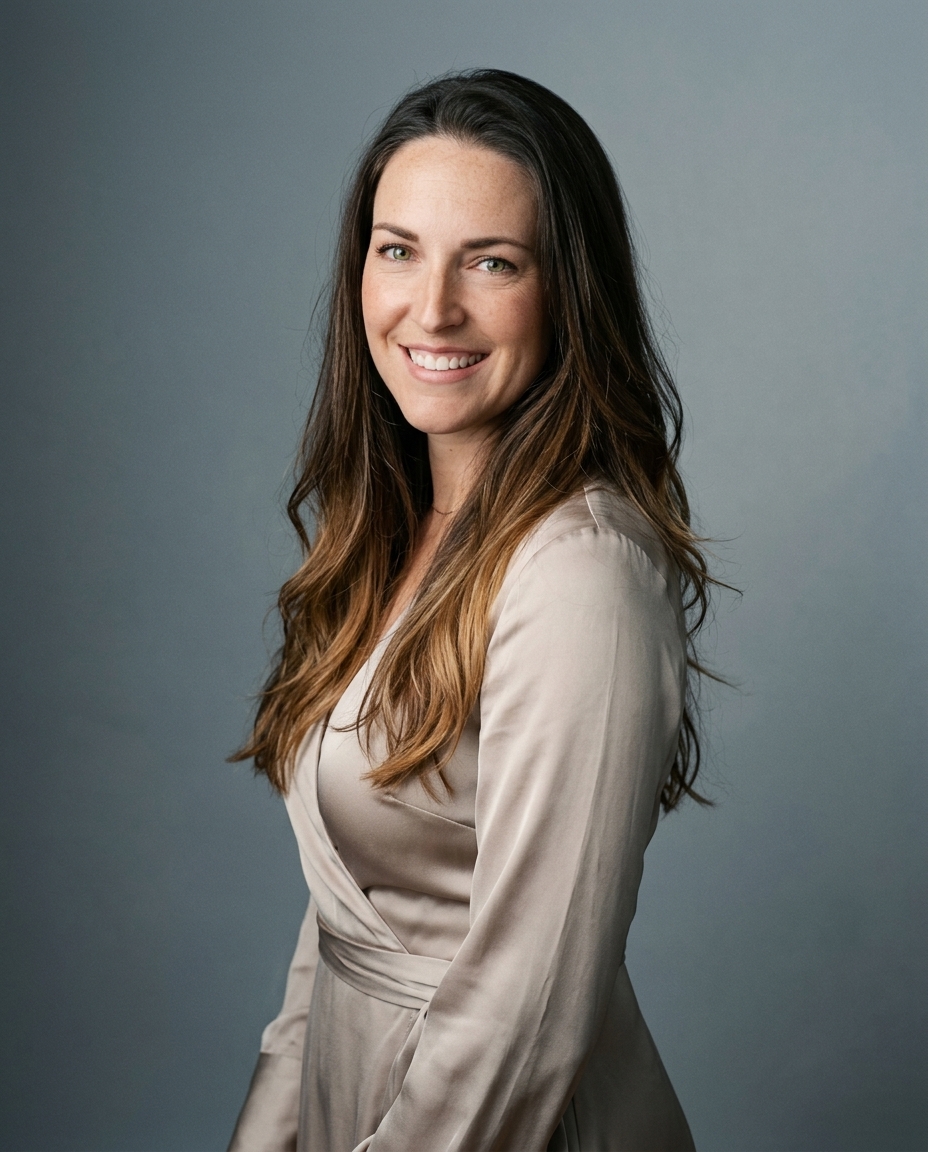
A corporate headshot is a shorthand. Before anyone reads your bio, title, or experience, they make a judgment from your face, posture, wardrobe, and expression.
That's why the best corporate headshots feel simple. They don't call attention to lighting tricks or editing. They make you look competent, current, and easy to work with. A bad headshot does the opposite. It reads as outdated, stiff, overprocessed, or careless.
Trust is visual before it is verbal
Most professionals use headshots across LinkedIn, company websites, email signatures, directories, and client-facing materials. In practice, that means one image often carries your first impression in several places at once. If the photo feels off, every one of those touchpoints gets weaker.
Practical rule: A strong headshot should make someone think, “This person looks credible,” before they think anything else.
At Studio Pod, that's the framework we've used across thousands of real sessions in Houston. It also shaped the standards behind AiHeadshots. We didn't start with generic image generation and try to retrofit a business portrait style later. We started with what works in real headshot sessions, then built a system around those standards.
What trust looks like in practice
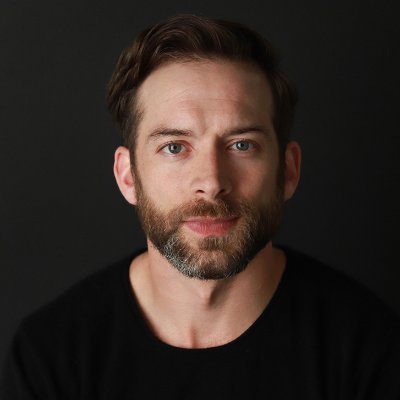
Trust in a headshot usually comes from a few visible cues working together. The eyes are clear. The expression is engaged. The crop keeps attention on the face. The clothing supports the role without overpowering it. Nothing in the frame looks accidental.
You can feel this difference immediately when comparing two portraits of the same person. One says “professional.” The other says “this was the best photo available.”
This is the dividing line. The best corporate headshots don't need to be flashy. They need to look intentional.
The three paths to a corporate headshot
Most professionals now have three realistic options. Hire a photographer. Use an AI headshot generator. Or do it yourself with a phone, tripod, and timer.
Those paths are not equal. They solve different problems, and the right choice depends on budget, speed, consistency, and how much control you need.
The market split is real
Pricing for business headshots now spans a wide range. Capturely lists AI generators at $29 to $59, DIY at $0 to $20, standard studio sessions at $150 to $300, premium studio work at $295 to $450+, virtual live-photographer sessions at $45 to $79, and studio turnaround stretching from 1 to 3 weeks at the higher end, as outlined in Capturely's business headshots guide. That spread tells you something important. Buyers aren't only choosing image quality. They're choosing a production model.
| Method | Cost | Time Investment | Typical Result |
|---|---|---|---|
| DIY | $0 to $20 | Fast to shoot, slower to troubleshoot | Good enough only if you already understand light, framing, wardrobe, and editing |
| AI generator | $29 to $59 | Short upload process, fast delivery | Broad range of options. Quality depends on the system and the source photos |
| Standard studio photographer | $150 to $300 | Scheduling, travel, session, selection | Reliable if the photographer has a repeatable process |
| Premium studio photographer | $295 to $450+ | Highest time commitment, often 1 to 3 weeks | Most custom control over lighting, styling, and retouching |
What each option gets right
A traditional photographer still gives you the most direct control. If you need exact brand matching, live coaching, or a team-day setup that has to be repeated, studio photography remains the cleanest answer. It also costs more, and it takes longer.
DIY works when your standards are modest or your budget is near zero. It fails when the background is cluttered, the lens is too close, or the expression turns stiff because no one is coaching you.
AI sits in the middle. It removes scheduling and travel, and it can produce many more options than a short studio proof gallery. The weak systems look synthetic because they were built by software teams chasing style presets. The stronger systems are shaped by actual photographic practice. That distinction matters. We wrote more about that trade-off in this comparison of AI headshots vs photographer options.
AiHeadshots is Studio Pod's AI headshot product. It comes from photographers Joseph West and Hunter Casner, not a team retrofitting open models, and it delivers 30+ studio-grade headshots in about 30 minutes from 10 to 20 phone selfies, with pricing from $29 at AiHeadshots pricing.
If you care most about custom direction, hire a photographer. If you care most about speed and price, use a photography-informed AI system. If you care most about spending nothing, accept that DIY usually looks like DIY.
What makes a headshot work the photographer's framework
Good headshots are built, not lucked into. Across studio sessions, team days, and AI outputs, the same three variables keep deciding the result. Lighting. Composition. Background.
That's the framework we rely on in a studio, and it's the same logic we used when building Studio Pod's process into a digital workflow.

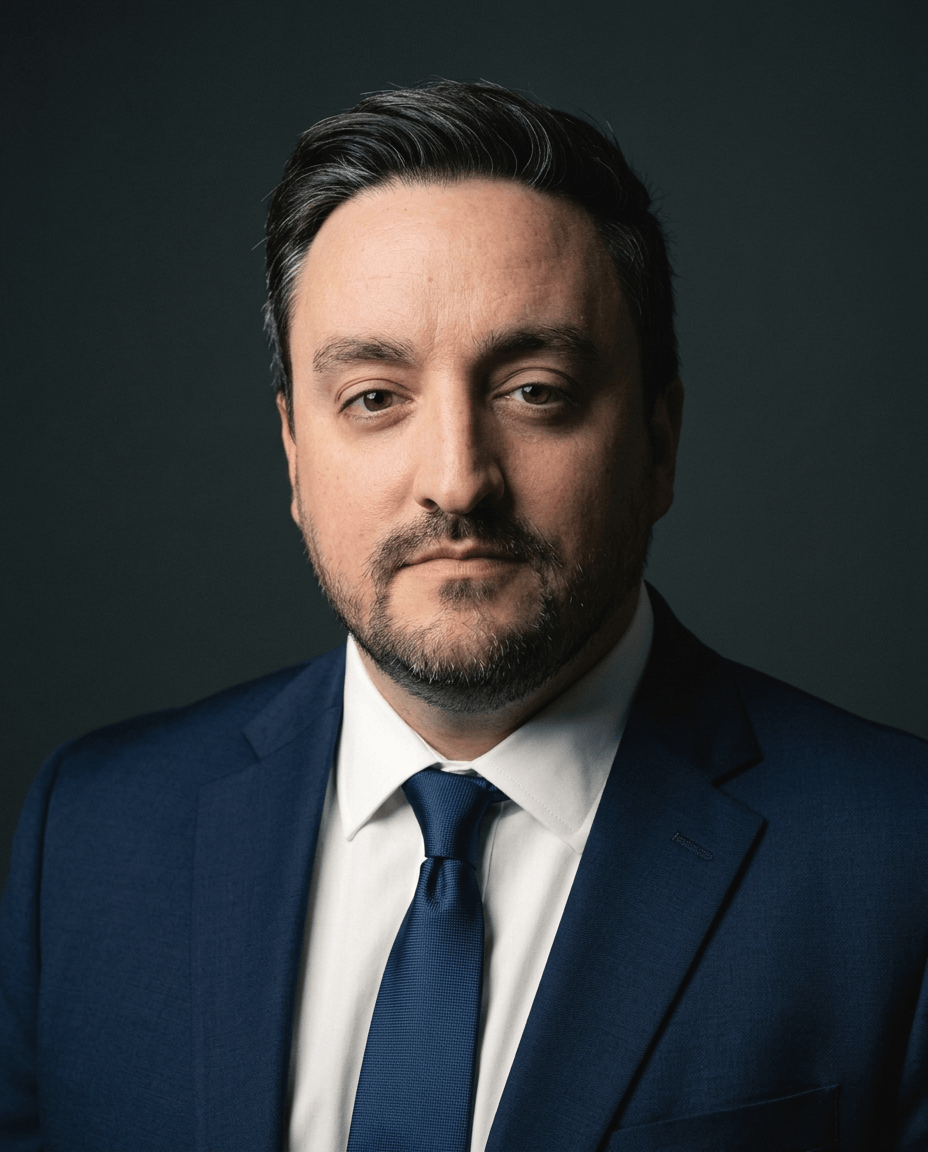
Lighting decides whether a face looks flat or credible
The most repeatable corporate setup is still a controlled 1- or 2-light setup, with a clean background and chest-up or shoulders-up framing, according to SLR Lounge's guidance on corporate portrait workflow. That advice holds up because it solves the core problem. You need enough shape on the face to create dimension, but not so much contrast that the image feels dramatic or harsh.
Soft directional light usually wins. It defines the cheekbones, jawline, and eyes without exaggerating texture. Overhead office lighting rarely does that. Flat front light can also fail. It removes shape and makes the face look wider and less alive.
Good light should describe the face, not flatten it.
Composition controls attention
A strong headshot puts the face where attention naturally goes. Practitioners often crop around a 60% face-fill ratio and prefer chest-up or shoulders-up framing so the face remains dominant, with lens choices like 85 mm or 70-200 mm when there's enough space and 50 mm when working closer, as described in Alan Ranger's corporate headshot notes. That's technical language for a simple result. Your face should read first, and distortion should stay low.
If the camera is too close with a wide phone lens, features start to stretch. If the crop is too loose, the frame fills with clothing and background. If it's too tight, the image feels cramped.
Background finishes the job
The background should disappear from your viewer's conscious attention. Clean gray, white, or muted environmental backgrounds all work if they don't compete with the face. What doesn't work is clutter, harsh contrast, or anything that introduces visual noise.
Consistency matters even more for teams. If one employee has bright window light, another has a beige wall, and a third has a dark office shelf behind them, the company page looks assembled instead of managed. That's why we document setups in studio work and why we care so much about repeatable output. You can see that framework applied across different looks in the Studio Pod framework guide and in our headshot examples gallery.
Posing and expression that build trust
Most posing advice for corporate headshots is too generic to be useful. “Turn three-quarters.” “Chin forward.” “Smile naturally.” That advice isn't wrong. It's just incomplete.
A lot of people don't fit the standard template. Some have mobility limits. Some feel their features become uneven on camera. Some wear glasses that catch light. Some have shorter necks, broader shoulders, or posture patterns that make the usual headshot pose look forced.

The standard pose fails a lot of people
That gap is real. Much of the existing advice still treats one near-universal pose as the answer, even though that leaves little guidance for people with non-standard body types or accessibility needs, as discussed in Capturely's posing guide for corporate headshots. In practice, good posing is adaptive.
If someone has limited mobility, work with the shoulders and eyes instead of forcing torso rotation. If someone's face reads asymmetrically on one side, test both turns. If glasses catch reflections, shift the chin or the light, not the person's whole posture. If someone feels compressed in the neck, raising posture through the sternum often works better than asking for a harder chin push.
The right pose is the one that looks natural on that person, not the one repeated in every headshot article.
Small expression changes matter more than dramatic posing
Expression carries more trust than pose. A slight forward lean can add engagement. A relaxed mouth reads differently from a forced smile. A little eye crinkle often makes someone look present rather than tense.
Recent practitioner advice has moved toward coaching micro-movements and subtle asymmetry because rigid posing often looks stale in modern professional use, particularly across remote-first team pages and LinkedIn profiles. That shift is discussed in this video on creating more natural-looking headshots.
Here's a practical demo worth watching before you choose or shoot a headshot:
If you're taking selfies for an AI workflow, the same rules apply. Don't freeze. Change your eye intensity slightly between shots. Relax your jaw. Shift your shoulders a little. Give the system more than one version of your expression. That gives you a better chance of landing on an image that feels like you on a strong day, not a stiff one. We've written more about that in our LinkedIn headshot guide and our 10,000 headshots study.
Styling your shot wardrobe and background
Wardrobe is support. Background is support. If either one steals attention from your face, the headshot gets weaker.
That's why the best corporate headshots usually look restrained. Not boring. Controlled.
Dress for your actual audience
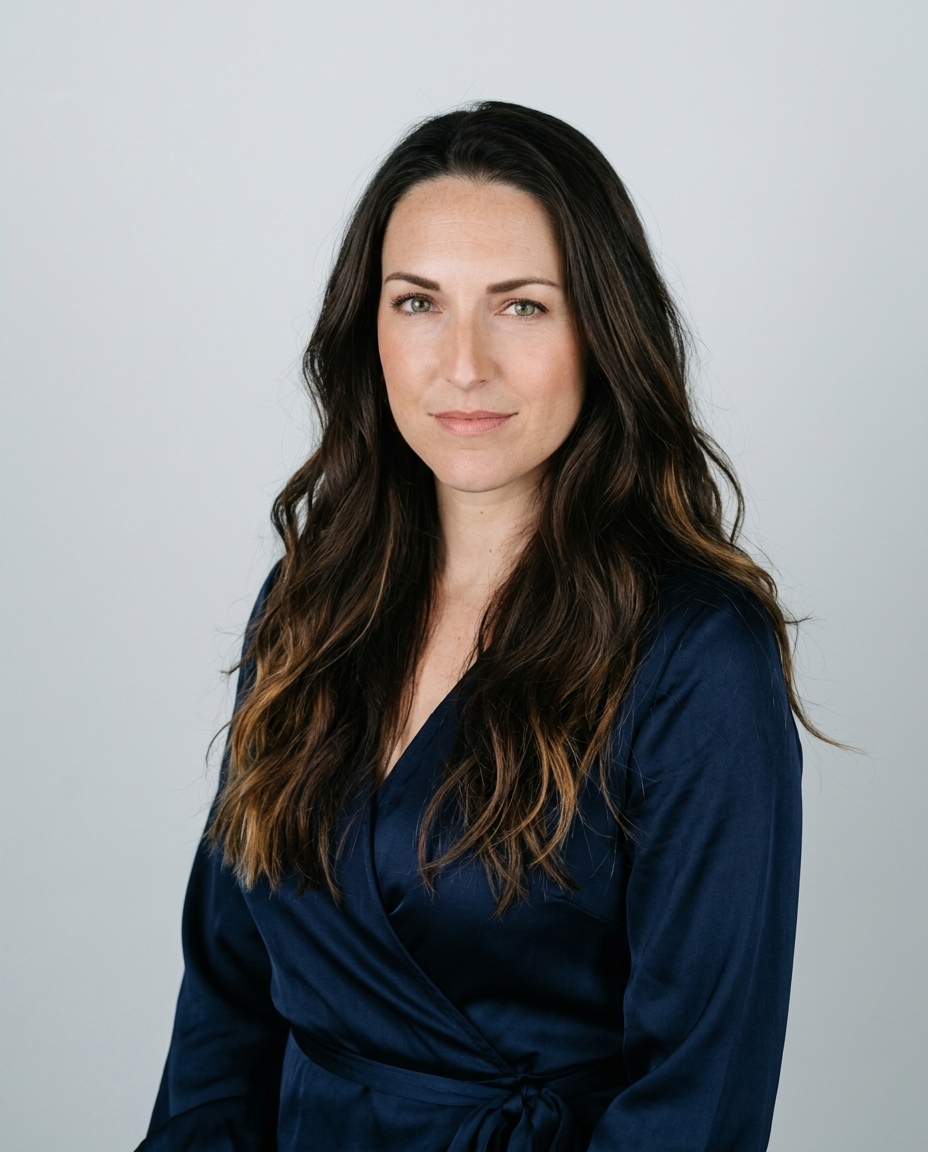
Wear what you'd wear to meet an important client, hiring manager, board member, or referral partner in person. That doesn't mean everyone needs a suit. It means the clothing should match the level of professionalism your role requires.
Busy patterns rarely help. Large logos date the image and pull attention away from the face. Very trendy cuts can age a headshot faster than people expect. Solid colors usually hold up better, especially mid-to-dark neutrals and richer tones that separate cleanly from the background.
Your clothing should tell the viewer where you work, not what brand sold you the shirt.
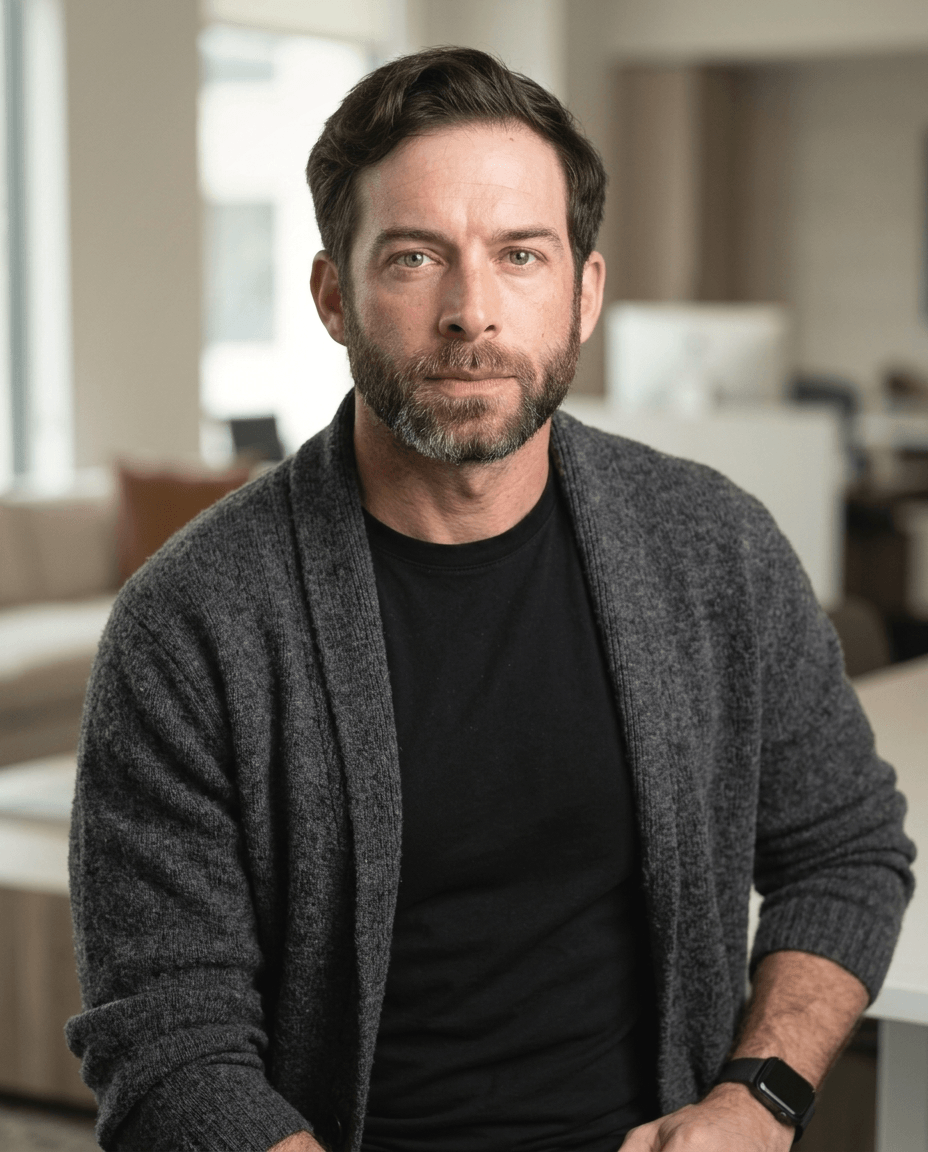
The same shift toward natural expression affects wardrobe choices too. As photographers move away from rigid studio posing and toward more lived-in, authentic portraits, clothing that feels too formal for the person can create tension in the frame. A modern headshot often works best when the outfit is polished but believable.
Background should support not compete
Neutral backgrounds are the safest choice because they travel well across platforms. They work on LinkedIn, team pages, conference bios, and press mentions without needing context. Environmental office backgrounds can work too, but only if they're clean and intentional.
For a law firm partner, a controlled neutral may read stronger than a trendy workspace. For a startup founder or recruiting page, a softer office environment can feel more current. The question isn't which background is objectively better. It's which one keeps attention on you while fitting the brand around you.
For team pages especially, consistency matters as much as style. If you're managing multiple employees, set a background direction once and stick to it. That's where a structured workflow helps, including team-oriented options like AiHeadshots for teams.
From session to selection choosing your final images
It's often assumed the hard part is getting the photos taken. It usually isn't. The hard part is choosing the right final image from a set of decent options.
That's where professionals often make the wrong call. They pick the one that feels most flattering to them personally, not the one that communicates best to the audience who'll see it.

Pick for use not vanity
A LinkedIn headshot should usually feel open and approachable. A conference speaker image can carry a little more authority. An internal team photo can be slightly looser. The same person can need more than one final crop or expression depending on where the image will live.
Use this filter when reviewing a gallery:
- Check the eyes first. If the eyes look vacant, overtense, or distracted, reject the image.
- Then evaluate expression. Keep the frames where the face looks engaged and believable, not overperformed.
- Review crop and background. If your face doesn't dominate the frame, or the background keeps pulling attention, move on.
- Match the image to the platform. Choose warmth for networking, authority for formal bios, and consistency for company directories.
What to keep and what to reject
Keep the image that looks like the version of you people should meet first. Reject the image that only works because of a dramatic angle, heavy retouching, or a fleeting smile that doesn't feel like you.
This is also where quantity helps. A small proof gallery can produce a great final image, but a broader set of usable options makes it easier to separate “pretty good” from “clearly right.” If you want to see how real users describe that process, the AiHeadshots reviews page is useful reading.
Upload 10 selfies, see your first headshot in 30 minutes, starting at $29 at AiHeadshots.