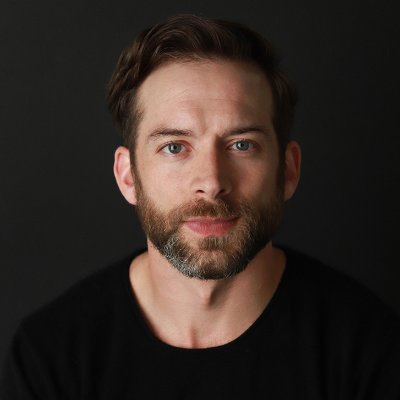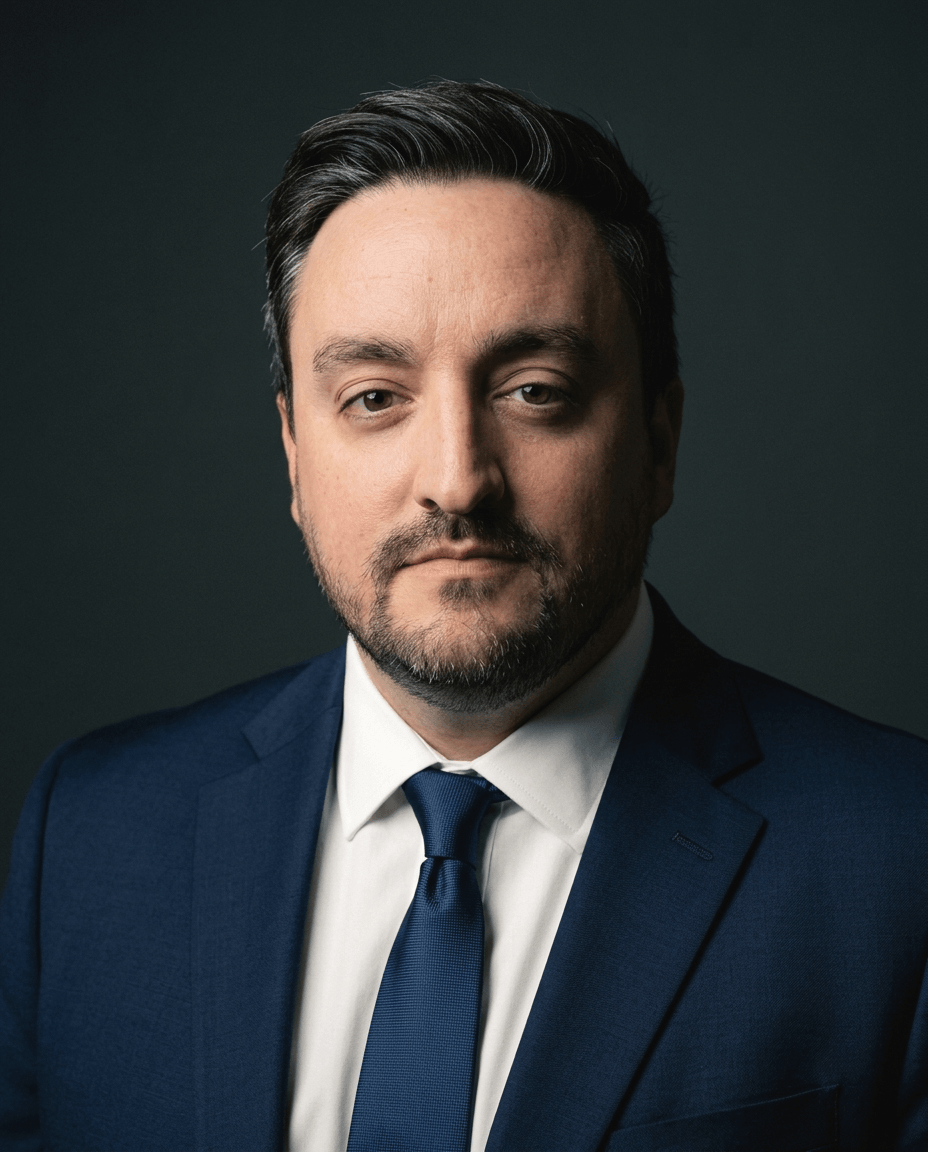
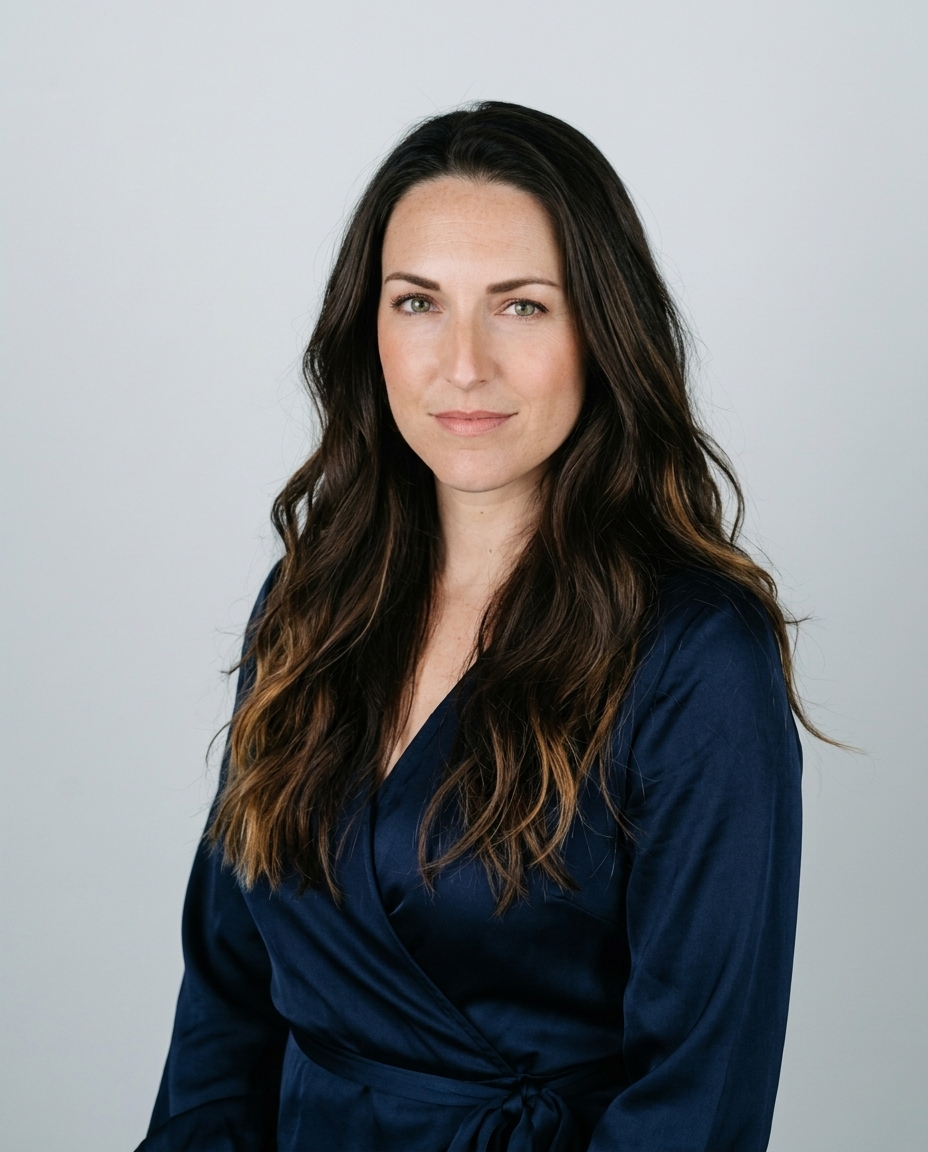
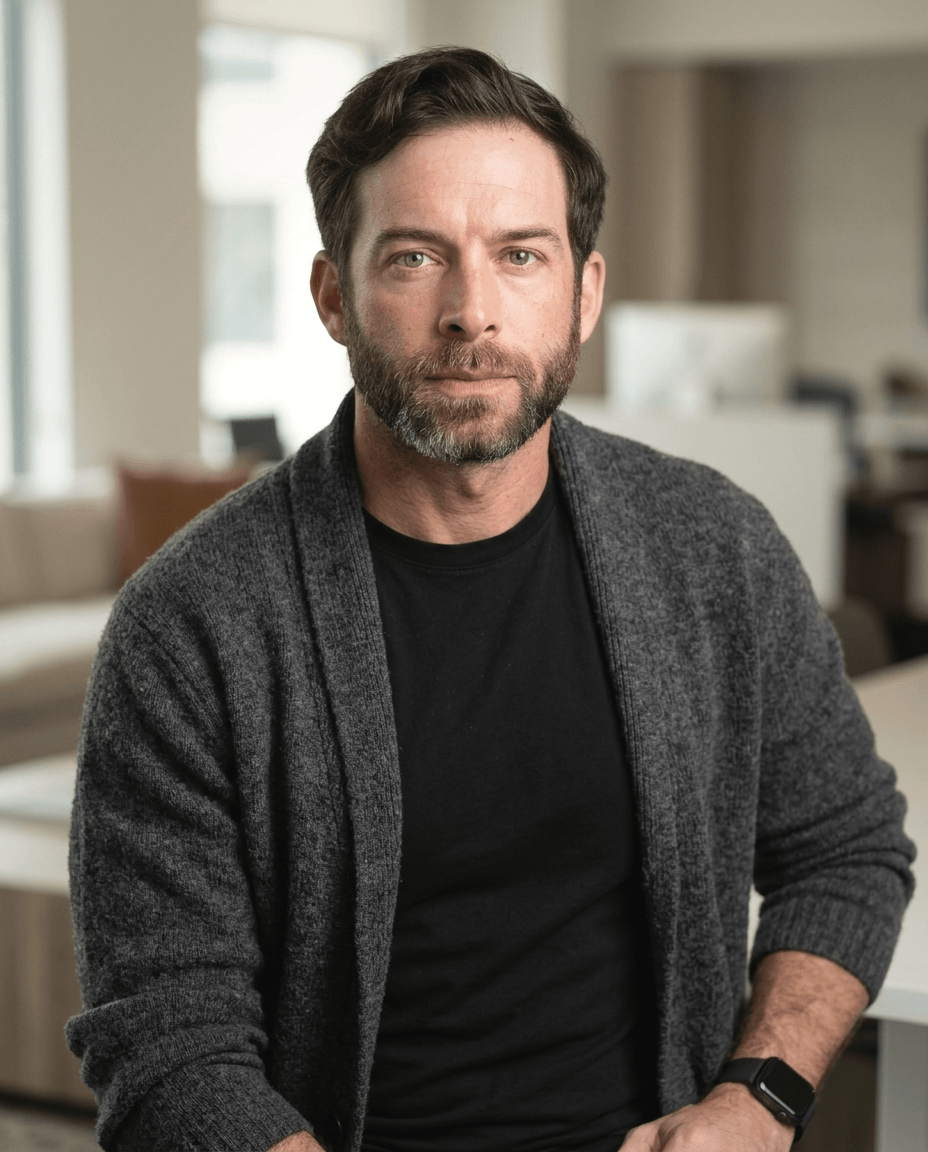
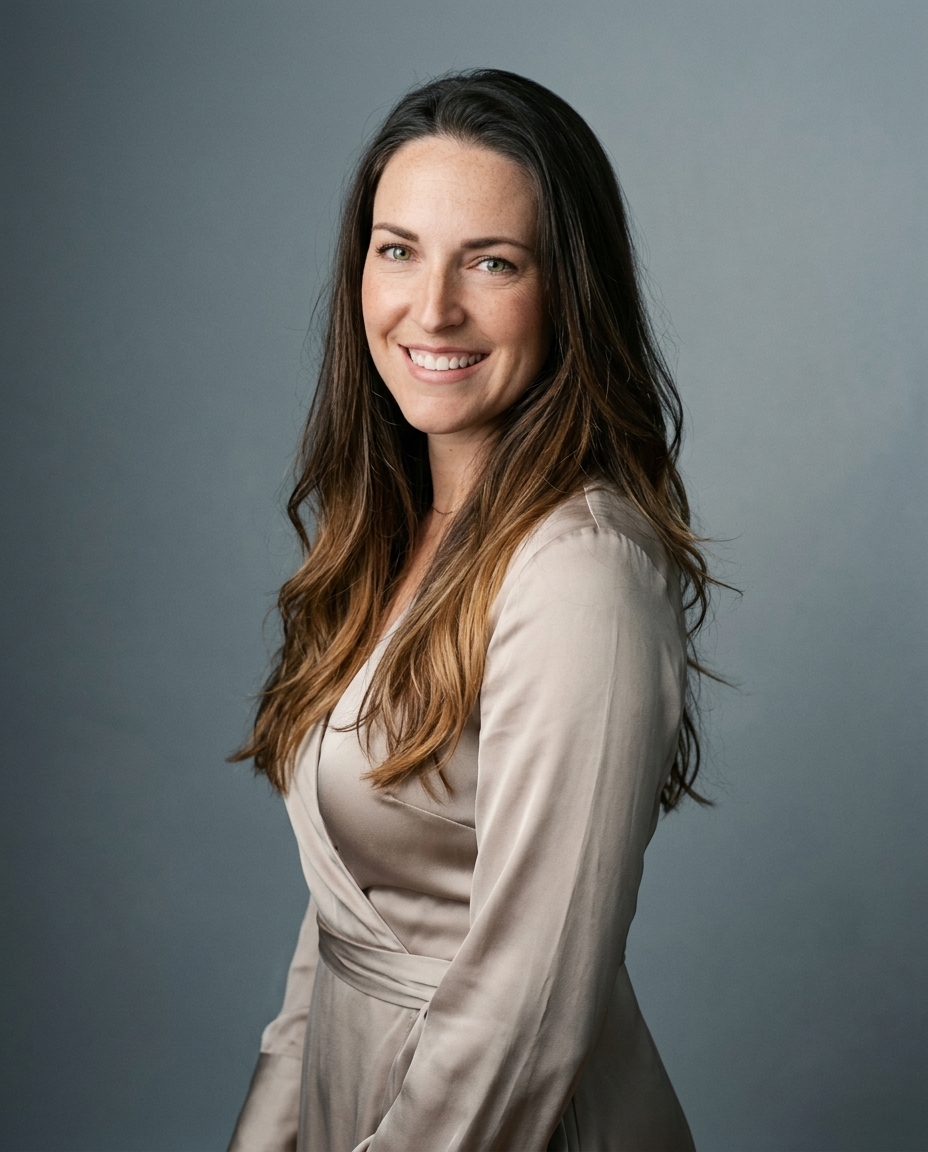
The standard actor headshot is an 8 x 10-inch vertical portrait at 300 dpi, which is 2,400 x 3,000 pixels, framed shoulders-up with your face clearly visible. Keep that print master separate from the smaller files you upload to casting sites.
The trap is treating every recommended digital size as print-ready. A file can pass a profile upload and still lack the detail or proportions you need for a full-size print. Actor headshots size is a master-file decision first, then a platform-export decision.
Table of Contents
- Standard actor headshot sizes at a glance
- Why 8 by 10 inches remains the print standard
- Framing and cropping an actor headshot
- How to export one master for every submission
- Platform upload sizes for casting sites and organizations
- File formats, filenames and file size limits
- Checking your headshot before you submit
- Confirm your master file before you submit
Standard actor headshot sizes at a glance
Start with the print master, not the smallest file a casting website accepts. In his 2025 audition headshot guide, Clive Arrowsmith reports the common 8 x 10-inch, 300 dpi standard, equivalent to 2,400 x 3,000 pixels, and a recommended digital range of 1,200 x 1,600 to 2,000 x 2,500 pixels.
Those digital endpoints don't all share the print master's proportions. Treat them as export benchmarks, not permission to stretch an image into a different shape.
Universal actor headshot benchmarks
| Benchmark | Dimensions or value | Resolution or ratio | Where it applies |
|---|---|---|---|
| Print master | 8 x 10 inches, vertical | 300 dpi, 2,400 x 3,000 px | Physical prints and the archive master |
| SAG-AFTRA award minimum | Longest side at least 1,800 px | 300 dpi | Digital submissions to SAG-AFTRA awards |
| Audition digital range | 1,200 x 1,600 to 2,000 x 2,500 px | Includes both 3:4 and 4:5 proportions | Audition uploads, as reported for 2025 |
| Recommended file size | 1 MB to 5 MB | JPEG preferred for sharing | Online submissions and email |
| Accepted formats | JPG, PNG, TIFF | High quality, no heavy compression | SAG-AFTRA award submissions |
For convenient sharing, Mandy's acting headshot guidance recommends 1 MB to 5 MB and a high-quality JPEG. That's a handling target, not a universal upload limit.
Request the full-resolution digital file from your photographer, rather than downloading your portrait from a casting profile. A profile copy is a delivery file, not your archive. Pull the print master first, then compare your intended destinations with their current upload requirements.
Why 8 by 10 inches remains the print standard
The SAG-AFTRA Young Performers Handbook specifies a color, full-frame, 8 x 10-inch headshot, excludes full-length, three-quarter and profile photographs, and tells performers to obtain a digital copy from their photographer. This is a useful U.S. baseline, not a law governing every submission.
The print arithmetic is straightforward. Multiply each dimension in inches by the desired pixels per inch: 8 x 300 = 2,400, and 10 x 300 = 3,000. Although delivery instructions commonly say dpi, pixels per inch is the relevant measurement when calculating image resolution.
The small-file trap
A 1,200 x 1,800-pixel image prints at only 4 x 6 inches at 300 pixels per inch. Divide each pixel dimension by the print density to check it yourself. That file also has different proportions from the standard actor print, so enlarging it doesn't solve the crop problem.
Changing the resolution field in Photoshop without resampling doesn't create detail. Resampling adds pixels, but it doesn't recover the original photographic information that a small export discarded.
Practical rule: Check actual pixel dimensions before accepting a file as print-ready. A resolution label alone proves nothing.
The print format has a 4:5 aspect ratio, unlike a square professional-profile image. Preserve a high-resolution original with enough framing room for both uses. If your intended print master's long side is under 3,000 pixels, request a higher-resolution export; also confirm that its width supports the intended print crop.
Framing and cropping an actor headshot
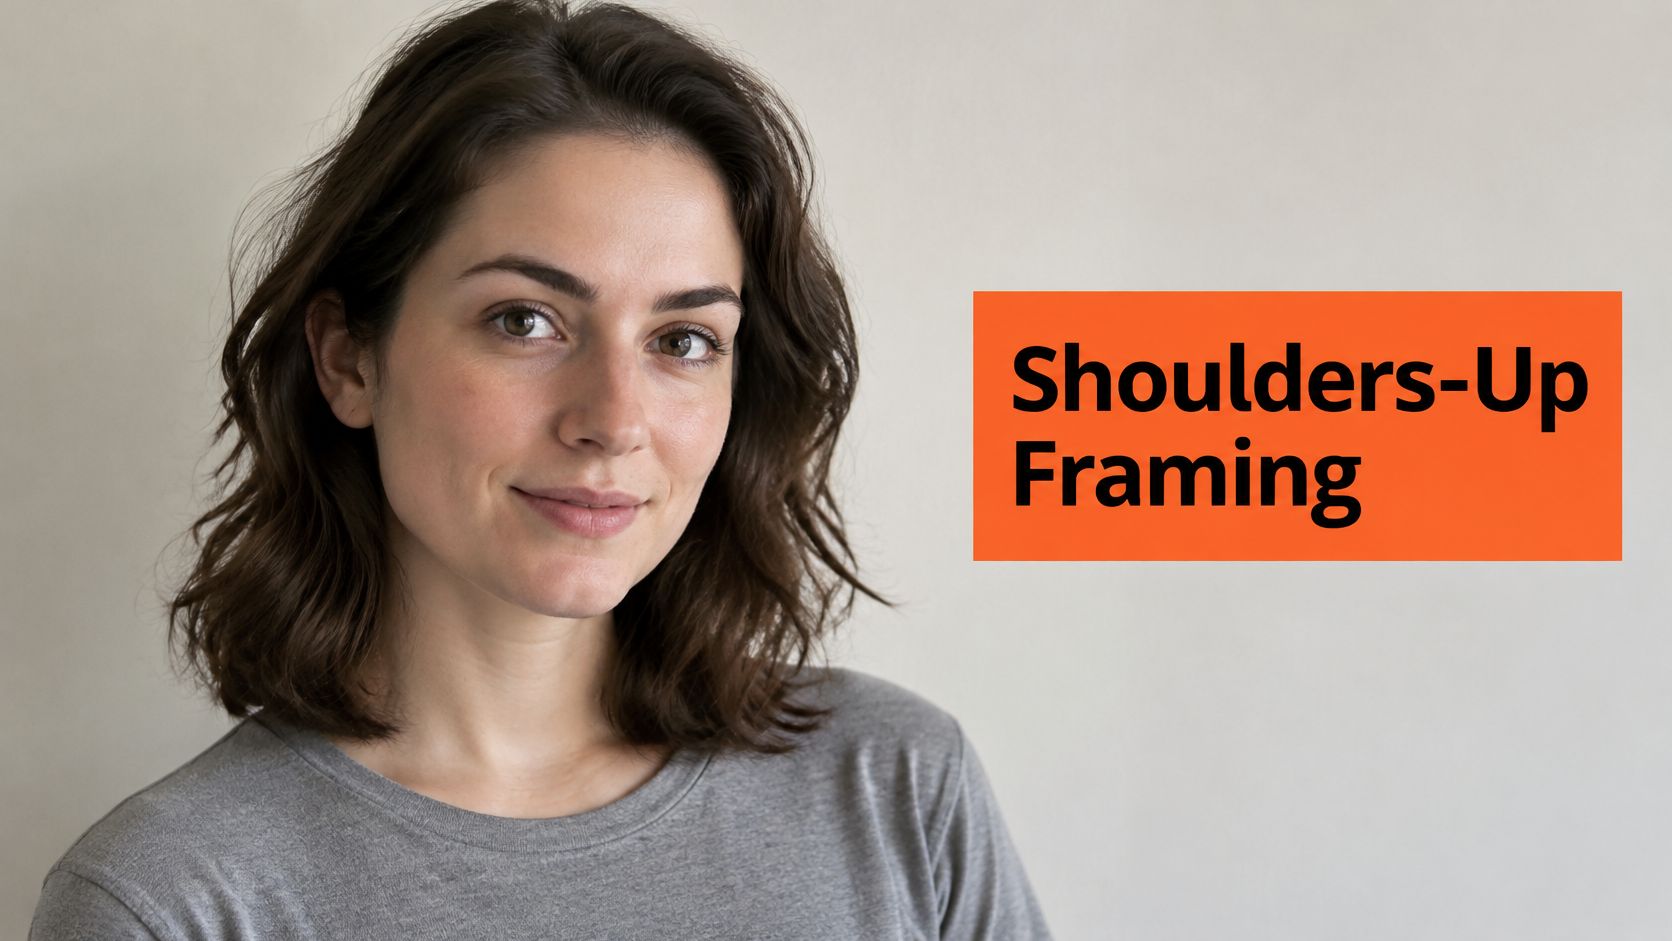
Frame the person before you worry about export settings. Use a shoulders-up composition, keep the head in the upper part of the image, and place the eyes near the upper-third guide in your crop tool. A slight body angle is fine; the face still needs to read directly.
This portrait illustrates the shoulders-up approach.
A full-length photograph spends too much of the frame on clothing and surroundings. A waist- or thigh-length crop leaves less room for the face, while a profile-only view hides facial information. For the main casting image, make recognition easy.
Leave room for the destination crop
Keep some background above the hair and enough space around the shoulder line to adjust the composition. Don't confuse shoulders-up with preserving both shoulders from edge to edge. The useful test is whether the crop retains a natural shoulder line without squeezing the face.
Use the crop overlay in Lightroom, Photoshop or your phone editor to test both the print rectangle and a square. Confirm that neither cuts through the chin or clips the top of the head. If you have to shrink the face excessively to fit, select a different frame.
Apply the same composition standards to generated and retouched portraits. Our actor headshot tips provide more guidance on expression, clothing and presentation. A technically correct crop can't rescue an image that no longer looks like you.
How to export one master for every submission
Build a small set of deliberate exports rather than editing the same file repeatedly. Use Lightroom's export presets or Photoshop's Image Size and Save a Copy controls, and keep the archive outside your upload folder.
The workflow starts with an untouched master.
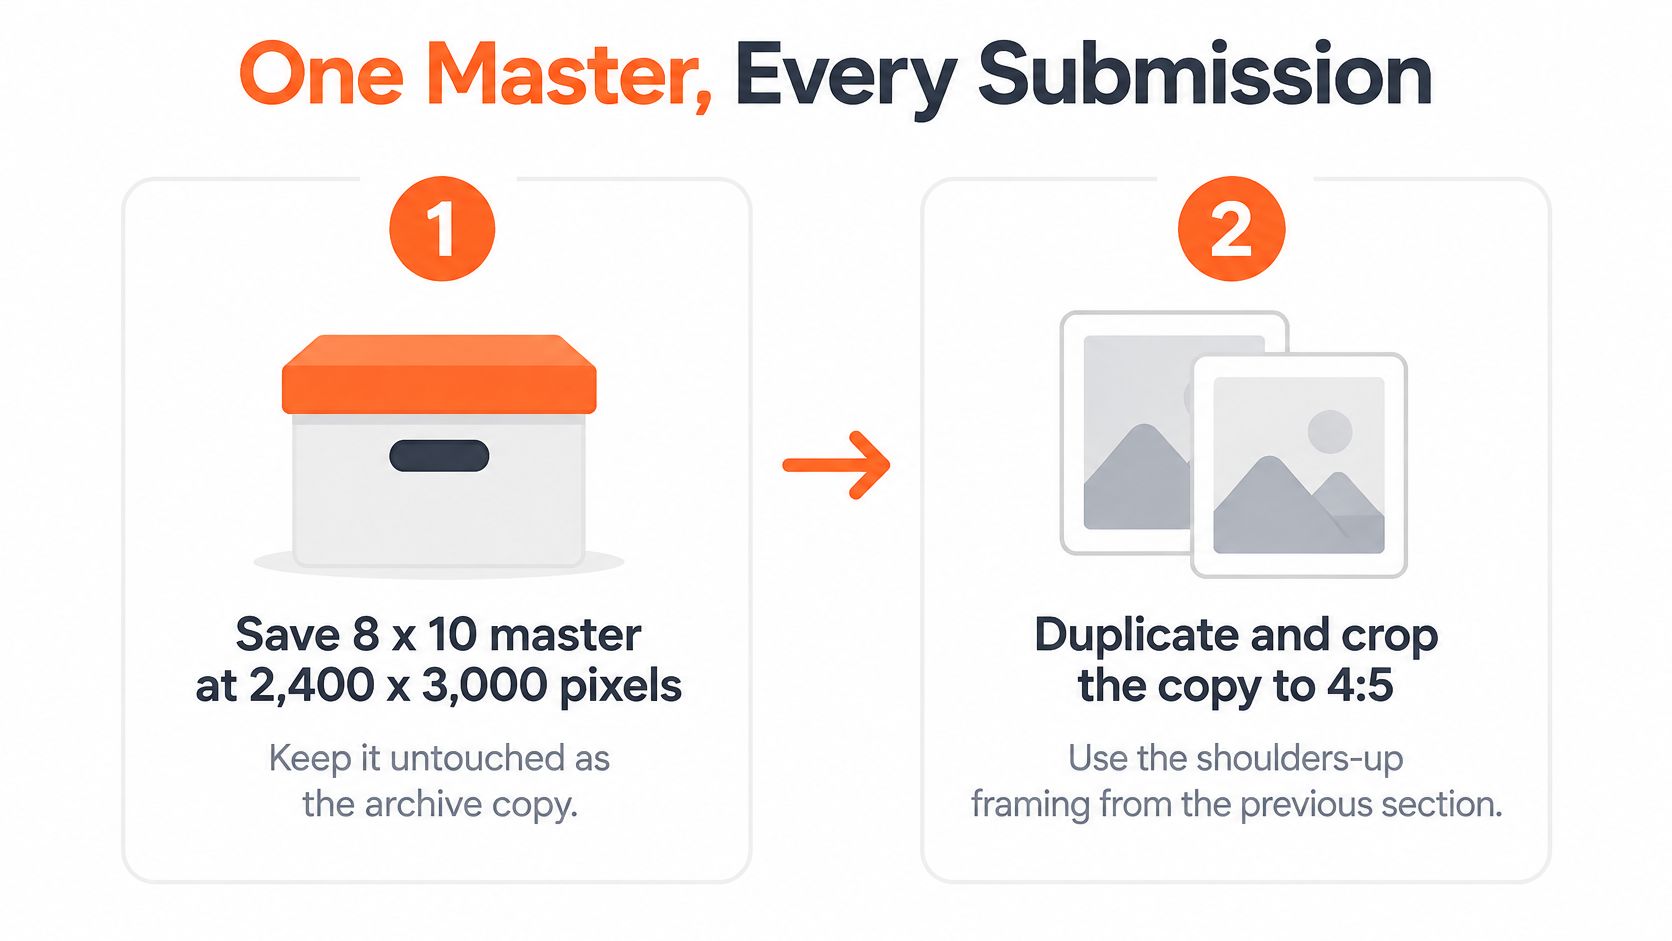
- Archive the full-resolution original. Keep the source untouched, along with an 8 x 10-proportioned master at 2,400 x 3,000 pixels or larger. Don't overwrite either with a website export.
- Duplicate before cropping. Set the working copy to 4:5 and adjust its position around the face. If it already has the correct proportions, don't crop away useful pixels unnecessarily.
- Export the print version. Save a high-quality JPEG at 300 dpi and inspect its pixel dimensions. Use the sharing-size target when convenient, but don't sacrifice print detail merely to make the archive smaller.
- Create the Actors Access version. Crop a fresh copy to the destination's taller proportions before resizing it to 500 x 700 pixels. Resizing without the crop distorts facial proportions.
- Make separate square versions. Export 500 x 500 pixels for the Spotlight benchmark, or at least 360 x 360 pixels for Casting Networks. Position the square yourself rather than relying on an automatic center crop.
- Name and inspect every export. Start with your professional name, as in
John_Dove_Headshot.jpg, and add the destination where useful. Open each derivative at 100 percent and check the eyes, hair edges and compression.
Always resize from the large source. Don't use yesterday's small upload as tomorrow's print file.
Platform upload sizes for casting sites and organizations
Every destination issues one of three instructions: an optimal target, a minimum floor, or a maximum ceiling. Treating them as interchangeable causes most avoidable export mistakes. A minimum lets you submit a larger file within the site's other limits; a maximum caps what the uploader accepts.
Actors Access support documentation lists 500 x 700 pixels as the optimal profile-photo size and allows the actor or talent representative to manage those photos. Headshots count as profile media there, separate from SlateShot video clips.
Platform and organization upload sizes
| Platform or organization | Dimensions | Accepted formats | Note |
|---|---|---|---|
| Actors Access profile | 500 x 700 px, optimal | JPEG or PNG | Managed by the actor or representative; separate from SlateShot |
| Casting Networks | Low pixel minimum; square-friendly | JPEG or PNG | Leave breathing room around the face in the square crop |
| Spotlight UK | Square upload with a stated minimum | JPEG or PNG | Export a dedicated square version framed on the face |
| SAG-AFTRA Texas Member Reel | Maximum 1,024 x 768 px | JPG, JPEG, PNG, GIF or TIFF | One current color headshot; professional-name filename; no name printed on the image |
The SAG-AFTRA Texas Member Reel instructions set that 1,024 x 768-pixel maximum, accept the listed formats, require your professional name in the filename, and prohibit a name printed on the photograph. Keep the portrait's proportions instead of stretching it to fill the frame, and confirm how the uploader handles orientation.
Each destination runs its own rules. The Texas reel ceiling is a different figure from the SAG-AFTRA awards minimum, and neither one describes a print file. A 1,200 x 1,800-pixel export, the size many guides recommend for online profiles, prints only 4 x 6 inches at 300 dpi. Anything headed to paper still comes from your larger master.
Keep each destination's crop in its own file. Our headshot requirements guide helps you organize submission checks, but the live uploader remains the final authority. Write down your actual destinations and record the crop, accepted format and upload ceiling beside each.
File formats, filenames and file size limits
JPEG is the practical delivery format for sharing photographic portraits. Keep a lossless TIFF or high-quality PNG archive when available, then create JPEG derivatives for destinations that accept them. Converting an already compressed JPEG to TIFF won't restore discarded detail.
Backstage's headshot guidance describes platform-specific digital sizes alongside the SAG-AFTRA award benchmark of at least 1,800 pixels on the longest side at 300 dpi, with JPG, PNG and TIFF accepted. Treat that award specification as a destination rule, not a general casting-profile requirement.
Reduce weight without damaging the face
Pixel dimensions and file weight measure different things. A detailed background, fine hair and export quality settings all affect how much storage an image uses. That's why matching dimensions doesn't guarantee matching file sizes.
If a file exceeds an upload ceiling, first remove unnecessary pixel dimensions while staying above the destination's minimum. Then adjust JPEG quality conservatively. Inspect the eyes and the transition between hair and background for blockiness, ringing or smeared detail.
Export check: A smaller file is useful only if the face stays clear. Don't compress until the upload passes and stop looking.
Use a repeatable naming pattern based on your professional name, look and destination. John_Dove_Headshot_ActorsAccess.jpg is easier to identify than a camera-generated filename or several files called final.
For dated updates, Magic Genie's date and version rules for filenames offer a useful organizational reference. Our digital photo delivery guide covers the handoff side. Choose one naming pattern and apply it consistently, without changing any destination-specific naming requirement.
Checking your headshot before you submit
The largest or most polished file isn't automatically the strongest casting image. Technical compliance gets the photograph through the uploader. Current likeness and clear presentation make it useful to the person reviewing it. Run two separate passes: a technical review against the destination's specs, then a human review of the person in the frame.
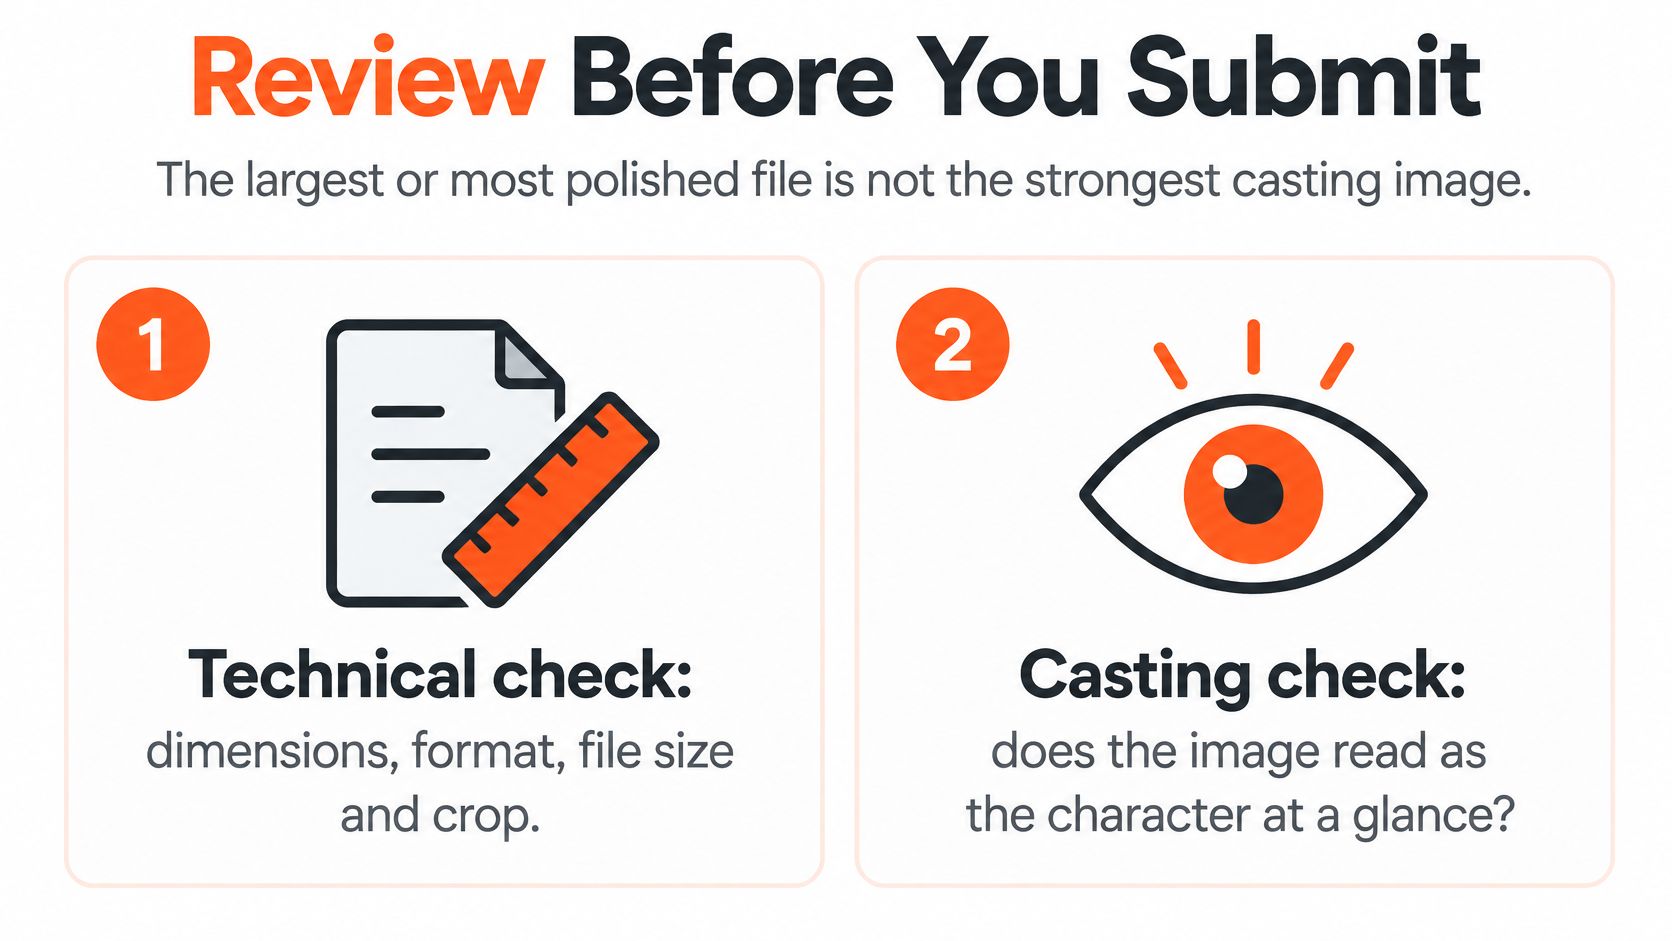
The actor headshot submission checklist from MyPhotoAI identifies four checks: current likeness, facial clarity in a small crop, compliance with the destination's rules, and suitability for the role. Do the technical checks first so an attractive image doesn't distract you from the wrong dimensions or format.
The two files you work with are measured differently. The print master is judged at 300 dpi on paper. The upload copy is judged against the site's pixel dimensions, accepted formats and weight ceiling. A file can pass one review and fail the other, so check the actual submission copy rather than assuming both behave the same.
Check the person, not just the pixels
Reduce the image to thumbnail size and compare it with a recent, unfiltered phone photograph. Ask a casting colleague or representative whether it reads as your current appearance. Review hair, facial structure, skin texture and expression, not just flattering lighting.
Heavy retouching fails this test when it changes recognizable features. An artificial background becomes a problem when its edges pull attention from the face. Reject edits that reshape the jaw, alter the eyes or smooth away defining characteristics.
Use the accompanying video as another visual reference while reviewing presentation.
Don't turn a provider's marketing claim into a casting policy. Follow the destination's stated rules, preserve your current likeness, and run both review stages before every submission.
Confirm your master file before you submit
Keep a full-frame, shoulders-up print master, preserve the untouched source, and make destination-specific copies from it. Before submitting, check the exported file itself, not just the settings you remember selecting. Open the upload preview and confirm the platform hasn't moved your crop.
Choose deliverables, not just a flattering preview
A useful portrait package gives you enough resolution and composition room to produce different outputs. A single small profile image locks you into one crop. Judge the downloadable files as carefully as the gallery preview, because the master you keep determines every submission you make later.
Resolution deserves a hard look here. A 1,200 x 1,800 px file, the size many guides recommend, prints only 4 x 6 inches at 300 dpi. That passes as a digital upload but falls short of the 8 x 10 print standard, so confirm your master can cover both before you treat it as final.
AiHeadshots was started by photographers and is built by the team behind Studio Pod, established in 2019 and trusted by more than 30,000 customers. You upload 10 to 20 phone selfies, pick your styles, and receive 30+ headshots in about 30 minutes, delivered as print-ready and platform-sized files. Compare current plans on the pricing page, and inspect framing and finish in the examples.
Choose the photograph that accurately represents you, then validate its dimensions for the intended destination. A polished image and a compliant export are separate requirements. You need both.
AiHeadshots offers portraits you can prepare for print and casting-profile submissions without a studio visit. Visit AiHeadshots to upload 10 to 20 selfies and receive 30+ headshots in about 30 minutes.