




You open the photo, zoom to the eyes, and feel it immediately. It's soft. Not ruined in every case, but not crisp. That's the moment where you over-sharpen the file, add noise, and make skin look brittle.
The fix starts earlier than the slider. If you want to know how to fix out of focus pictures, classify the blur first. A missed focus frame needs a different treatment than camera shake. A slightly soft phone photo needs a lighter touch than a portrait where the autofocus locked on the ear instead of the eye. If you get that diagnosis right, you can save more images and destroy fewer.
Table of Contents
- Why your photo looks soft and what can actually be saved
- How to tell what kind of blur you have
- Fixing soft photos with sharpening and deblur tools
- When to use AI restoration and multi-frame recovery
- Preventing out of focus shots next time
- Deciding to keep, edit, or reshoot and a faster option for headshots
Why your photo looks soft and what can actually be saved
Most soft photos fall into three buckets. True defocus. Motion blur from camera shake or subject movement. Missed autofocus, where some part of the frame is sharp, just not the part you needed.
That distinction matters because the repair path changes with it. A 2005 Hewlett-Packard technical report on blur detection laid out a practical foundation that still holds up: measure local sharpness across blocks of the image, then judge whether the frame is generally sharp or soft overall. It also notes that low median sharpness is consistent with camera shake or subject motion blur, which is exactly why a photographer should identify the blur before editing, not after HP technical report on out-of-focus image detection.
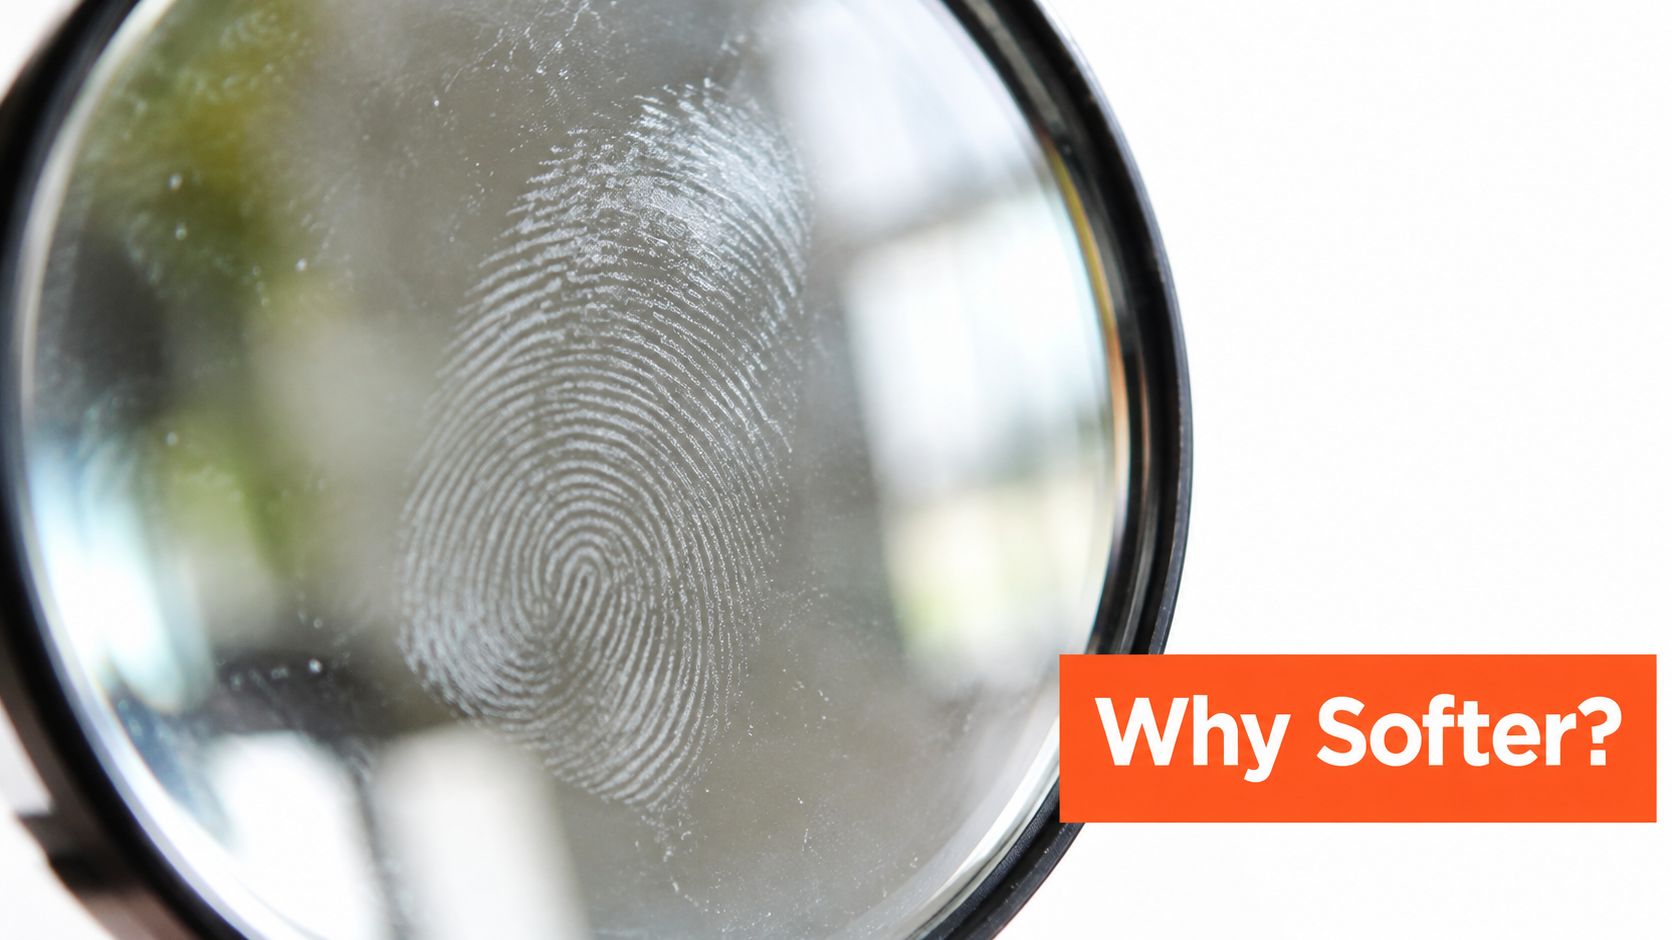
A portrait with soft eyelashes but readable skin texture often responds well. A frame with directional smear across every edge usually needs heavier deblurring, and sometimes it's faster to reshoot. A file where the jacket is sharp and the eye is soft is the classic missed-focus problem. You can improve the perception of sharpness, but you can't invent detail that never landed on the sensor.
Check the file before you touch it
Open the image at 100% zoom and inspect the one detail that matters most. For portraits, that's usually the nearest eye. For product shots, it's logo text or the front edge. For documents, it's the smallest critical lettering.
Practical rule: Judge recovery on the important detail, not on the whole image fit-to-screen.
A lot of disappointment starts with the wrong file. If the image has already been compressed, downsized, or passed around in chat apps, you're editing damage on top of blur. Before you decide a frame is unsalvageable, make sure you're working from the original full-size export or camera file. This high resolution photo download guide is a useful refresher if you're pulling images from an online gallery and want the actual full-resolution version.
What can be saved
Slight softness often cleans up well. Obvious blur rarely becomes sharp. That's the hard truth.
Sharpening improves edge contrast. It does not restore missing structure the way people hope it will. If the eyes never resolved, no slider turns them into tack-sharp studio eyes. Good editing can make a soft image look better. It can't make a failed frame become a perfect one.
How to tell what kind of blur you have
You missed a good expression. Before you touch a sharpening slider, identify the blur. That one decision saves time and keeps you from making skin, hair, and eyes look brittle.
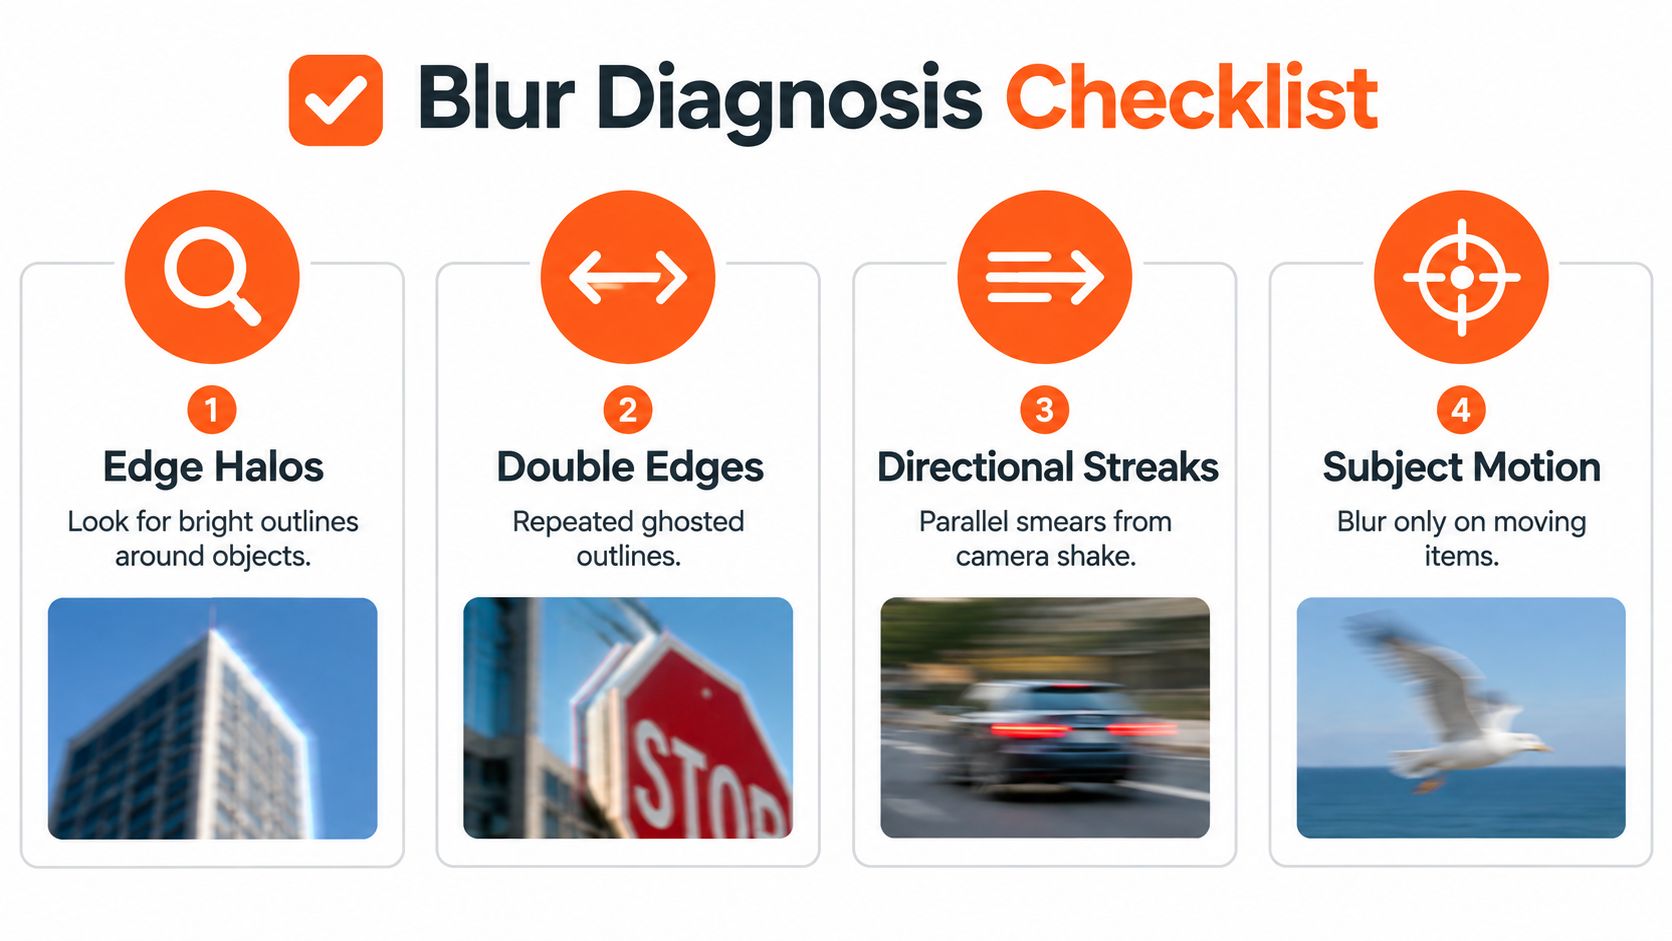
A photo can look soft for different reasons, and each one fails in a different way. Defocus gives you rounded, low-contrast edges. Camera shake pulls detail in one direction. Subject motion blurs only what moved. Missed focus leaves some other plane sharp while the part you cared about falls behind or in front. The fix starts with the diagnosis.
A 2015 CVPR paper on just-noticeable defocus blur found that even a typical 13-megapixel mobile phone camera can leave residual blur of about 5 to 8 pixels, and the authors defined just-noticeable defocus blur as roughly 3 to 9 pixels CVPR paper on just-noticeable defocus blur. That matches what photographers see in real files. Some phone images look a little soft even when they were not badly missed.
Read the edges
Start with one small, high-contrast detail at 100%. Eyelashes, glasses rims, jacket seams, hair against a darker background, and printed text all work well. Smooth skin and blown highlights do not.
Use this quick triage:
- Uniform softness across the frame usually means defocus. Edges look dull and slightly swollen, not smeared.
- Directional streaks on multiple details usually mean camera shake. Lashes, text, and hair all pull the same way.
- A blurred subject with cleaner background detail points to subject motion. The person moved. The room did not.
- A sharp ear, collar, background, or jacket with soft eyes means missed focus. The camera locked onto the wrong plane.
Ghosted double lines are a strong clue. They usually point to motion, not simple defocus.
Check what is sharp, not just what is blurry
This is the step many people skip. Look for the sharpest plane in the frame and ask whether it makes sense.
If the wall behind the subject is crisp and the eye is soft, autofocus missed. If nothing is crisp and every edge looks equally weak, defocus is more likely. If the blur has direction, treat it as motion until proven otherwise. I use that order because it leads to the lightest fix first, and the lightest fix usually looks best.
For camera-shake restoration, serious deblur methods work best when they can analyze clean structure in a non-saturated area, then estimate the blur pattern before reversing it, as described in research on removing camera shake. In practice, judge blur from eyebrows, frames, seams, hairlines, or text. Do not judge it from clipped highlights, catchlights, or flat skin.
Use one textured detail to classify the blur first. Then apply the weakest correction that solves that specific problem.
That photographer-led triage matters. Mild defocus may respond to restrained sharpening. Motion blur usually needs deblur tools. Missed focus often looks best with selective work on the important feature, not heavy global sharpening.
Fixing soft photos with sharpening and deblur tools
You open a portrait that looked fine on the camera screen. On a monitor, the eyes are soft. The fix depends on the blur you already identified. Mild defocus can take sharpening. Motion blur usually needs a real deblur pass. Missed focus rarely survives heavy global edits.
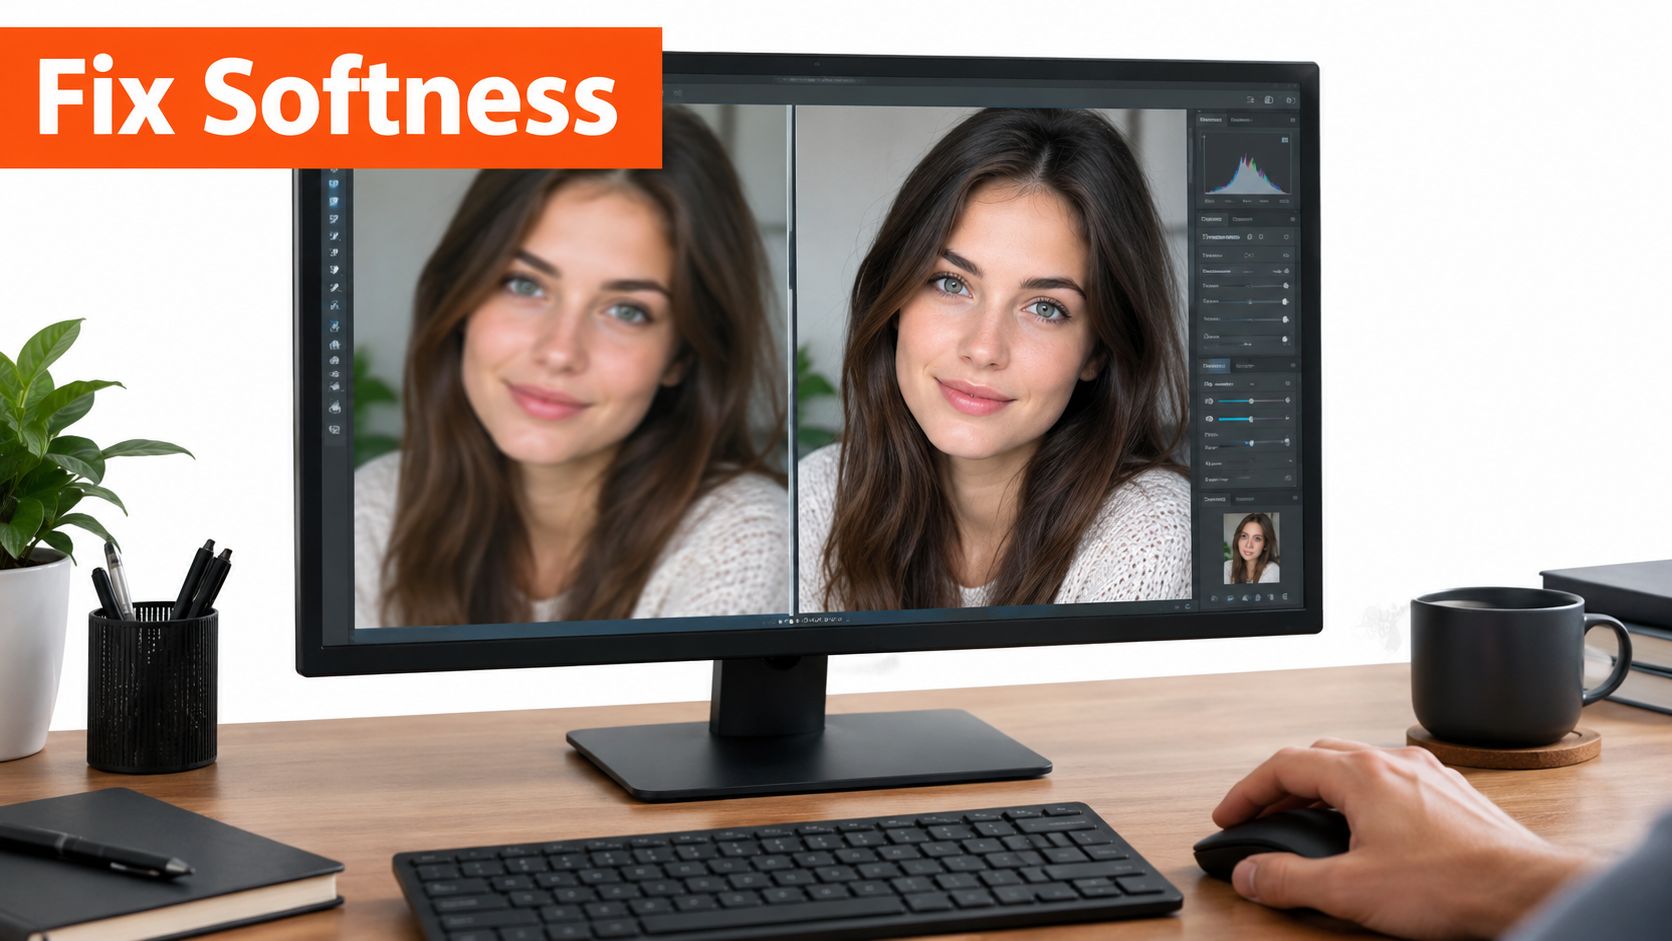
Start with the lightest tool that fits the failure. In Lightroom or Photoshop, that usually means one moderate sharpening pass for a mildly soft file. Then check the result at 100 percent on the feature that matters most. Eyes first for portraits. If the photo gets clearer without looking brittle, keep it. If pores, noise, and edges start to harden before the subject looks sharper, stop.
Stacking clarity, texture, sharpening, and dehaze is where many edits fall apart. Each slider can look helpful in isolation. Together they rough up skin, brighten noise, and make blur look harsher instead of better.
Dedicated deblur tools earn their place when blur is uneven or directional. Focus Magic, for example, is built around blur-pattern analysis rather than simple edge contrast, which is why it can sometimes recover detail that generic sharpening misses Focus Magic deblur workflow.
Use local corrections before global force
Portrait files respond best to selective work. If the lashes are soft but the cheeks and hair already look fine, sharpen the eyes, brows, glasses rims, and other small edge transitions first. Leave smooth skin mostly alone.
That trade-off matters. Local correction puts detail where viewers look. Global sharpening raises everything, including pores, sensor noise, flyaway hairs, and background texture.
| Problem area | Better move | What to avoid |
|---|---|---|
| Eyes slightly soft | Local sharpening or deblur on eyes and lashes | Global sharpening across skin |
| Whole image mildly soft | One moderate global pass | Repeating multiple sharpen passes |
| Uneven blur in frame | Dedicated deblur tool | Forcing one slider across everything |
If you want a stronger editing setup for this kind of triage, our guide to best professional photo retouching software compares the tools that handle selective sharpening, masking, and cleanup well.
Know when the tool is lying
Bad deblur has a recognizable look. Halos on eyelashes. Bright rims on glasses. Metallic beard stubble. Skin that looks etched instead of detailed.
Recent benchmark work on real deblurring has also stressed careful evaluation because blind deconvolution can amplify ringing and noise when the blur estimate is slightly wrong. That matches real retouching experience. If the file looks impressive for two seconds and fake after a closer look, the tool overshot.
A believable improvement wins.
This walkthrough shows the same principle in motion with a deblur workflow inside Photoshop:
If the fix is drawing attention to the edit, it's no longer fixing the photo.
The best saves are usually modest. Clean eyes. Better edge definition. No obvious artifacts.
When to use AI restoration and multi-frame recovery
You open a portrait that matters. The eyes are soft, one frame in the burst looks a little better than the rest, and standard sharpening already made the skin look brittle. This is the point where triage matters. Match the tool to the failure.
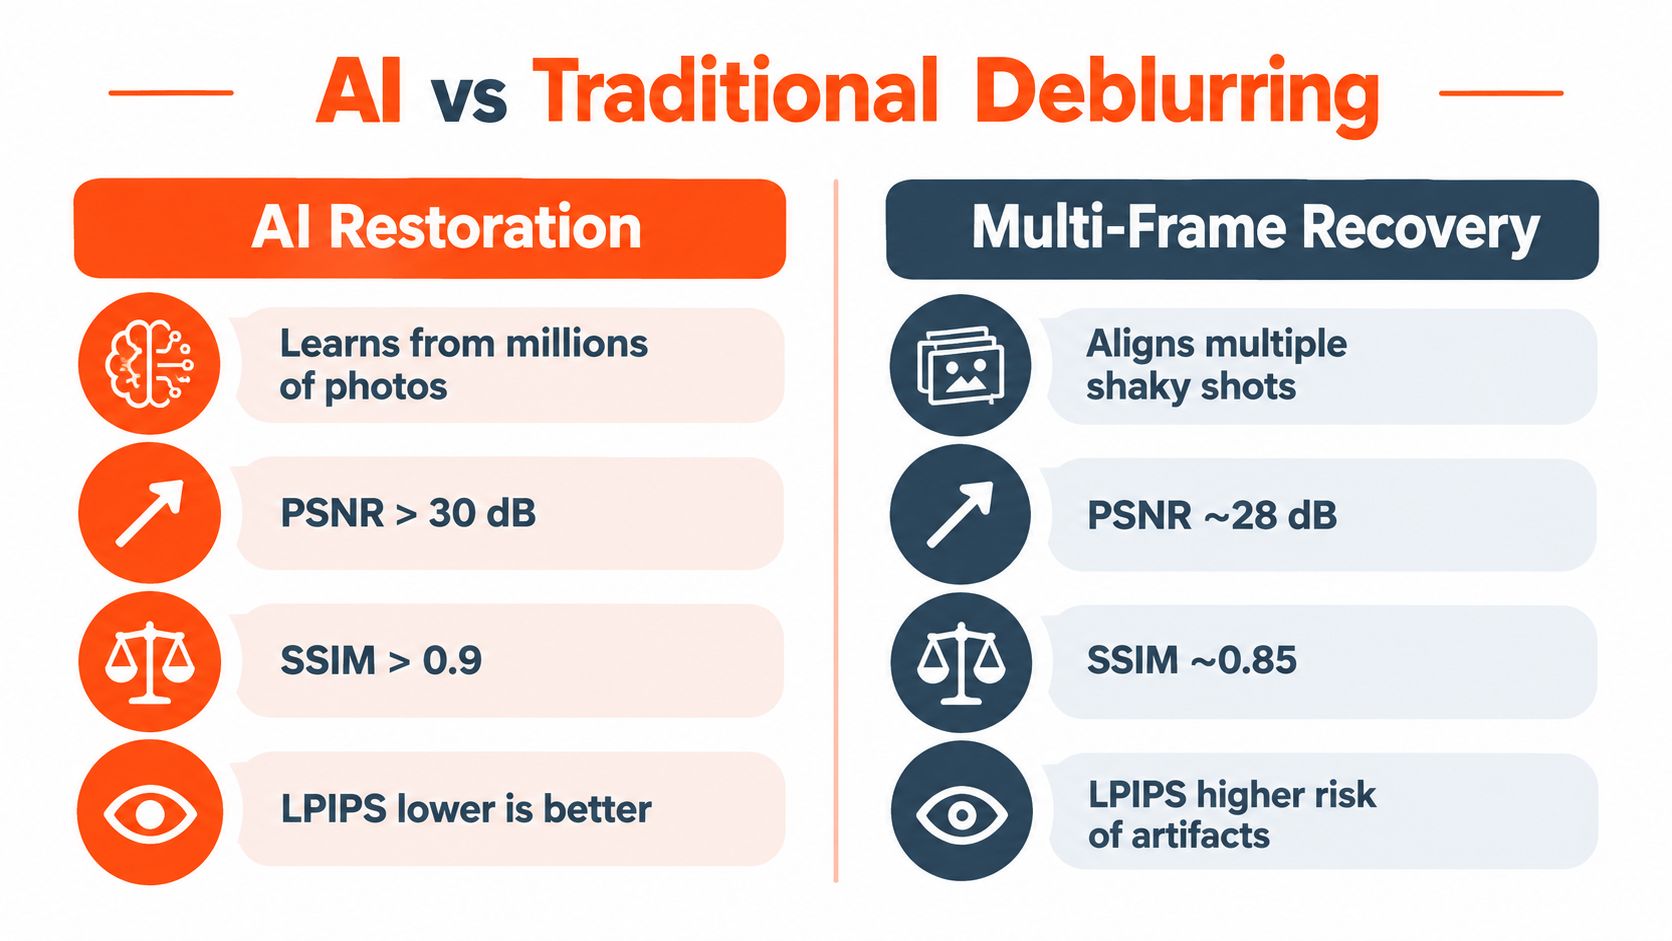
Use AI restoration for a single important frame with recoverable structure. Use multi-frame recovery when you have several near-identical frames and each one holds different pieces of clean detail.
The distinction matters because blur is not one problem. Defocus, camera shake, subject motion, and missed focus fail in different ways. Good AI tools work best when the file still contains a believable signal to rebuild. They struggle when the wrong focal plane is sharp or facial features are smeared across multiple pixels. In those cases, the software can invent texture, but it cannot recover true detail.
AI restoration is for one-frame salvage
AI earns its keep on mixed or uneven softness that falls apart under normal sharpening. I use it after basic fixes fail, not before. The best case is a single frame with soft eyes, intact feature edges, and enough original structure for the model to reinforce.
Real-world benchmark work on deblurring still shows a gap between lab improvement and convincing portrait recovery, as noted earlier. That lines up with editing practice. A small, believable gain is common. A full rescue is not.
Use AI restoration when:
- the file is slightly to moderately soft, not destroyed
- you only have one usable expression
- edge detail exists but lacks separation
- deblur artifacts are still lower than the cost of a reshoot
For a broader workflow view, this guide to photo retouching AI shows where automated cleanup fits and where manual judgment still wins.
Multi-frame recovery is stronger than single-frame heroics
If you shot a short burst, check that first. Slight hand movement changes the blur pattern from frame to frame. One image may have cleaner eyelashes. Another may hold a better mouth edge or hairline. Stacking or blending those frames often produces a more natural result than pushing one weak file through aggressive restoration.
This approach is most useful for camera shake and mild handheld softness. It is less useful for missed focus. If every frame locked onto the ear instead of the eye, combining them will not move the plane of focus forward.
| Blur type | Best first move | Best escalation |
|---|---|---|
| Defocus blur | Check for recoverable edge detail in the target area | AI restoration on the single frame |
| Camera shake | Review the burst for the sharpest base frame | Multi-frame recovery or blending |
| Subject motion | Compare frames for one cleaner expression | Keep the best frame or reshoot |
| Missed focus | Confirm what plane is actually sharp | Reshoot if the wrong plane holds detail |
There is also a time cost. Heavier restoration can be slow, and faster tools often push too hard. In normal portrait work, the winning edit is usually the lightest one that restores clear eyes and believable edges without synthetic skin texture.
Preventing out of focus shots next time
The cheapest fix is capture discipline. Most blur problems start before editing and stay there.
The reciprocal rule is still the cleanest baseline for handheld shooting. Your minimum shutter speed should be at least the reciprocal of the lens focal length. A 50mm lens calls for about 1/50s, and a 200mm lens calls for about 1/200s guide to avoiding blurry photos. If you know your hands aren't steady, go faster.
Give autofocus something real to lock onto
Autofocus likes contrast. Flat skin in dim light is harder than the edge of glasses, eyelashes, or a collar seam. Tap focus on the eye with a phone. Use single-point AF on cameras for portraits. If the subject is moving, use continuous autofocus and shoot a short burst instead of one hopeful frame.
Better light fixes focus problems before they become editing problems.
Match the setting to the scene
For a dim indoor headshot, raise the shutter speed before you worry about keeping ISO low. Noise is easier to tolerate than blur. For a long lens outdoors, respect the shutter speed baseline and don't trust stabilization to save every frame. For a moving child or a laughing subject, burst mode gives you more than expression choice. It gives you sharpness choice.
If you shoot headshots on a phone, our guide on how to take a professional headshot on iPhone gives a practical setup that reduces softness before you ever open an editor.
Deciding to keep, edit, or reshoot and a faster option for headshots
The final decision is simple. Keep the photo if the critical detail survives at 100% zoom and the edit stays invisible. Edit it if a modest correction improves the frame without adding halos, noise, or fake texture. Reshoot it if the eyes still don't read as sharp after a restrained pass.
For portraits, that standard is higher than people admit. A soft candid can still feel honest and usable. A headshot has less room for softness because the viewer goes straight to the eyes. If trust and polish matter, softness reads immediately.
Use time as part of the decision
Editing one borderline frame can eat more time than replacing it. If you're billing real production time, that matters. A photographer day rate often starts around $300–$600+, which is why a weak frame can become an expensive problem fast if you keep chasing it in post instead of solving the need another way.
If you're comparing portrait styles or trying to decide what level of finish fits a professional use case, it helps to browse corporate portrait photography and look at how sharpness, lighting, and expression work together in finished business portraits.
For headshots specifically, reshooting isn't always the smartest answer. Sometimes the better answer is replacing the weak image with a stronger portrait built for the purpose from the start.
AiHeadshots comes from Studio Pod in Houston, where photographers Joseph West and Chris Bailey built the system after shooting 10,000+ real professionals since 2019. You upload 10–20 phone selfies and get 30+ studio-grade headshots in about 30 minutes, with plans from $29 and a 14-day money-back guarantee. If your current photo isn't sharp enough to trust, see what AiHeadshots can produce instead.
